Jump to Supply List
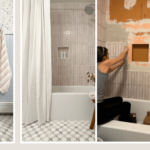
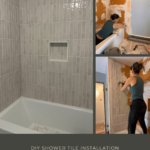
Are you wanting to upgrade your shower, but the thought of tiling a shower yourself is overwhelming? I’m here to assure you that you don’t need to be afraid to tackle this project. If you’re ready to take on this DIY, then check out my step-by-step guide on how to tile a shower below.

Tiling a shower isn’t for the faint of heart, but with the right tools and my step-by-step guide, I know you can add tiling a shower to your list of successful DIYs! To help you achieve success, I’ve packed this post with links for my preferred tools to use, tips to get the best results, and common mistakes to avoid.
Waterproofing Your Shower
The most important step of any bathroom tile project is ensuring water can’t penetrate and cause damage. If this step isn’t completed correctly, you may not know it right away, but you will have water damage and expensive repairs down the line.
You know I am all about budget-friendly DIY, but when it came time to choose a waterproofing system, I wanted something easy to use and foolproof, which is why I went with the Schluter Kerdi Board System. I wanted to ensure this step was done correctly and with the best materials.
Because Schluter offers an entire system, it took all of the guesswork out of choosing materials. They even have a full YouTube channel filled with videos to walk you through each step of the way!
The Kerdi board is a waterproof paneling for shower walls that’s super user-friendly, lightweight, and easy to cut with a razor blade. It’s great for doing a DIY install on your own.
If the Schluter Kerdi System isn’t in your budget, there are alternatives (such as cement boards) that are much more budget-friendly. I was doing this installation alone, so I decided the lightweight Kerdi panels were worth the added expense.
How to Install Kerdi Board
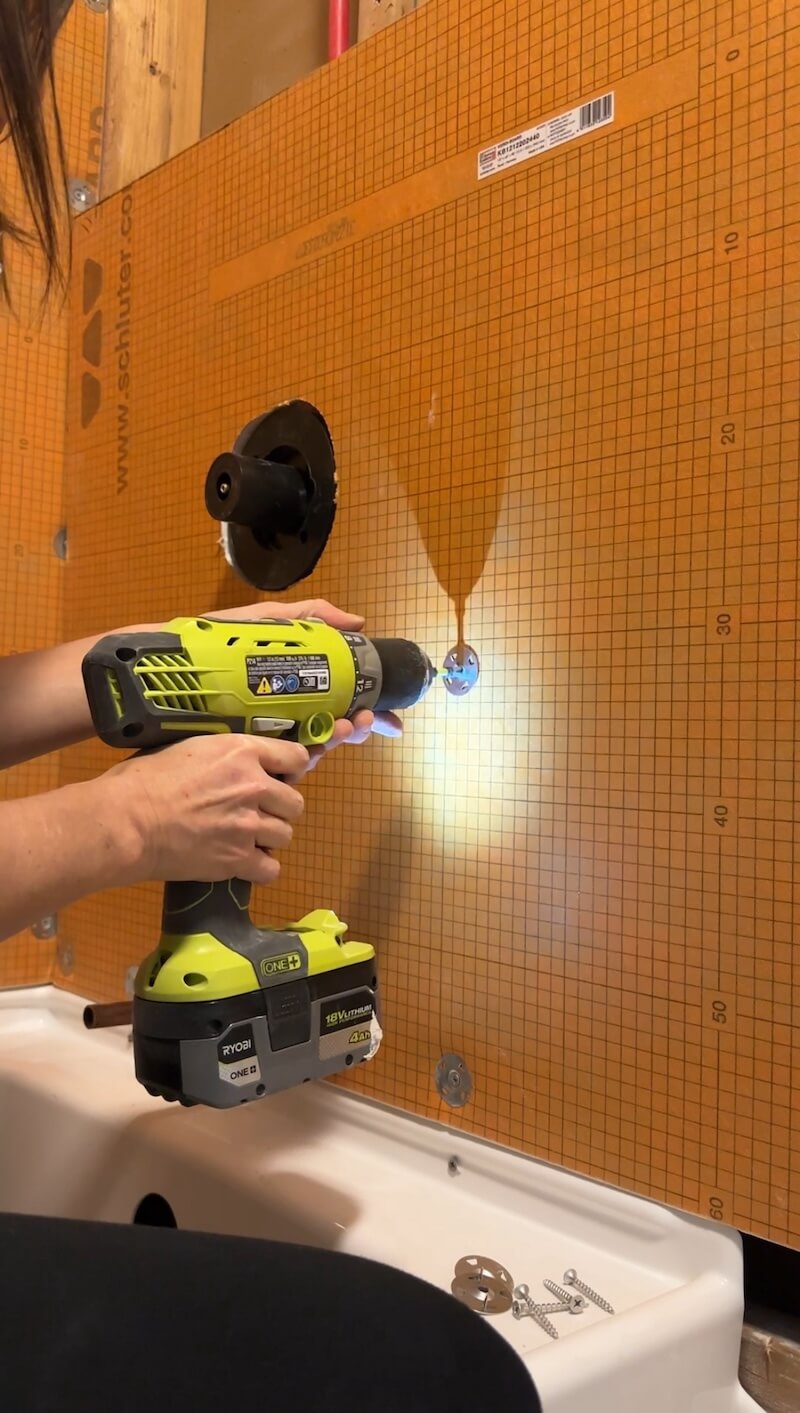
To start the installation process, cut your foam boards to fit snugly in your shower, then use these special fasteners and a drill to secure the Kerdi board to the studs in the wall. Since the Kerdi Board is made out of foam, regular screws would pop right through the board.
After you have installed the main Kerdi Boards, you can add any extra features in your shower like a shower niche!
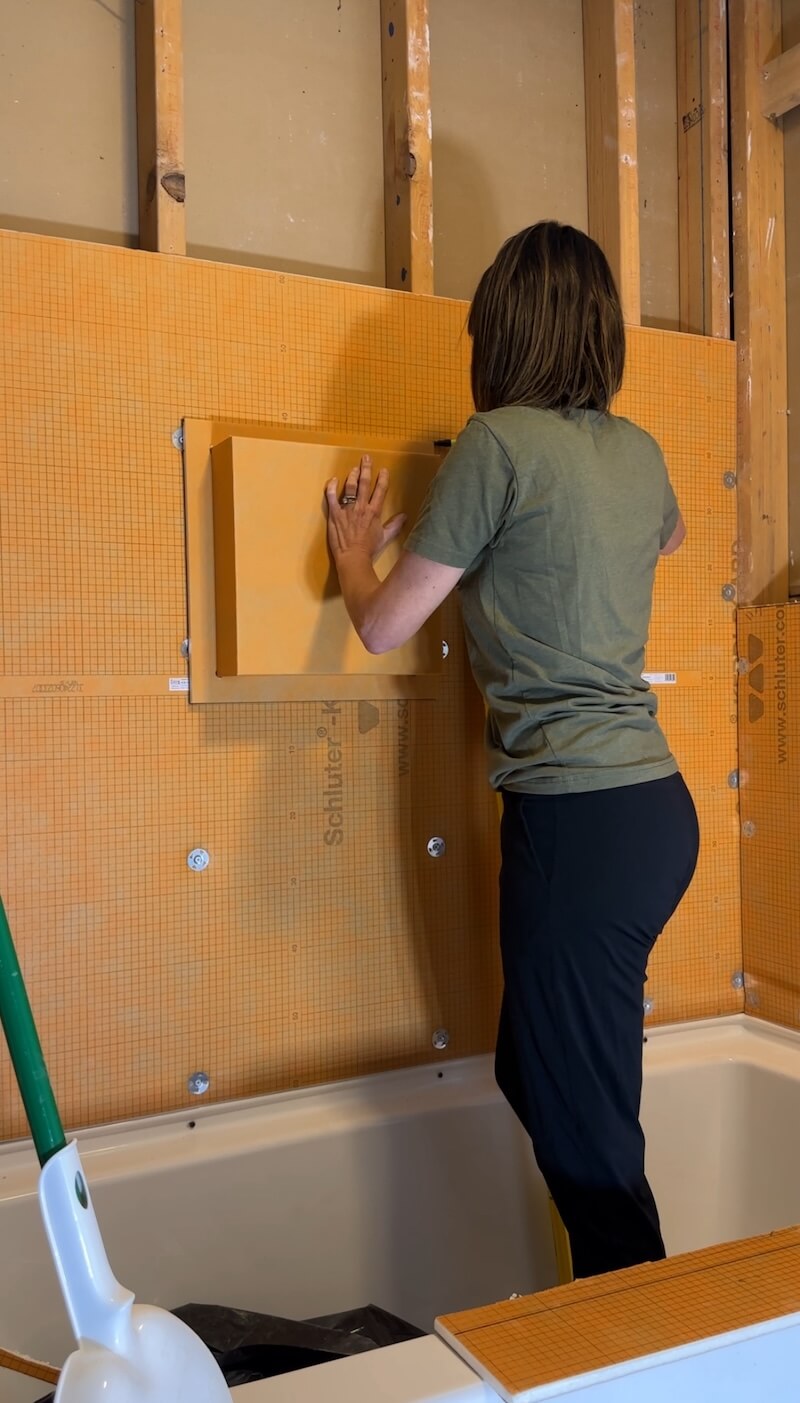
Schluter Shower Niche
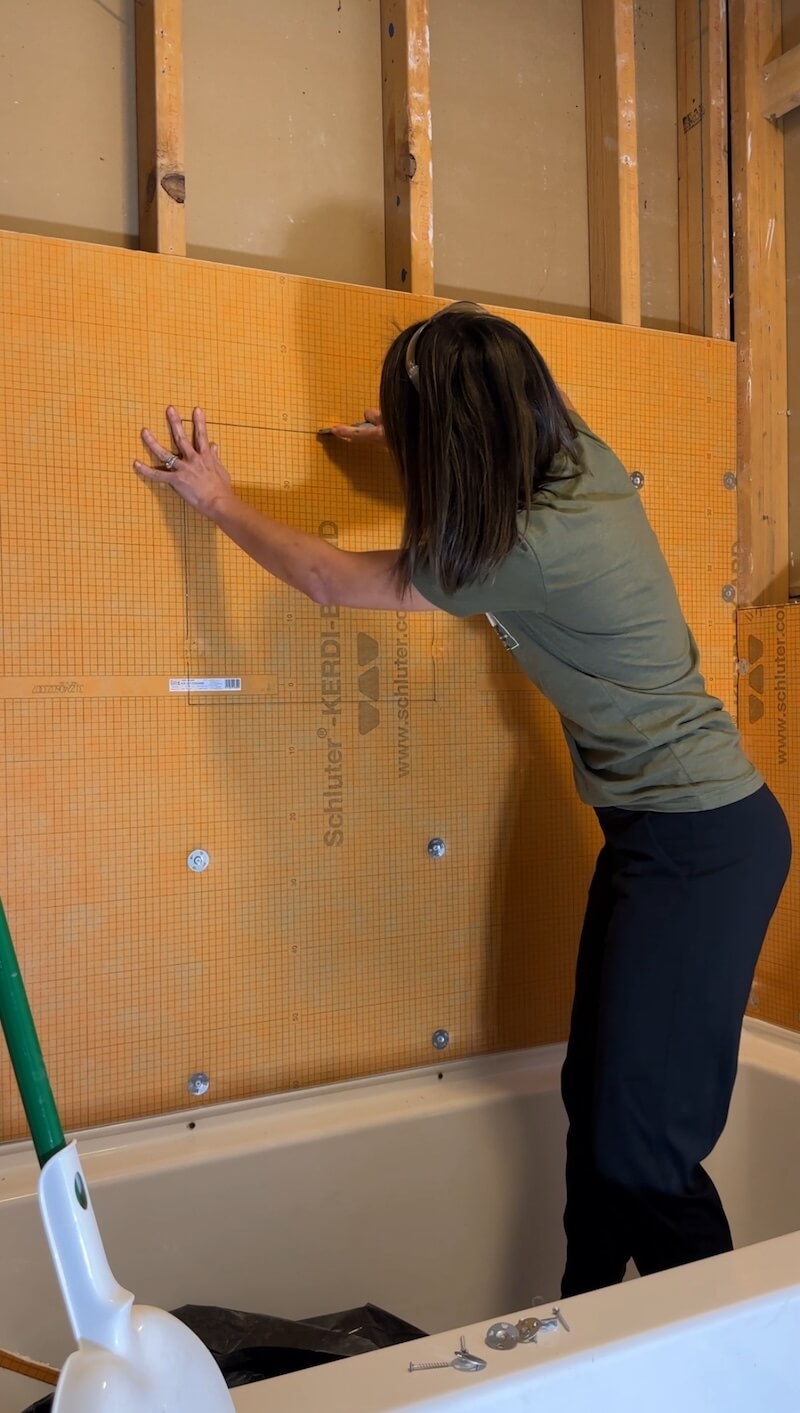
If you want to add a shower niche, then Schluter has many different sizes and styles to choose from! I went with a simple 12″x12″ style, but they also have a two-shelf option, if that better fits your needs.
To install a Schluter shower niche, use a marker to trace the outer edge of the Schluter niche. Use a razor blade and a straight edge to cut along your line and remove the board. You will then insert your niche and use the Schluter fasteners to secure the niche to the studs!
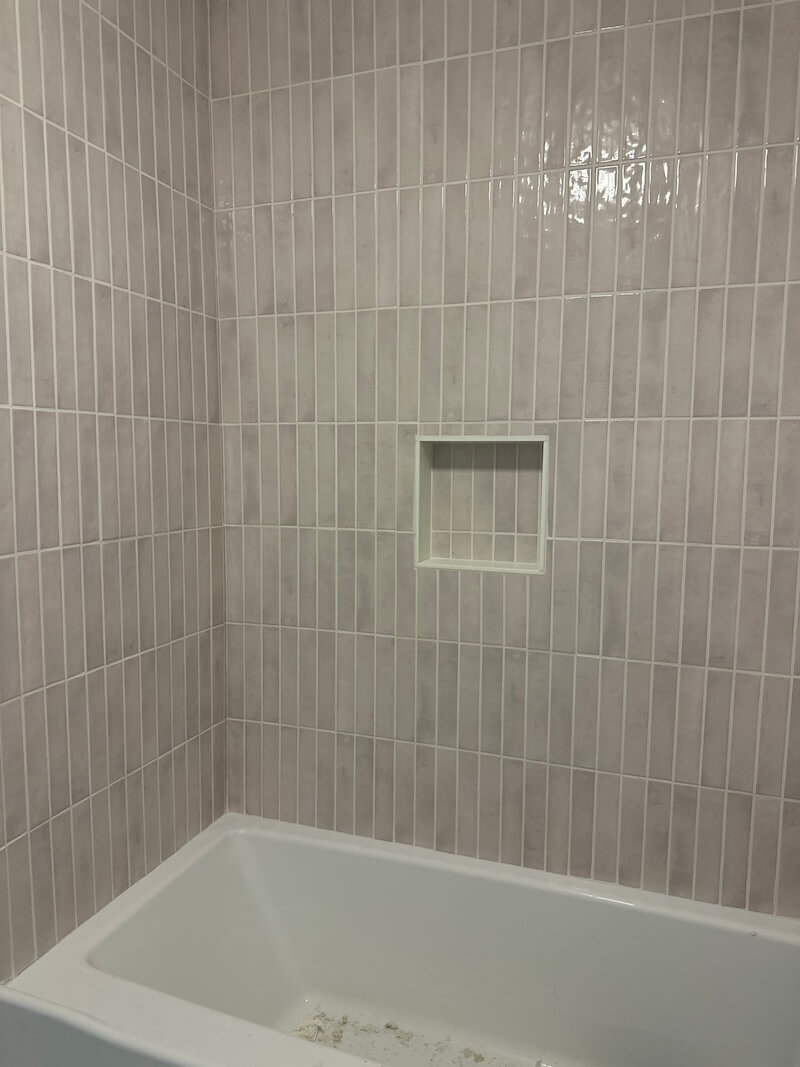
Voila! A beautiful niche to hold your shower essentials!
Waterproofing the Exposed Screws and Seams
Next, you’ll need to waterproof all the exposed screws and all seams. This includes where the Kerdi boards meet, as well as where the Kerdi board meets the tub and adjoining walls.
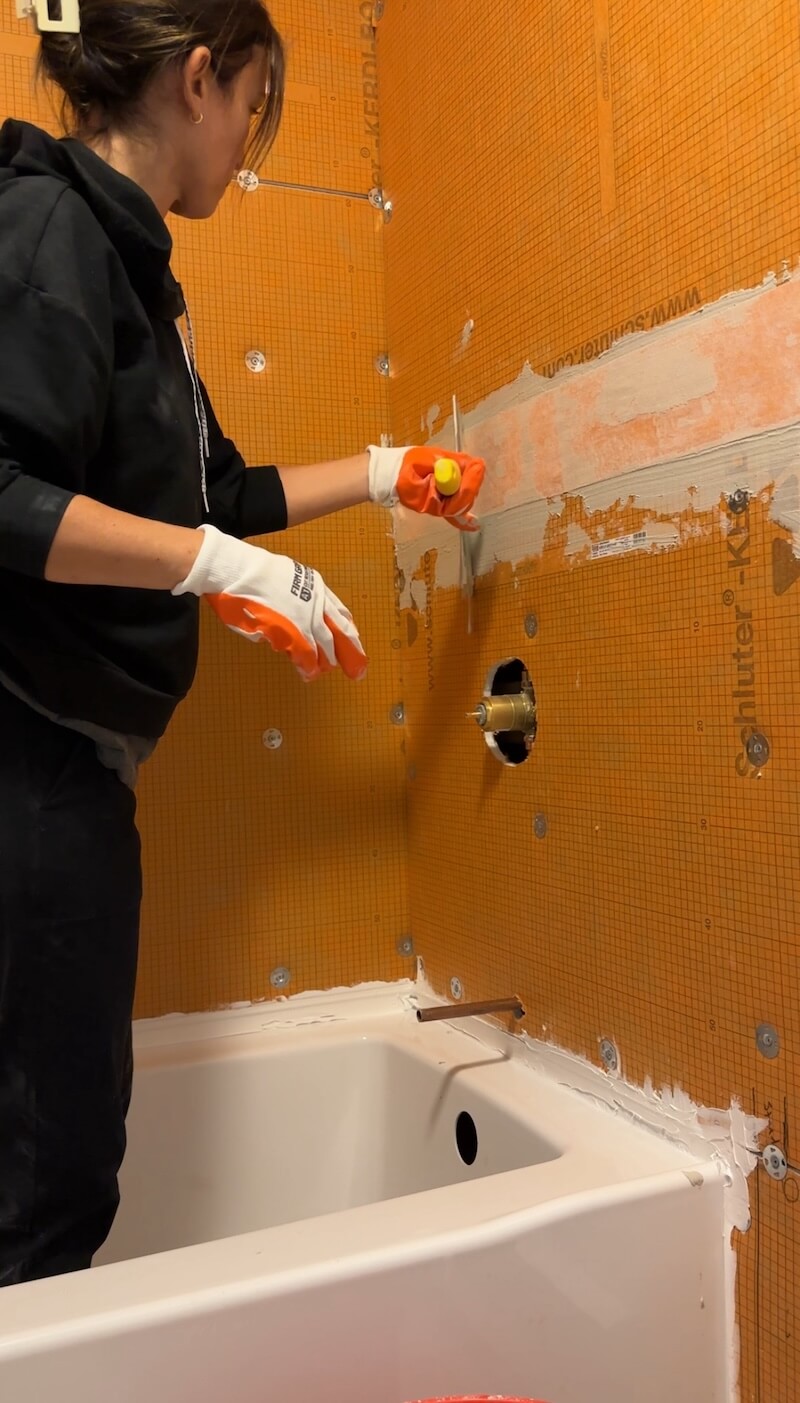
If you have a bathtub, you’ll notice it’s screwed into the studs. Use Kerdi Quick Fix (a silicone caulk) to cover each of these screws. You will also use Kerdi Quick Fix where the Kerdi board meets the edge of the tub. Smooth this with your finger or a spatula.
Before you begin waterproofing the screws and seams, remember to use painter’s tape to protect the surface of the tub.
Next, use an unmodified thinset (I chose the Schluter system version) and Kerdi band to waterproof all the seams and screws.
Take your quarter-inch trowel, and notch the area with a thinset. Then, push the Kerdi Band into the thinset. Make sure to cover every seam and screw hole by at least two inches on every side of the gap.
One great advantage of the Kerdi system is you can start tiling immediately after the waterproofing step! There is no dry/wait time.
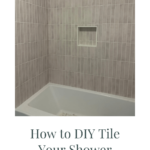
How to Tile a Shower
Once the shower is fully waterproofed, you’re ready to begin tiling!
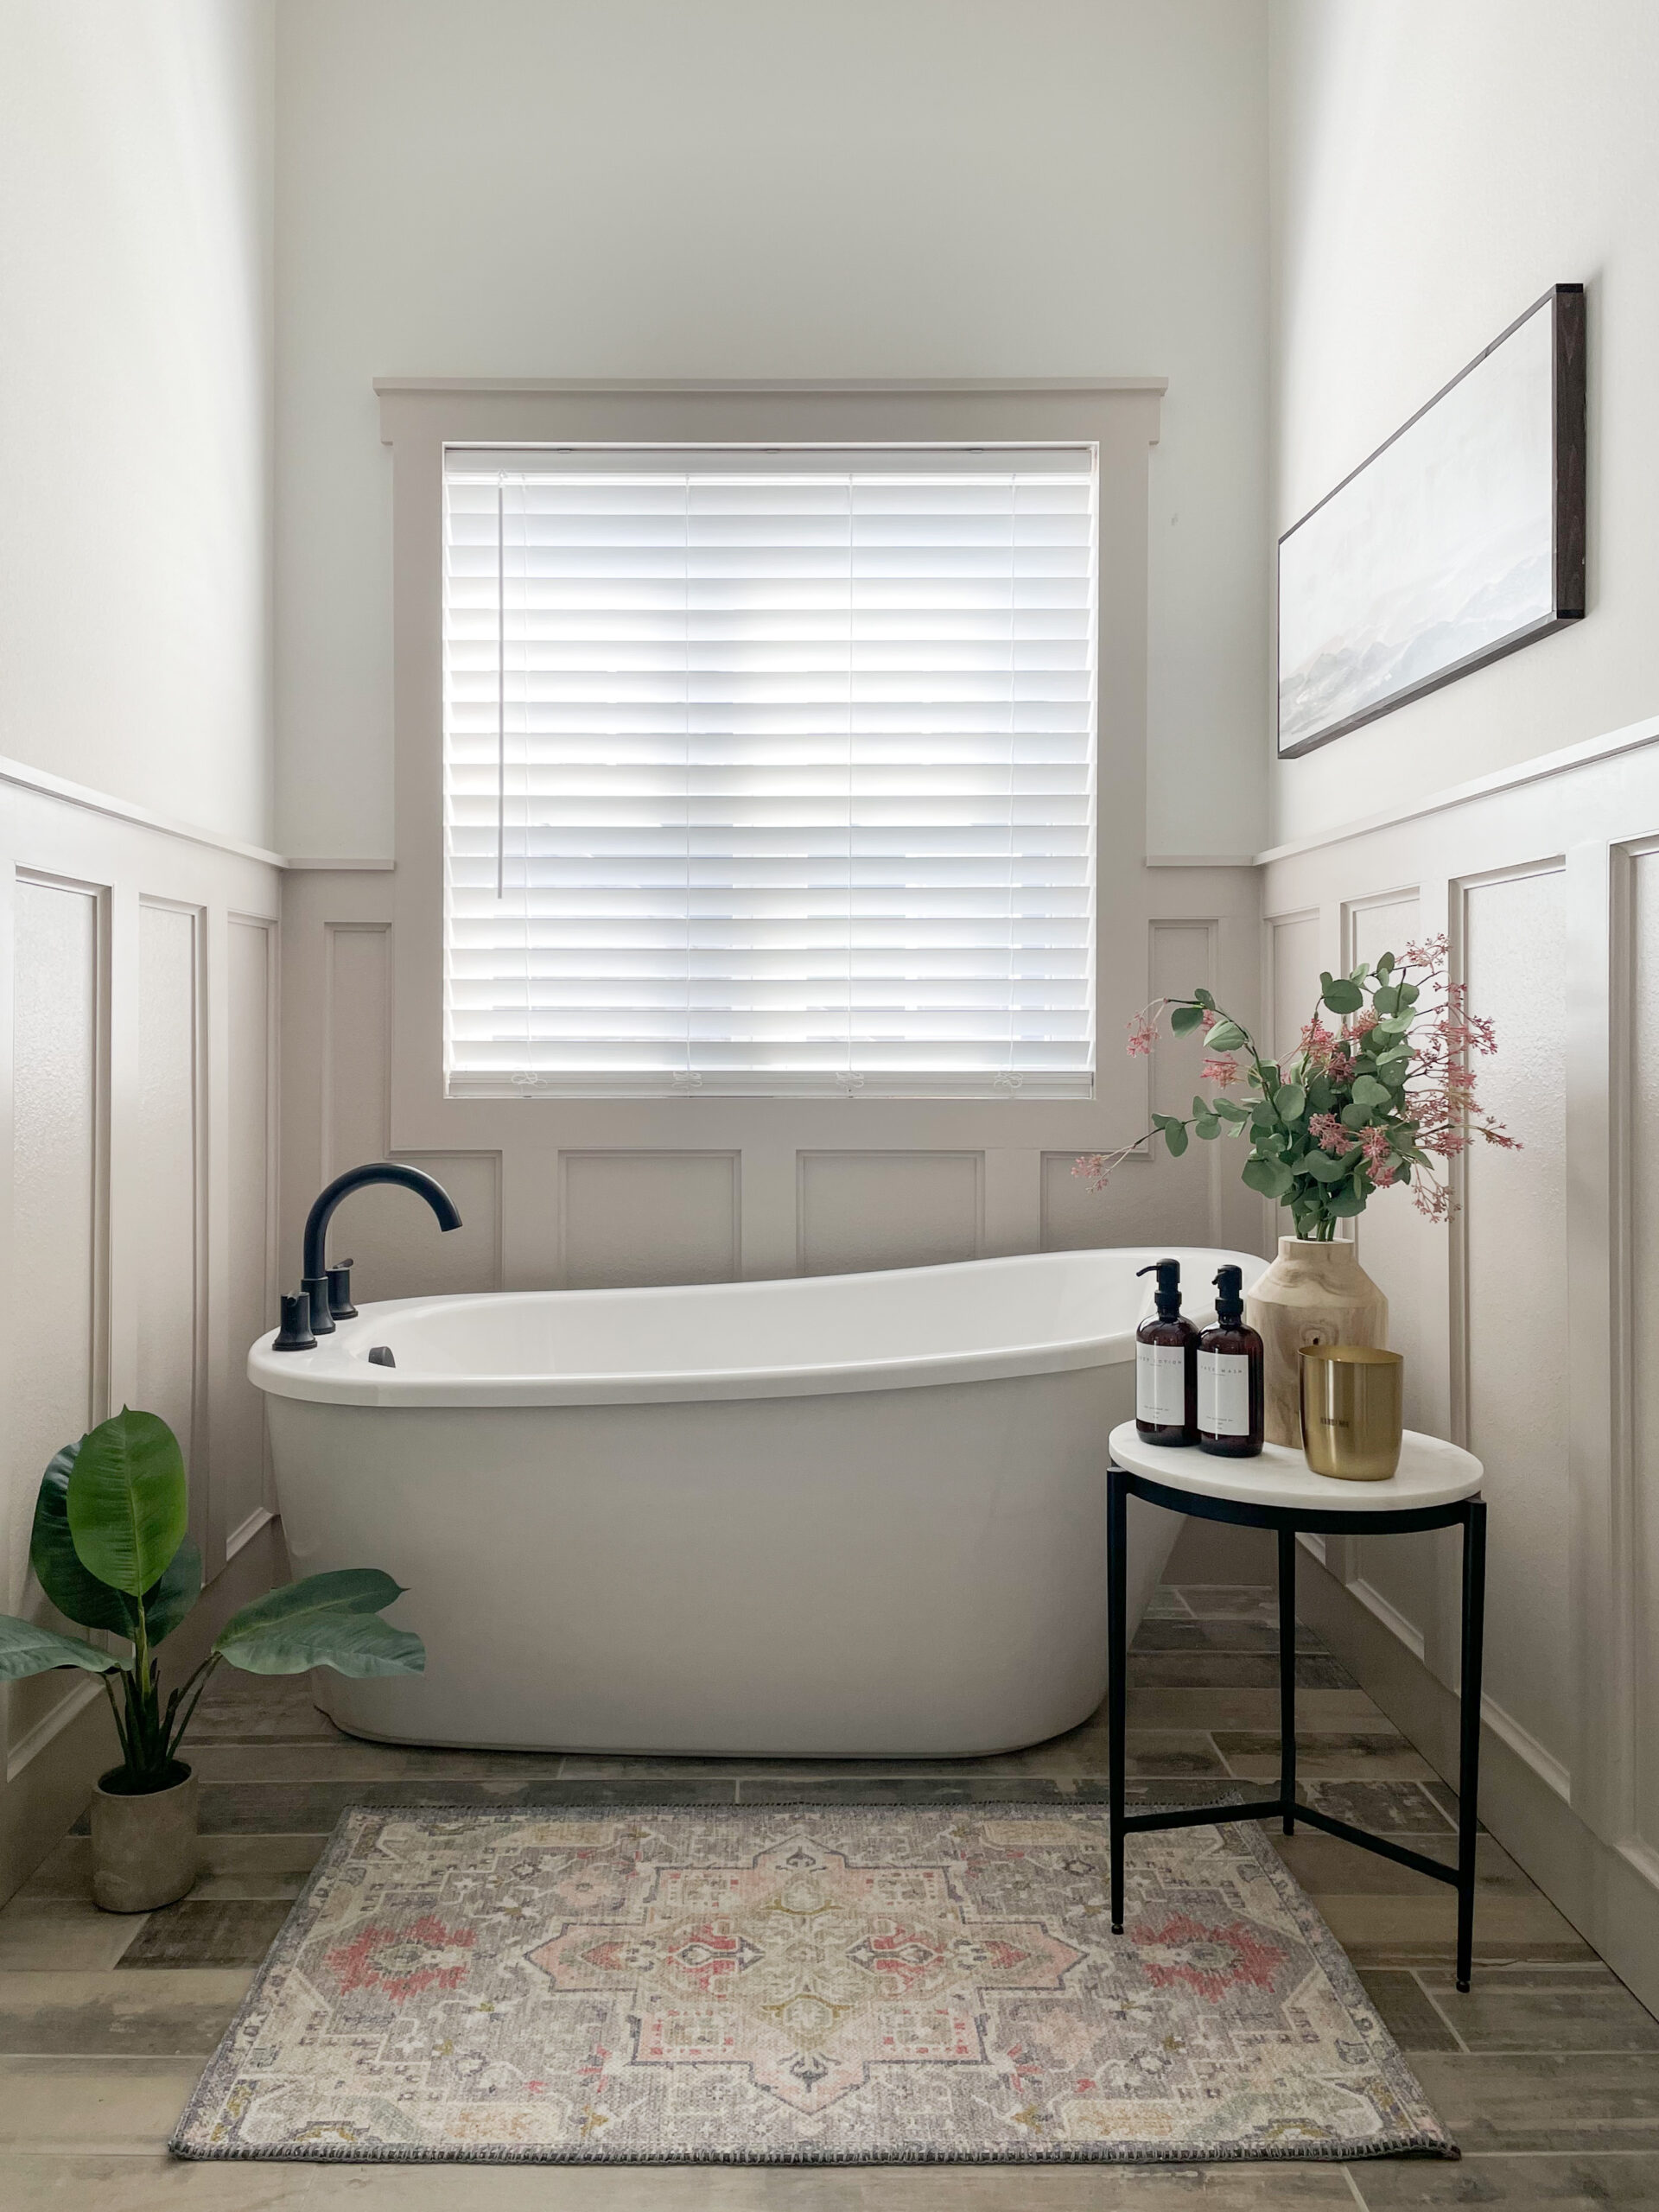
Start by choosing a tile to use in your shower. I chose these Stella Tiles in Blush by MSI. They’re absolutely stunning and I knew they would work well with the rest of the decor and fixtures I had planned for this bathroom.
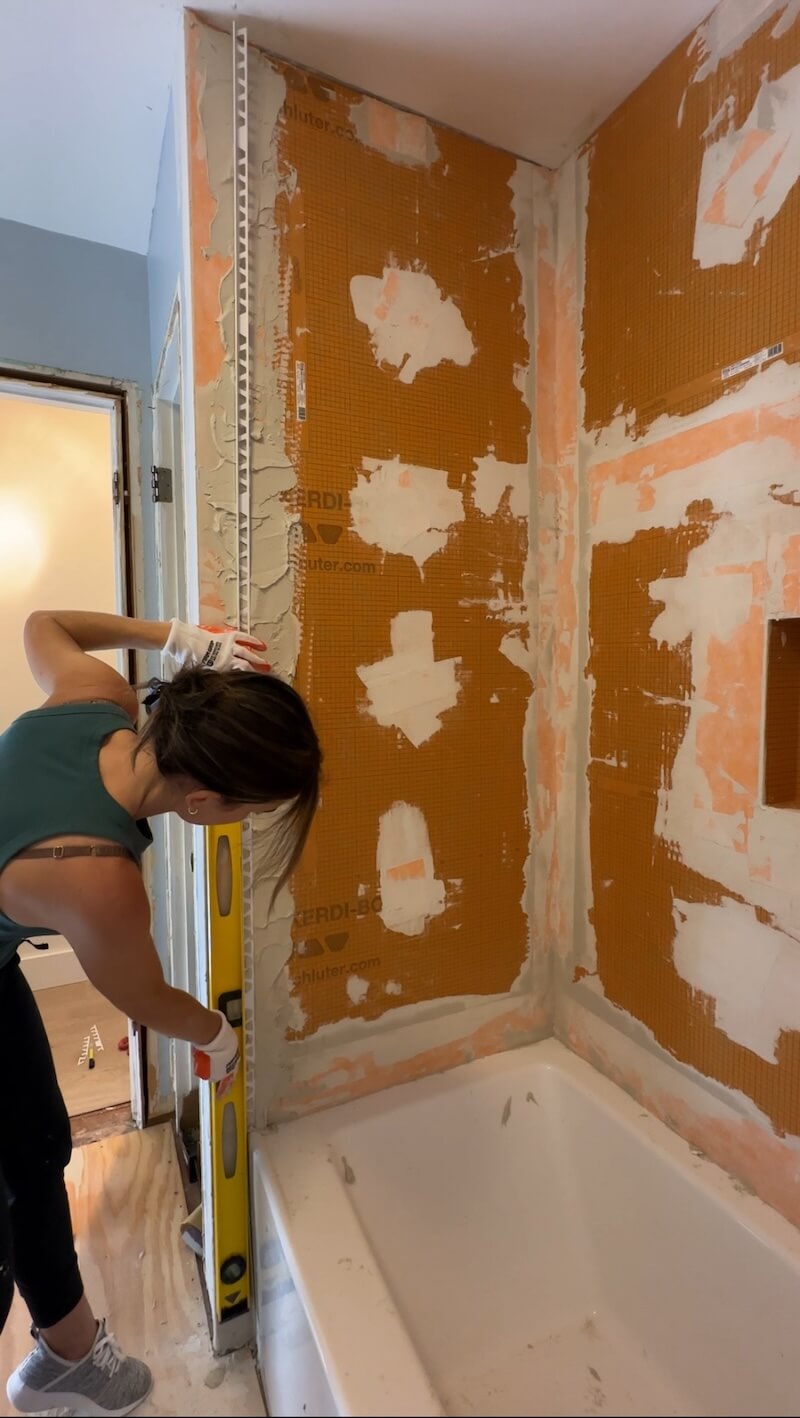
Measure the Shower and Lay Out the Tiles
Before you mix up any thinset, measure how big your shower is, and then make a mock-up of what the tiles will look like on the wall. It’s essential that you see what your tiles will look like on the wall before you start laying them. This will help you avoid having small sliver cuts in your shower.
You’ll also want to check for tile color variations and figure out how many tiles can fit in one column and row. The last thing you want is one tiny little sliver of a tile at the top or on the edge that’ll taunt you every time you take a shower!
To avoid the tiny little slivers of tile, you may need to start each column with half or 2/3rds of a tile. By laying them out beforehand, you’ll be able to make the best decision for your shower and preferences.
After determining the ideal layout and making your cuts with the tile saw, you’re ready to start installing the tile.
Mixing the Thinset
To adhere the tile to the wall, you can use the same unmodified thinset that you used with the Kerdi Bands to fill in the screw holes. The only difference is that when you mix it for the tile, you’ll want to make it a little thicker. The thinset should feel like the consistency of frosting.

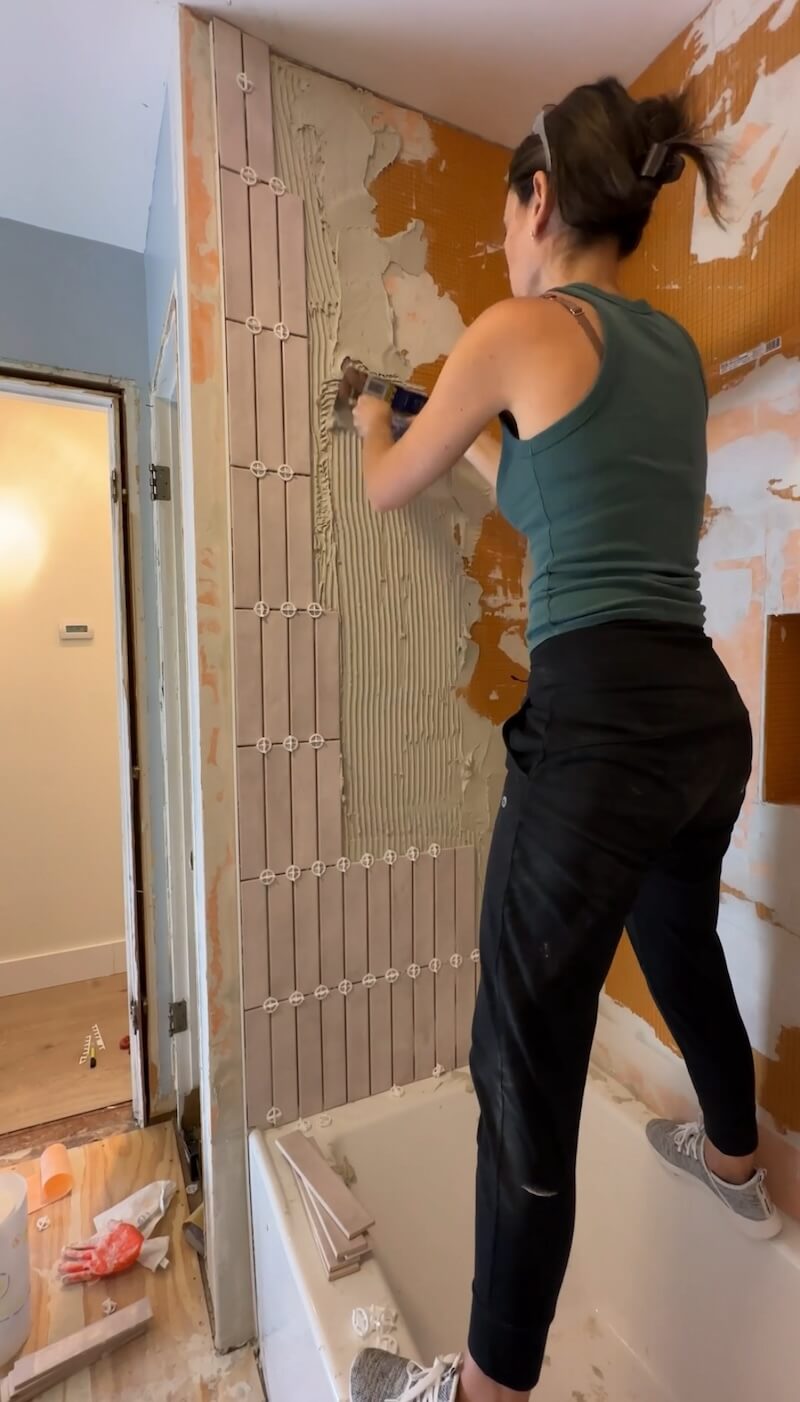
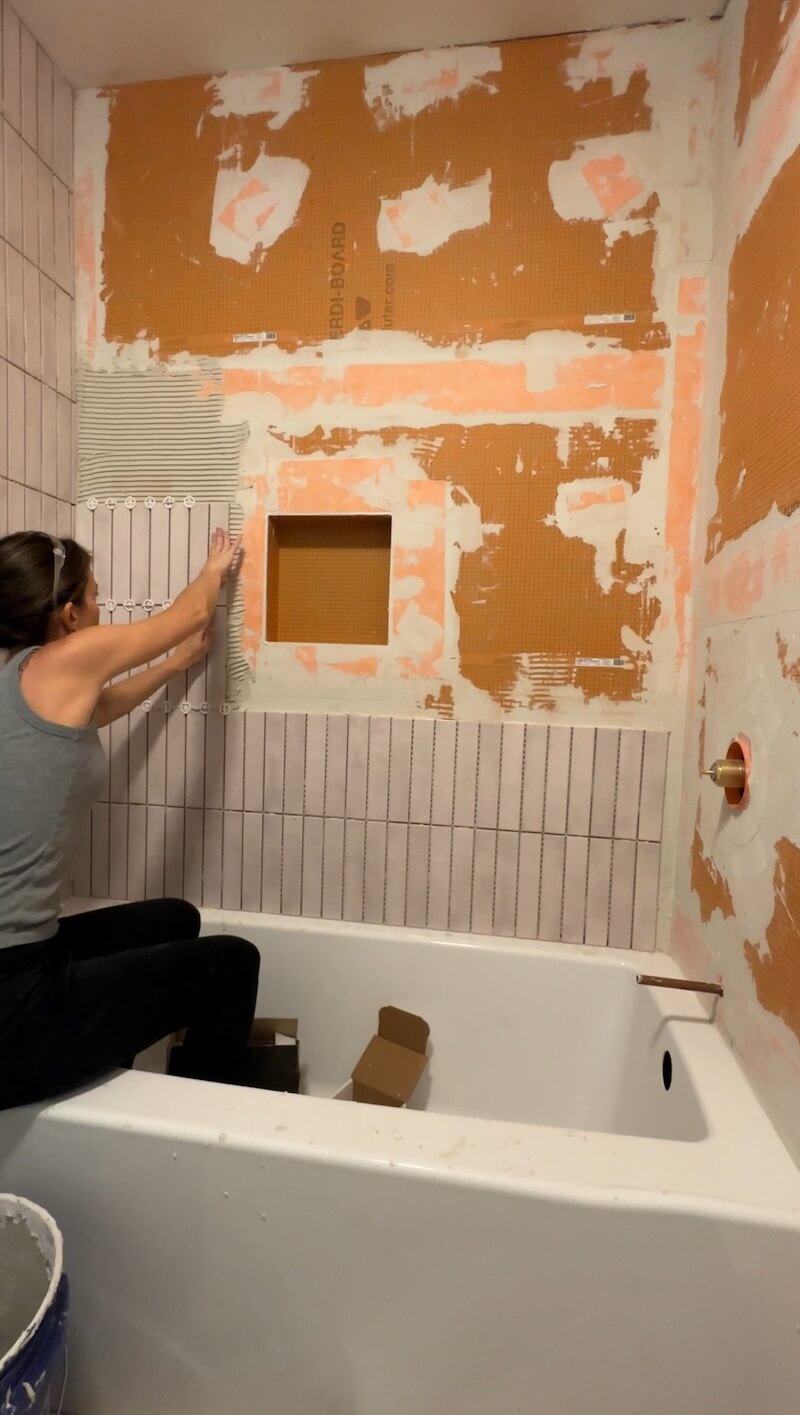
Applying the Thinset
Apply the thinset by using your quarter-inch trowel to smooth and notch the thinset. Then, add the tiles and push in the spacers. For this tile, I chose to use 1/8″ spacers. The wider your spacers, the thicker your grout lines.
Additionally, I also used this Schluter Edge Piece on the end to create a nice, smooth edge.
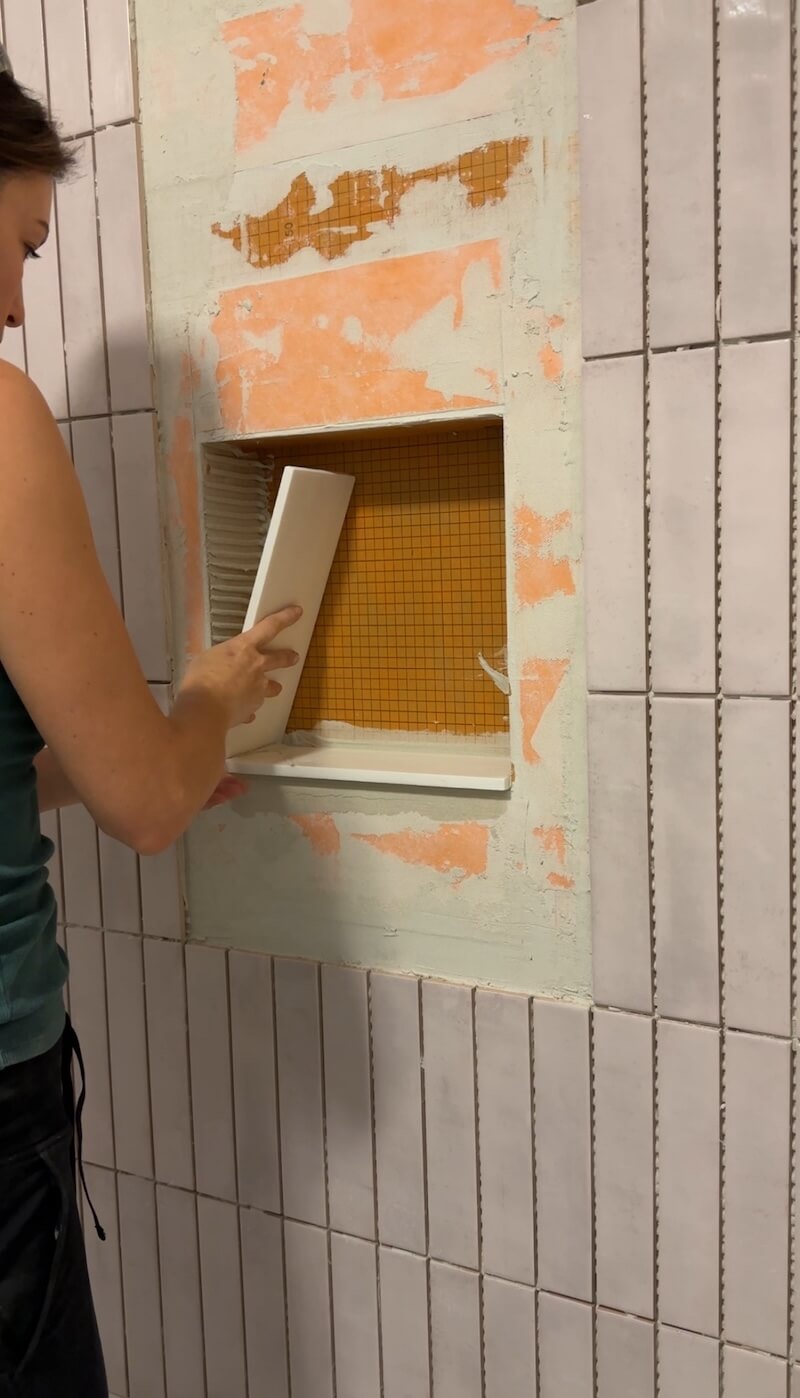
Accenting the Shower Niche
When I got to the shower niche, I knew I wanted to keep the tiles clean and consistent, but I wanted there to be a nice, clean ledge. I chose to use these marble tiles from Lowes to create the top/bottom and sides of the niche and I love how it turned out!
About 30 minutes after installing your tiles, you’ll want to remove your spacers and wipe the tiles using a damp sponge to remove any thinset that may have squished out. Once the thinset has completely dried it is time to grout!
Grouting the Tile
After 30 minutes of the tile being laid, you can remove the spacers, but let your thinset dry for about 24 hours before applying the grout.
When applying the grout, you’ll want to use your grout float to really push the grout in all of the little spaces. Make sure to always go at a diagonal, so that you won’t accidentally dig into your grout lines. For my shower, I used unsanded grout in the color avalanche.
After applying the grout, start cleaning the tile with several rounds of water using a large sponge. You don’t want to let that grout dry on the tiles because it becomes much more difficult to remove. Within 30 minutes of applying grout, use your large sponge to rinse off all the grout that’s on the tiles–and keep in mind it might take a few passes to get everything off.
Last up, add a bead of silicone between the tile and the top of the shower, and you’re finally done!
Products Needed to Tile a Shower
If you’re going to tile your own shower, then you’ll definitely need a few tools and products to ensure quality results.
Here’s what I’d recommend for anyone about to tile their shower:
- Cleaning Sponge
- Drill
- Grout Float
- Marble Pieces for Shower Niche
- Quarter-Inch Trowel
- Razor Blade
- Schluter Edge Piece
- Schluter Kerdi Board System (boards, quick fix, fasteners, screws)
- Schluter Shower Niche Kit
- Stella Tiles in Blush
- Tile Saw
- Unmodified Thinset
- Unsanded Grout Color Avalanche
Once you’ve gathered all your supplies, you can start tiling your soon-to-be favorite shower!
Tiling a Shower
By learning how to tile a shower, you can save yourself a lot of money while still having the bathroom renovation you’ve been wanting. If you’re ready to renovate your entire bathroom, don’t miss my DIY Bathroom Renovation with all the details!

Completing DIY projects is a great way to start making your house feel more like a home while still sticking to an affordable budget. And it’s amazing to see your vision come to life!
If you’re ready to start your DIY journey, check out all my favorite DIY-friendly tools. And be sure to follow me on Instagram for even more DIY tips, tricks, and inspiration!