Jump to Supply List
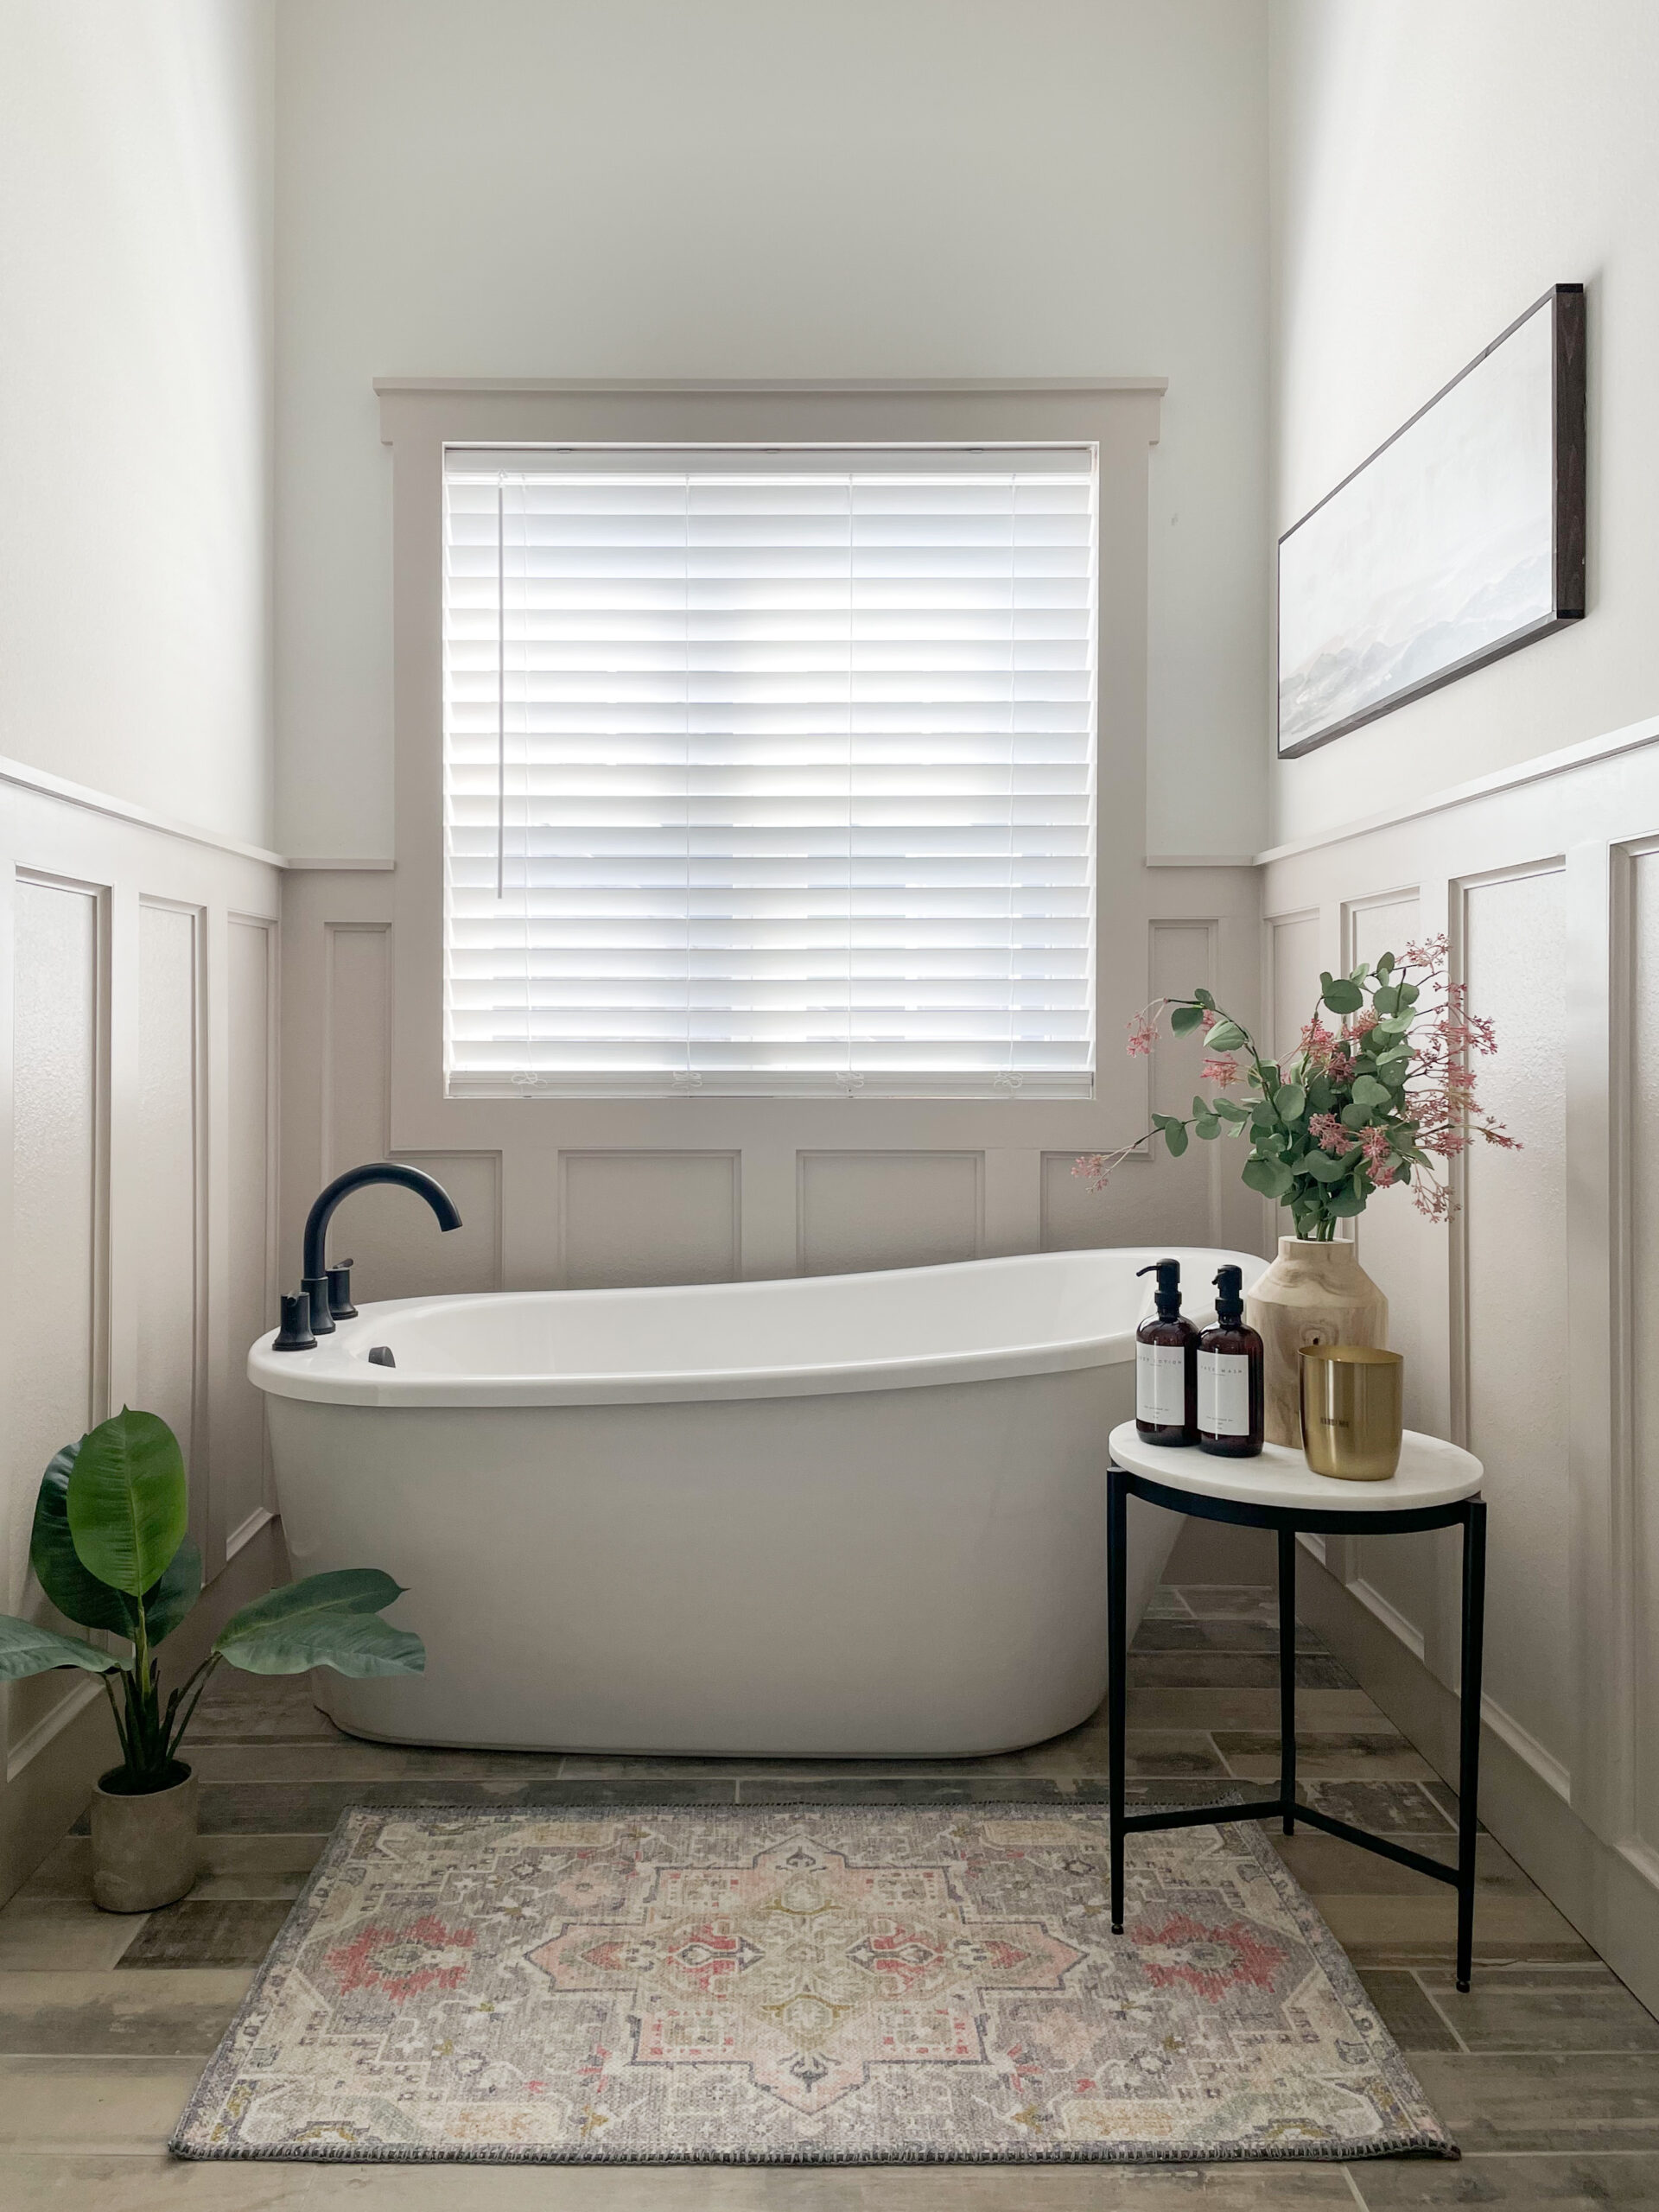
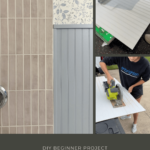
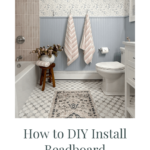
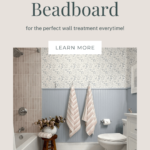
Beadboard is a DIY-friendly wall treatment that looks amazing and can be completed in just one weekend. It’s great for beginners and completely transforms the look of your space. It was the perfect wall treatment to add color and dimension to our light and bright Lake House Bathroom Renovation, and I’m here to walk you through how to install beadboard so you can tackle this project like a pro!

What is Beadboard?
Before we jump into the how-to process of this DIY, let’s go over some quick information on beadboard, so you can purchase the best materials and get the best results!
Beadboard is a type of decorative wood paneling with vertical rows of “beads” running along the panel. It’s a versatile wall treatment that adds a lot of character and dimension to a room.
Beadboard has been a staple in home design for decades. If you’ve been wanting to try a beginner-friendly DIY project, beadboard paneling is a great place to start!
Where to Buy Beadboard
Beadboard is widely available and can be found at most hardware stores. There are several different types of beadboard on the market and the price range is quite wide, so be sure to decide ahead of time what type of beadboard you want to purchase before you head out to Home Depot.
In addition to the vertical panels, beadboard has two other main components that create the finished look: top trim (chair rails) and baseboards. You can buy beadboard kits with the trim and baseboards included, but the most affordable option is to buy each item separately.
Beadboard Material
Beadboard is usually made out of plywood or MDF. I highly recommend buying primed MDF beadboard because it is less costly and easier to paint. (For more information on the different types of project wood, check out my comprehensive post on How to Choose the Best Project Wood for Your DIY).
Primed MDF beadboard is usually white, but you can get beadboard in different colors as well. I prefer to purchase white boards and paint mine the color I want after it’s installed. This gives me more control over my color choices. It’s also usually more budget-friendly to paint it yourself, but feel free to purchase whatever works best for you and your project.
How to Install Beadboard
Now that you know what beadboard is and where to find it, let’s get into the process of how to install beadboard. It’s a simple 5-step process of prepping the walls, measuring your space, cutting the boards, attaching the beadboard, and painting! (No sweat, right?)
1. Prepare the Walls
Start your prep work by removing all outlet covers. Next, decide if you need/want to remove the baseboards.
Most of the time, you will not NEED to remove them. If you will be replacing your baseboards anyway (as I did in my lake house bathroom remodel), take them off during this step. You may also choose not to remove your baseboards, and you’ll lose some of the depth on your trim. If you prefer to have the full depth, you’ll want to remove your baseboards and re-install them OVER the beadboard.
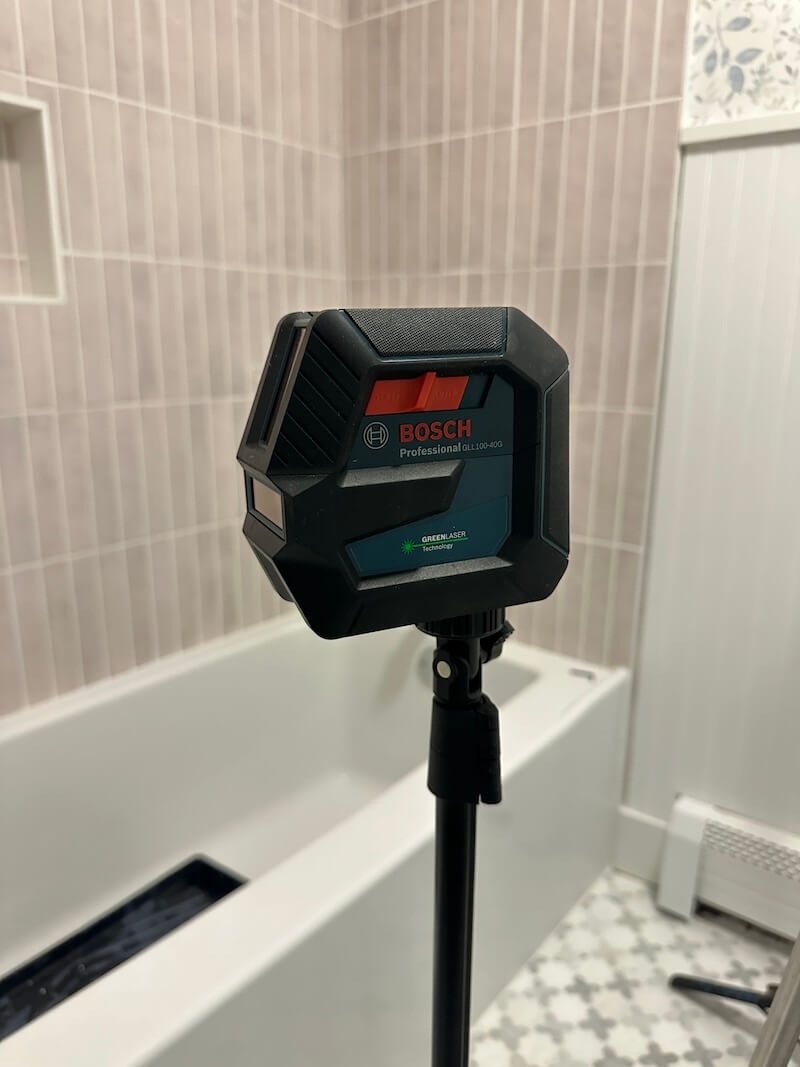
2. Measure
Once you have everything removed from the walls, you’re ready to measure the space for your beadboard panels.
Grab your Stud Buddy and mark where the studs are near the top, middle, and bottom of the walls. We’ll use these markings later to nail the beadboard securely to the studs in the wall.
Finally, use your measuring tape from your standard set of hand tools to measure the height and width of each wall. Based on these measurements, determine the number of beadboard panels you’ll need for each wall (and if you need to cut any of them to make them fit). Measure carefully. You want these beadboards to fit tightly together without any gaps!
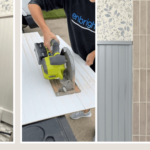
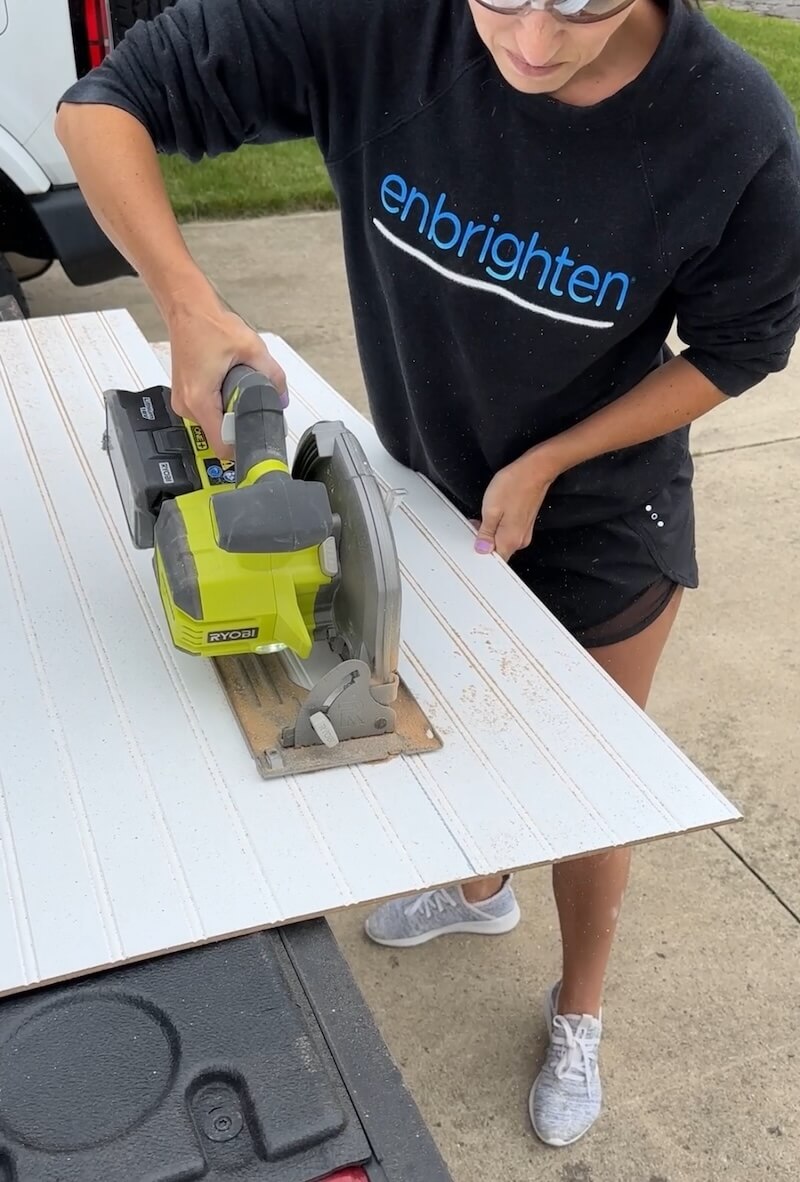
3. Cut the Beadboard
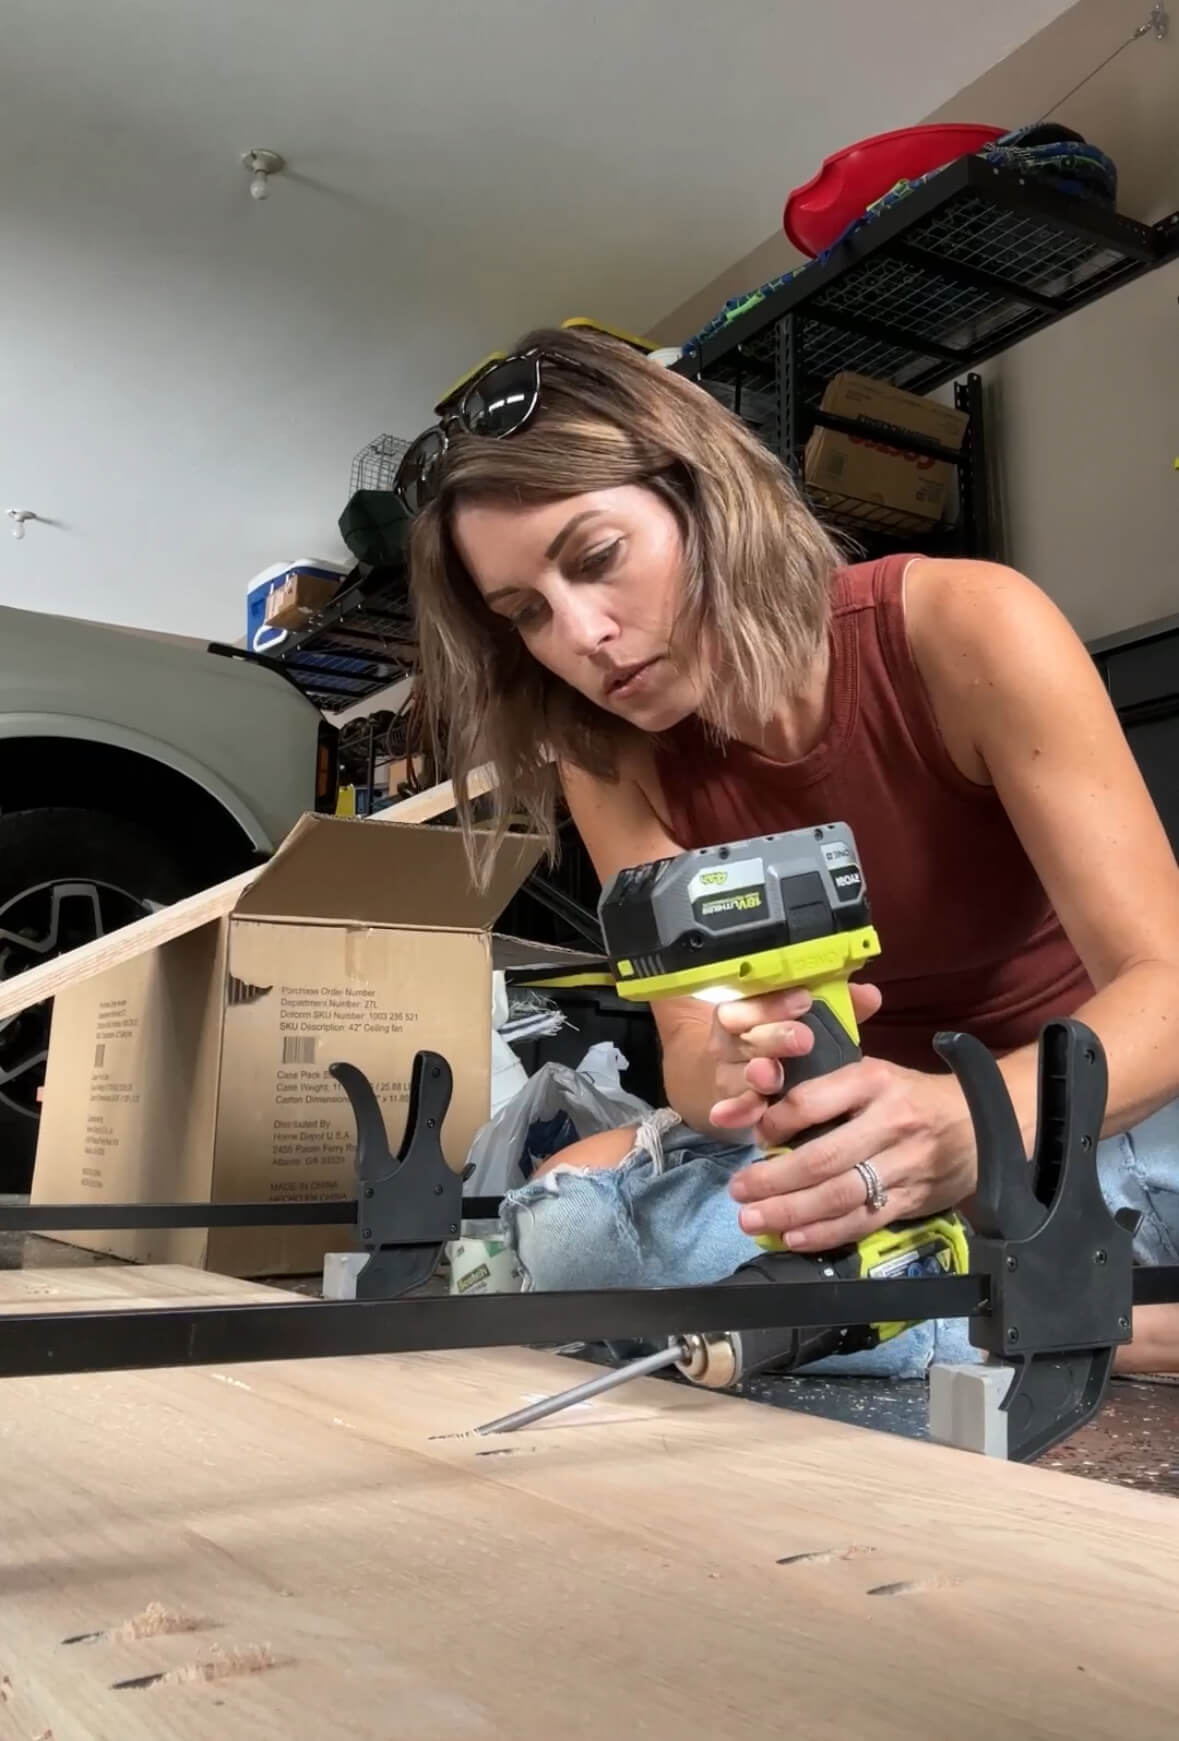
With your beadboard panel in hand, take it out to your circular saw to cut it to your desired height. Be sure to pay special attention to where you’re cutting on the board. You want the panels to line up seamlessly without two grooves side by side.
How to Cut Outlet Holes in Beadboard
If you’re unsure how to cut holes for the outlet covers, here’s a handy trick!
Flip the outlet cover over, and apply a small amount of toothpaste to the outer corners. Screw the cover back on flipped backward, then push your board gently against the outlet cover, leaving toothpaste marks on your beadboard. Set an extra junction box in the middle of the toothpaste marks, and draw around it. Use that as a guide to cut a hole with your drill and a jigsaw. By drilling holes in the corners first, you give the jigsaw a place to start cutting.
Voilà! You now have the perfect placements for your outlet holes in your beadboard panels!
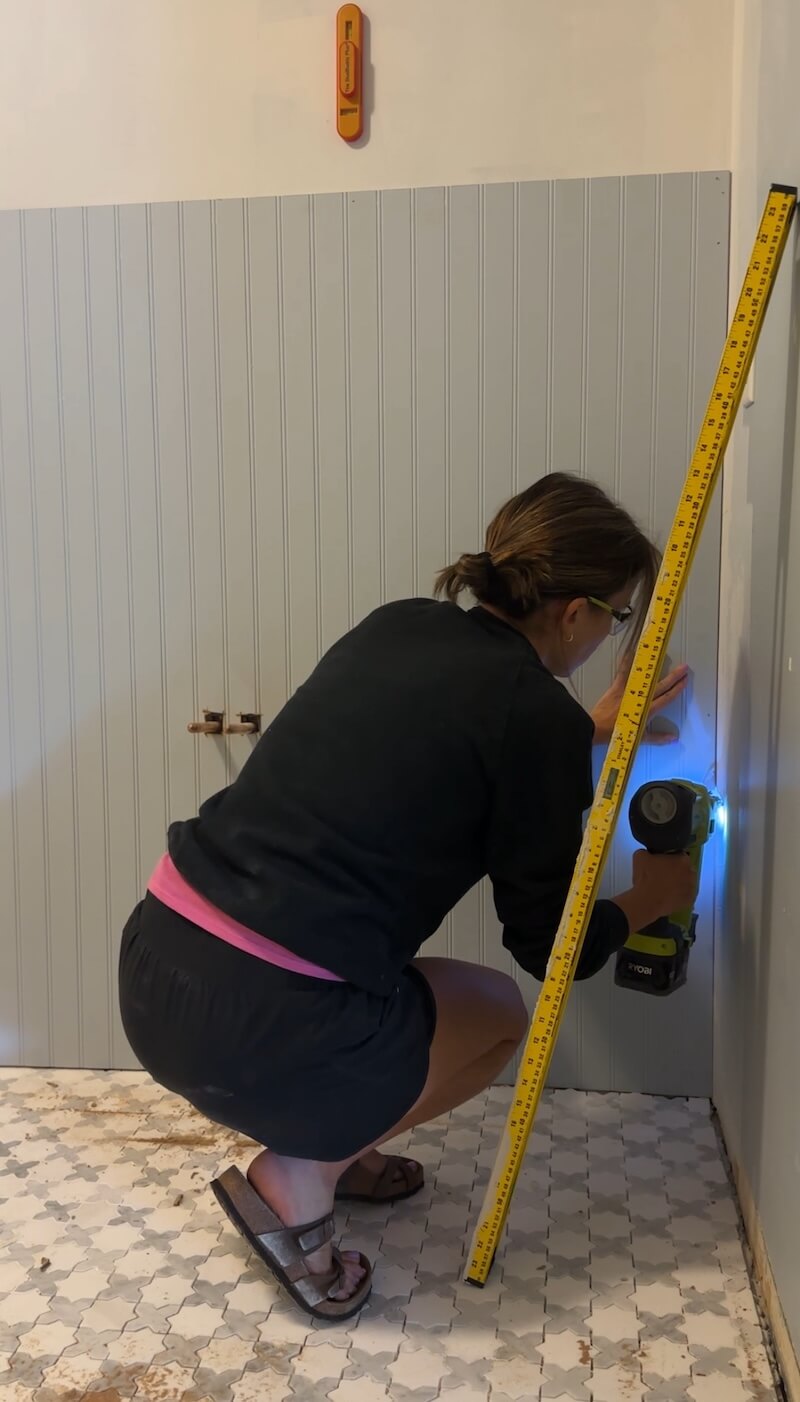
4. Attach the Beadboard
After marking the studs, measuring the beadboard, and cutting it to size, you’re ready to attach it to the wall! Using 1 1/2-inch 18g brad nails and a Ryobi Nail gun, start nailing the beadboard into the studs that you previously marked on the wall. Try to get the nails into the grooves because they’ll be more hidden that way.
5. Filling in Nail Holes and Sealing Gaps
Once the beadboard, baseboards, and trim are all nailed to the wall, you’re ready to start filling in the nail holes. I like to use this nail hole filler. Make sure you push it deep into the holes, so it doesn’t shrink when it dries! Then fill in any other gaps with paintable caulk.
Quick caulk tip: when you cut open your caulk, cut it at a 45-degree angle, so it will come out evenly. Do NOT use the cutter on your caulk gun, as it tends to cut a larger hole than you need. Instead, use scissors or wire cutters. I prefer using wire cutters because I feel like they give me more control when cutting.
After filling in the gaps, install outlet extenders (so your outlets are flush with the newly installed beadboard) and replace the outlet covers. You want to make sure your outlets are flush with the wall otherwise it’s a huge fire hazard.
Once you’ve finished filling in the gaps and installing your outlet extenders, you’re ready to paint the beadboard!
Painting Beadboard
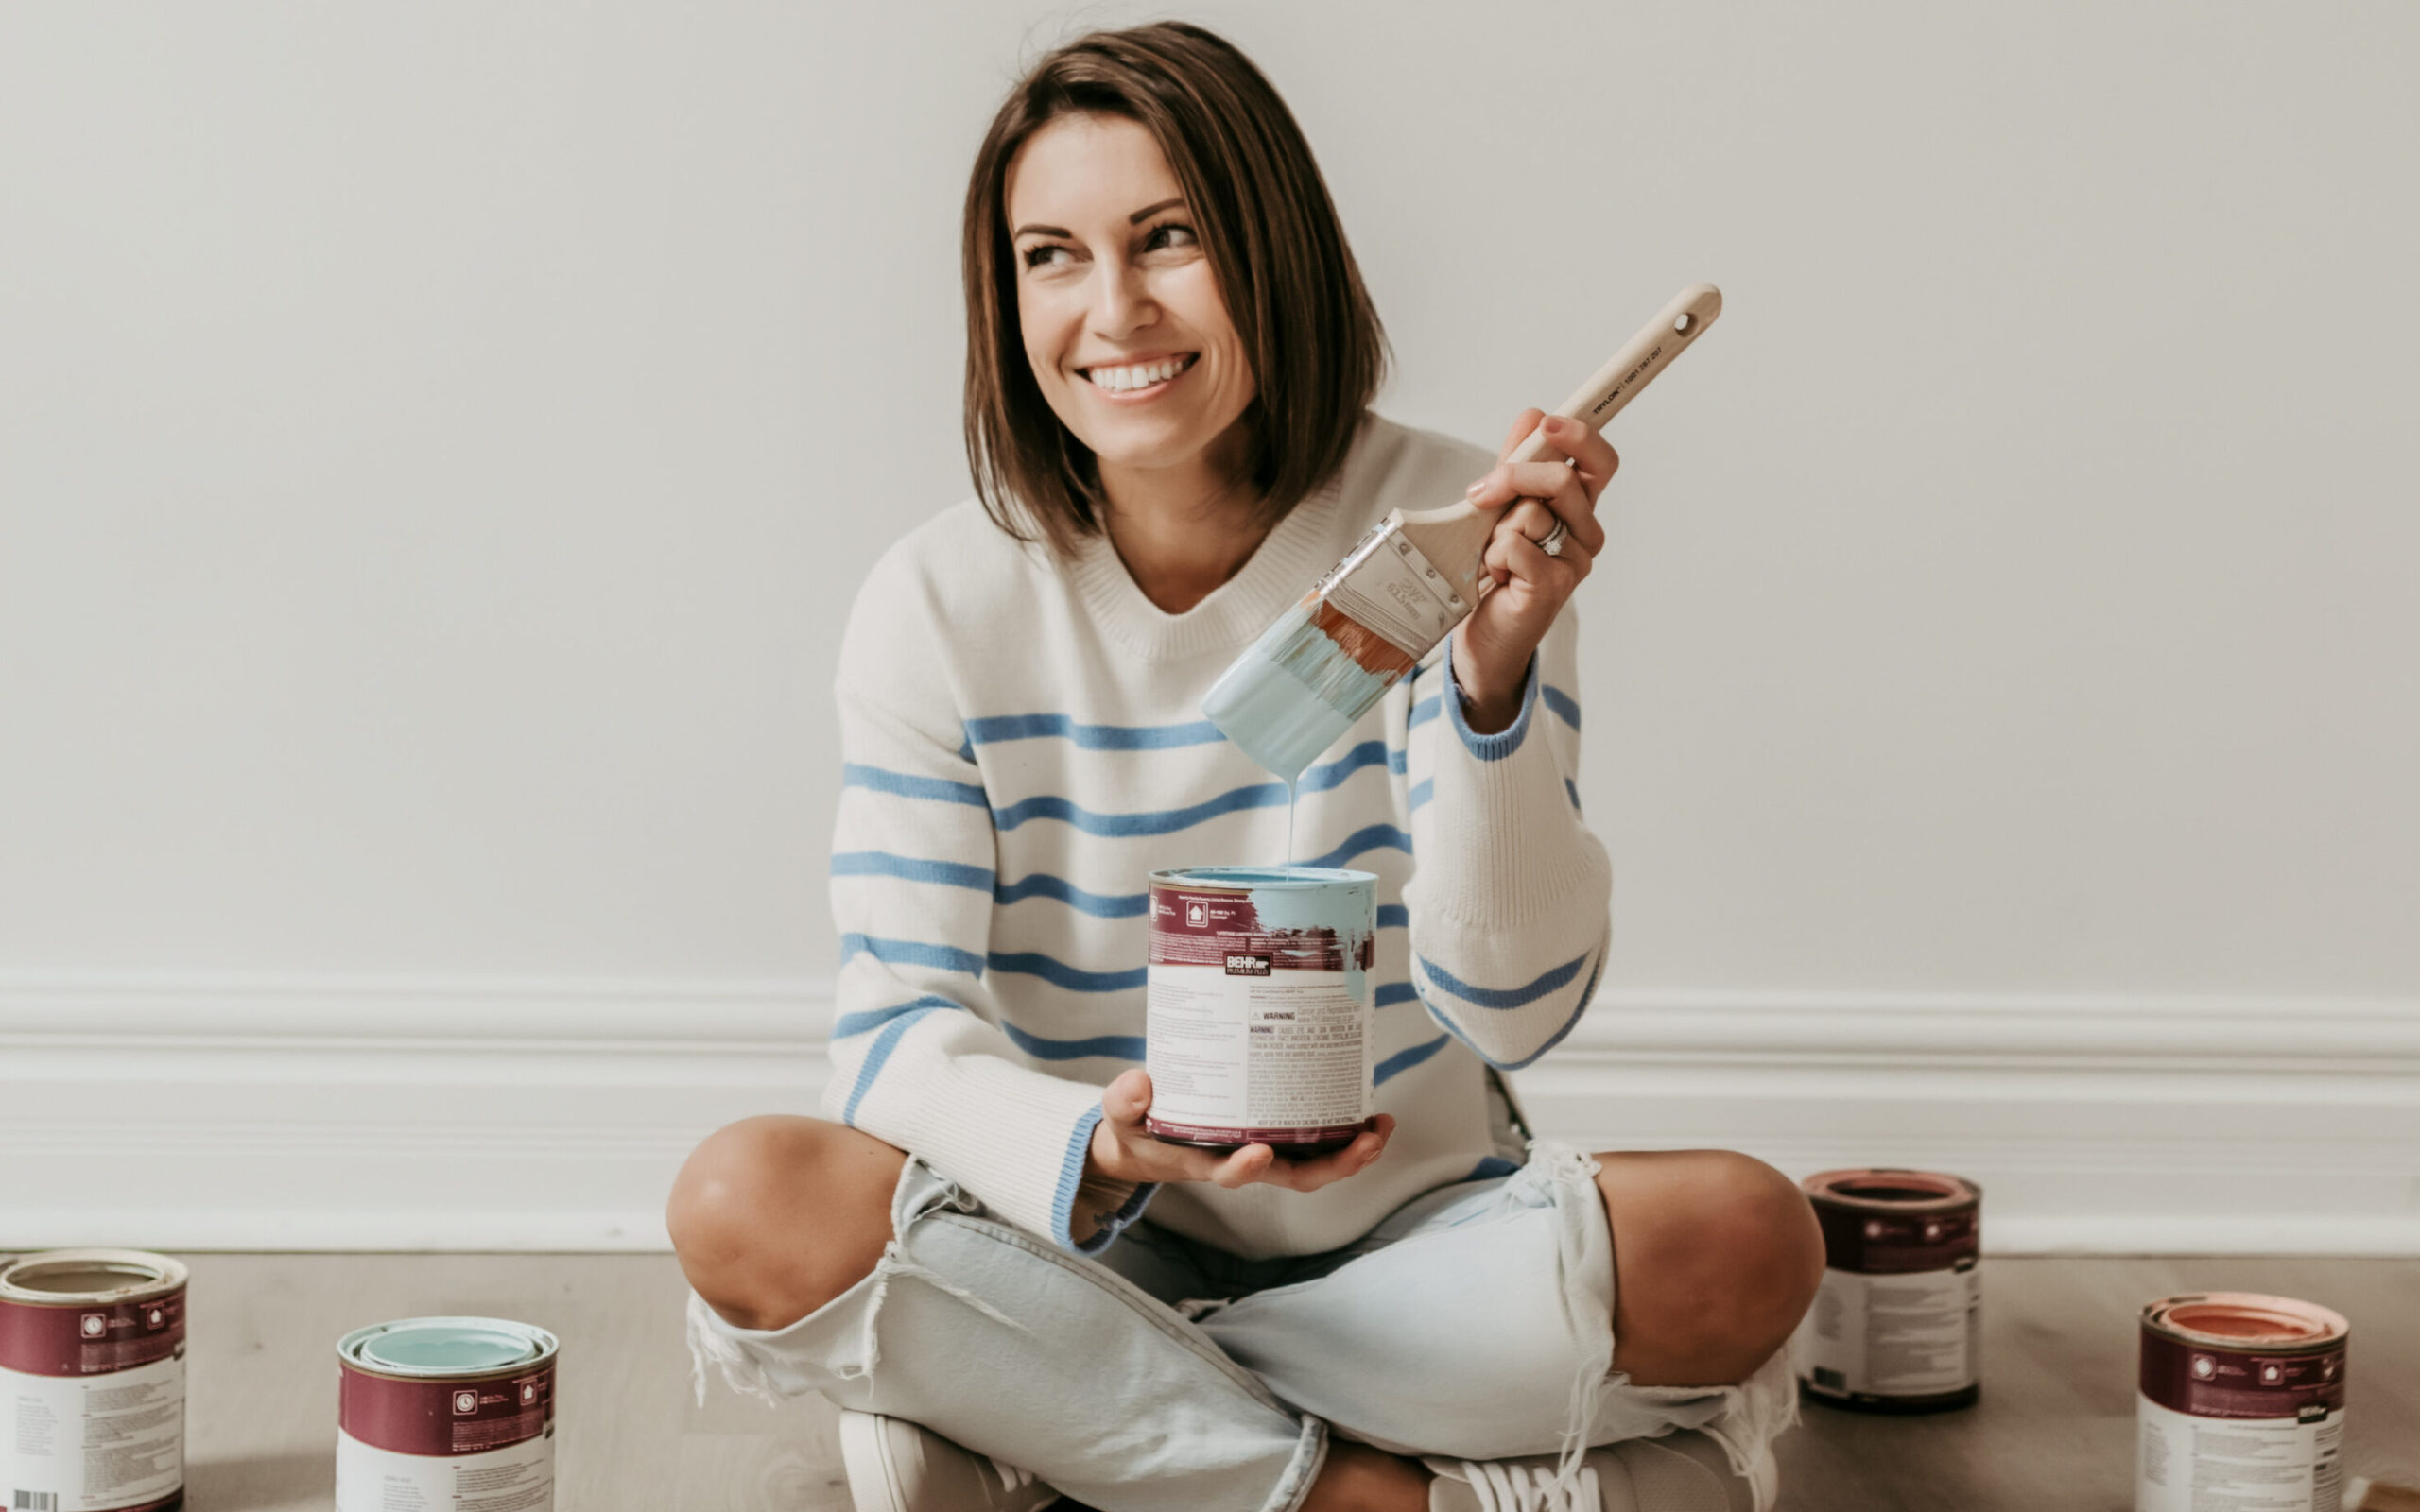
The last step in finishing your beadboard DIY is painting the beadboard. Painting beadboard is a great way to customize it to your space. If you were able to snag primed MDF, then you can use any sort of interior paint on your beadboard panels.
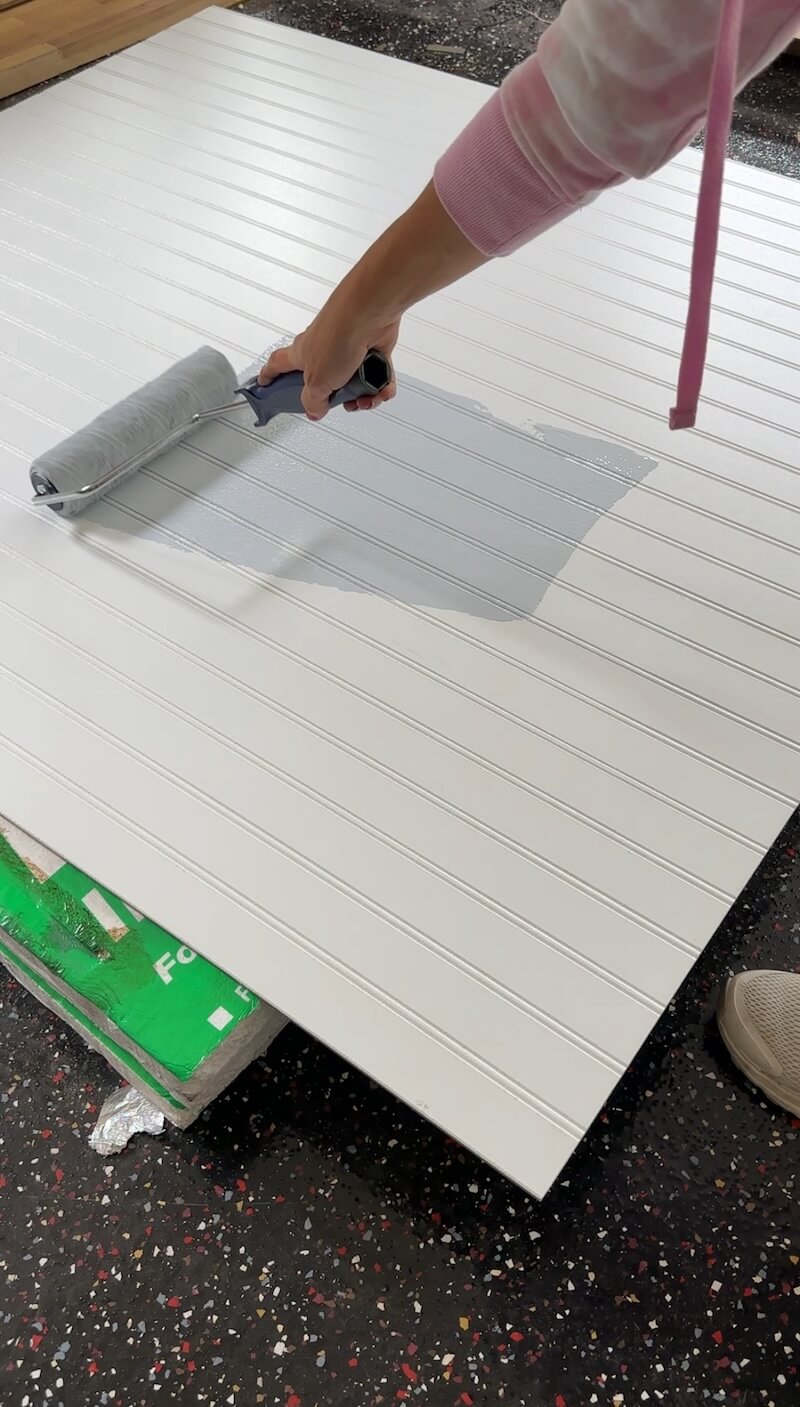
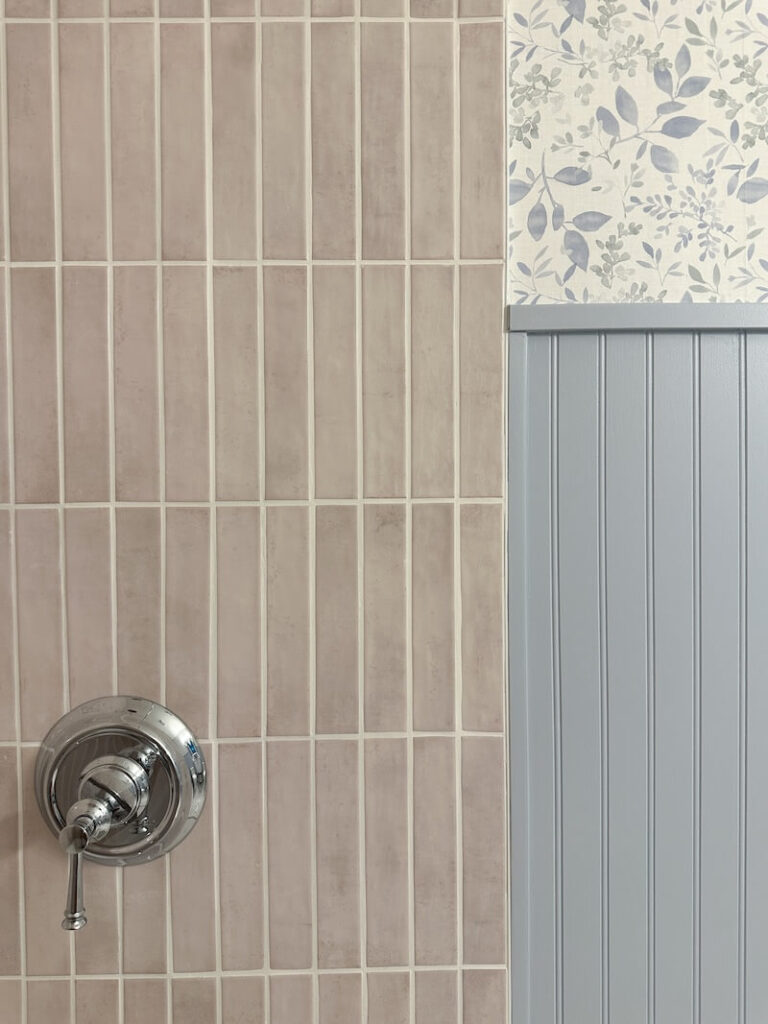
In my bathroom, I used Sherwin Williams’ color of the year, Upward, to paint my beadboard. It’s a gorgeous light denim blue with gray undertones. I absolutely loved the way it turned out.
To paint the beadboard, I recommend using a foam roller frame and foam cover. These are great for a nice, smooth application on wood paneling, cabinets, and doors. And if you’re a messier painter, definitely put down a drop cloth. You don’t want to get paint on your floors!
After painting the beadboard and trim, you can decide what you’re going to do with the top half of the wall. You can leave yours as-is, paint it a different color, or use wallpaper for extra color and dimension. The options are endless! In my lake house bathroom, I went with this gorgeous Botanical Prepasted Wallpaper.
Products Needed to Install Beadboard
Ready to jump right into this project? Here’s everything you need to install beadboard:
- 2-Inch Nails
- Baseboards (if you don’t plan on reusing yours)
- Chair Rail
- Circular Saw
- Drill
- Drop Cloth
- Foam roller frame
- Foam roller
- Jigsaw
- Level or Laser Level
- MDF Primed Beadboard
- Nail Hole Filler
- Outlet Extenders
- Paint (optional)
- Paintable Caulk
- Ryobi Nail Gun
- Set of Hand Tools
- Stud Buddy
- Wallpaper (optional)
Once you’ve assembled your supplies, you’re ready to begin this easy DIY!

Installing Beadboard
Do you feel ready to tackle your own beadboard installation? It’s truly a great beginner DIY, so don’t be afraid to go for it! If you get stuck during the process, make sure to come back to this blog post to review my step-by-step instructions detailed above.
And if you never want to miss my latest DIY project, make sure to sign up for my email newsletter!
If you decide to install beadboard walls in your home, be sure to tag me on Instagram with the final look! I love to see other people thriving with their DIY projects! And while you’re there, make sure to hit that follow button. That way you’ll always catch my latest tips and tricks for elevating your home with the best DIY projects, decor, and more.