Jump to Supply List
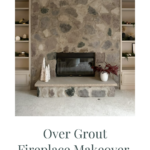
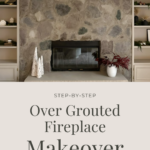
Do you have an outdated fireplace that’s more of an eyesore than a beautiful focal point? Then you need a fireplace makeover! My old fireplace was covered in large, bold-colored stones that were in desperate need of an update, so I decided to give it a fresh look.
I appreciated the stonework of the original fireplace and didn’t want to tear it out, but I wanted to give it a more muted look that fit with my overall vision for the house. It was also not in the budget to completely tear out and replace a massive stone fireplace! So, read on and I’ll show you what I did and what materials I used for my over grouted stone fireplace.
Stone Fireplace Makeover
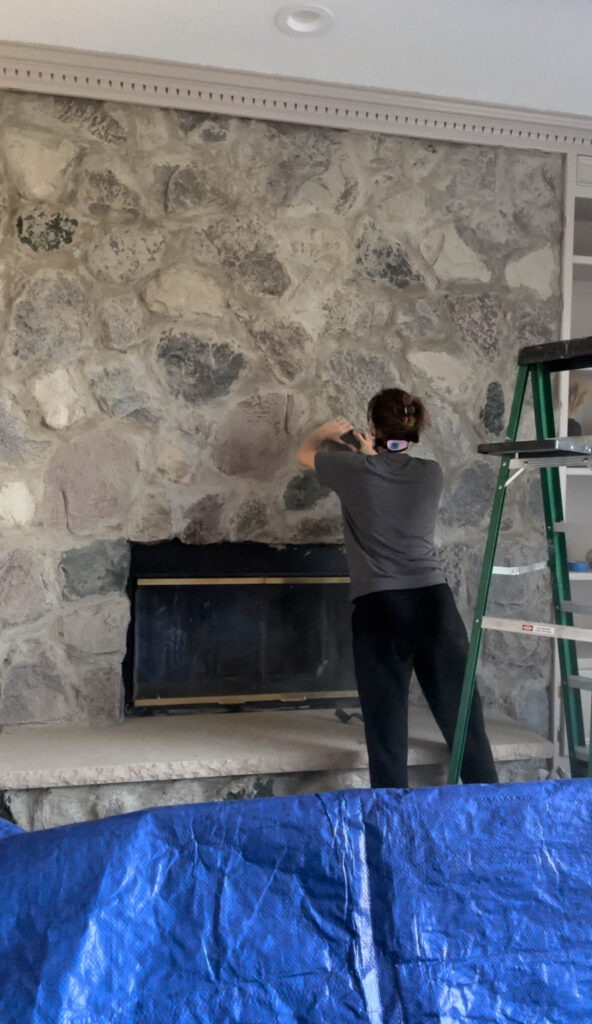
While the stone fireplace in our family room was in pretty good shape, the large river rocks were grouted in a way that left massive (I’m talking hand-sized) gaps between stones. This made it look very dated and the style seemed more fit for a log cabin than the modern traditional home we have.
I knew I wanted more of a modern, neutral vibe for the fireplace and the overall living space. I found this amazing fireplace over grout tutorial from @chrislovesjulia and decided to give it a try. While my initial plan was based on their tutorial, I ended up choosing a different type of grout for my project that had a more neutral, natural stone appearance.
This project was filled with big ups and downs, and I learned so much! I had moments of excitement, frustration, determination, and more. It was a roller coaster of emotions but the finished project was everything I hoped it would be!
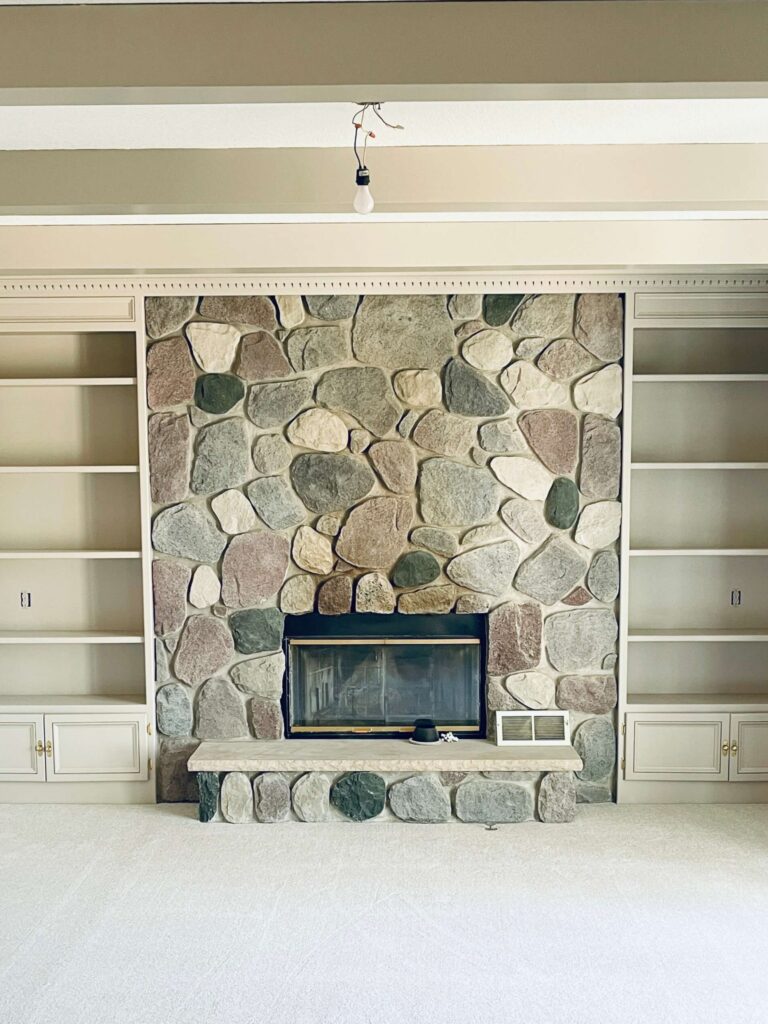
How to Overgrout a Stone Fireplace
If you’re ready to take on your own fireplace makeover, let me share all the things I learned with you. Here’s how I completed my over grouted stone fireplace for a MAJOR makeover.
A word of caution, this project is not for the faint of heart, but it is SO worth it in the end!
1. Purchase the Mortar
Visit your local home improvement store and grab some mortar in the concrete section. Now, I learned the hard way that you need to grab the RIGHT kind of mortar for your specific project.
In the Chris Loves Julia tutorial they use the mortar that one would use on interior tile (which comes in a bright white or grey). I used the type of mortar that you would use for exterior stone (this was actually a mistake, but to create the look I have, you need this Quikrete 60-pound mortar mix). If you want a bright white look, you can use this MAPEI Large-Format Floor & Wall Tile Mortar instead.
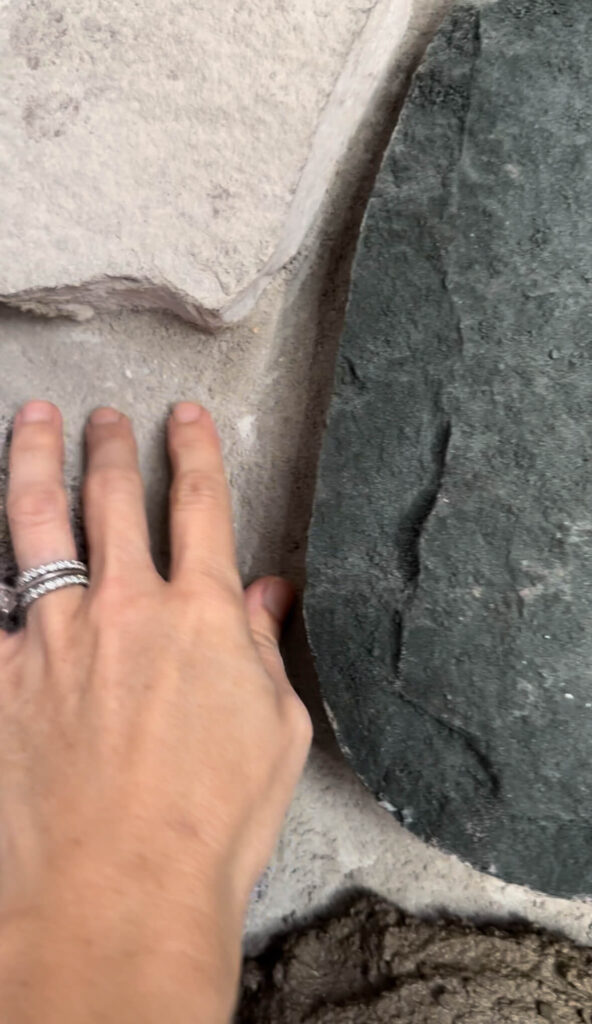
As a reference for quantity, I ended up using about 4 bags of mortar for my large fireplace. The reason I needed so much extra mortar was because the gaps I was filling were so deep. I could fit my whole hand in the gap and I needed to fill that entire space!
2. Mix the Mortar
Once you have the correct mortar purchased, you’re ready to begin your project! First up, you need to correctly mix the mortar. To mix the mortar you’ll need the following five things:
- 5-gallon bucket
- Drill with a grout-mixing paddle
- Mortar
- Water
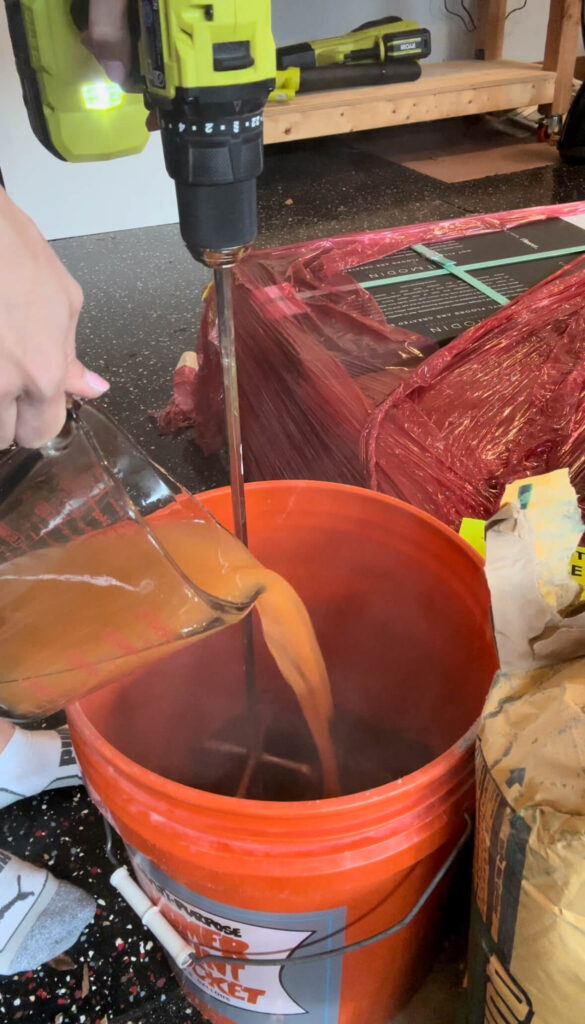
To mix the mortar, pour the mortar into the bucket and slowly add water while stirring the mixture with the drill attachment. It’s SUPER important to get the right consistency! If your mortar is too thin it can be difficult to fill in between your stones and add hours to your project (trust me, I know from experience). The consistency you want to shoot for is semi-thick, like the thickness of mashed potatoes.
3. Dye the Mortar (Optional)
If you want to change the color of the mortar, you can purchase concrete dye that you add to the mortar while mixing it. I purchased stone-colored mortar, so dyeing wasn’t necessary for me, but just know that this is an option if you are looking for a different final color for your mortar.
4. Over Grout the Fireplace
When your mortar is ready to go, you can start applying it to the fireplace. I unintentionally ended up using two different overgrouting methods and I think both are worth mentioning.
Applying Mortar with a Piping Bag
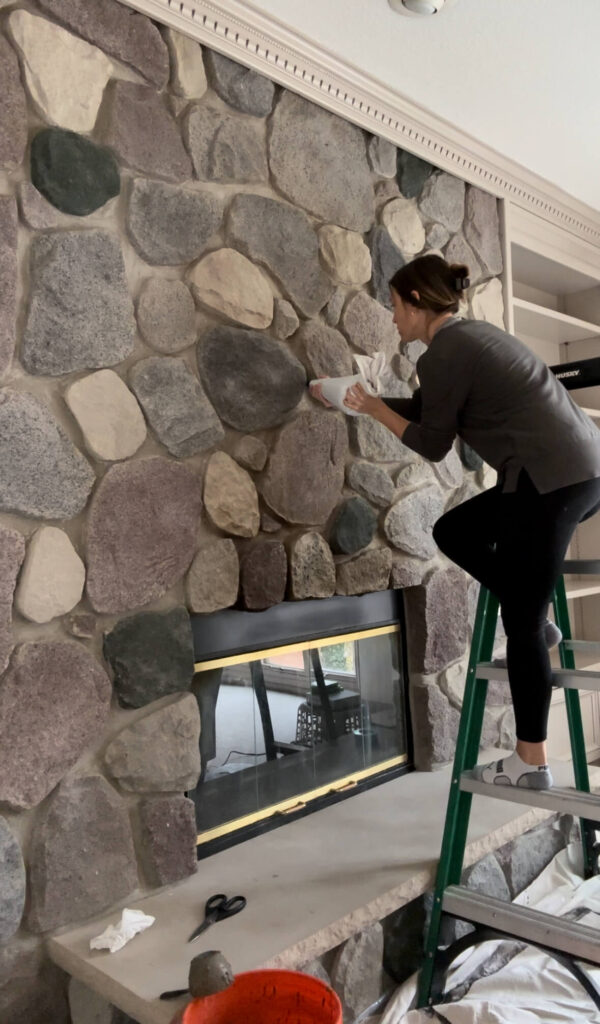
I started over grouting with a piping bag and while it’s a great mortar application method, I soon found out that it was not right for this project!
As I started piping the mortar I could see how deep the gaps were between the stones on my fireplace. As I mentioned, my whole hand fit in between the stones. I knew that space was going to need a lot of mortar! After trying in vain for hours to make the piping bag work, I ditched it and started using my bare hands to fill the gaps with mortar. It probably didn’t help that the mortar was a little too wet.
Oh, and another lesson I learned, make sure to use some gloves when working with mortar and stone! My hands were NOT happy with me the next day.
The piping bag over grouting method didn’t work for me, but I think it would work really well if the gaps you’re filling on your fireplace are more on the shallow side. If that’s the case for your fireplace project, grab a grout piping bag and give it a go! Just make sure to slightly overfill your gaps so you can smooth the excess mortar over the sides of the stone.
Applying Mortar with Gloved Hands
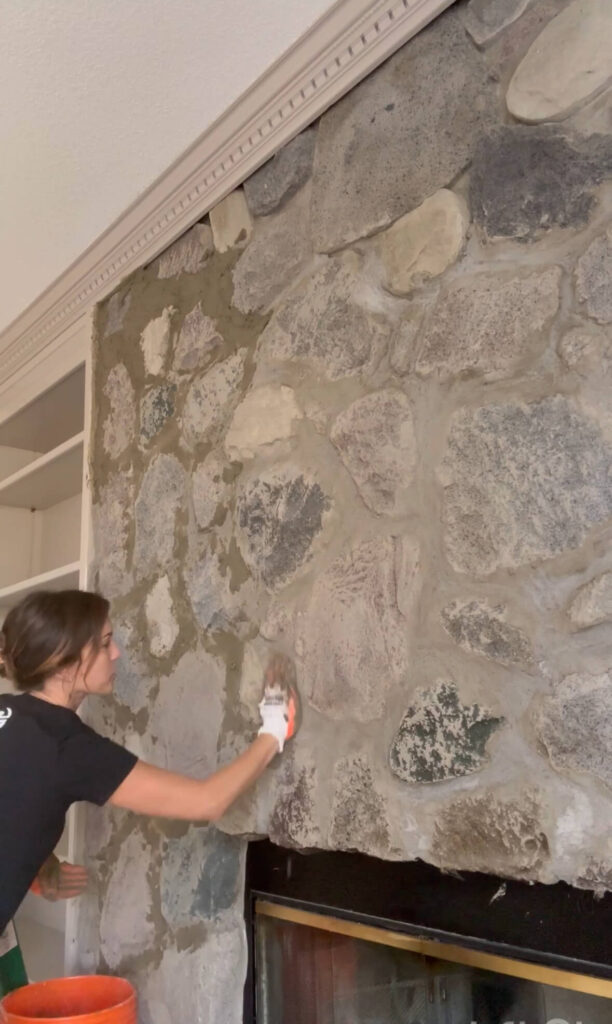
Once I decided to abandon the piping bag, I had a lot more success applying the mortar by hand, specifically using gloved hands (again, speaking from experience). You don’t need anything fancy or expensive, I used these gloves and they worked just fine.
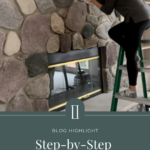
The trickiest and most time-consuming part of the whole process was letting the mortar partially dry for about an hour so I could see any holes. Then I would go over the spot again, filling it in with more mortar. I was surprised by how long it took me to completely over grout the fireplace.
If it’s easier for you to apply mortar with gloved hands just make sure to let it dry for an hour and then fill in any holes you see. Just like with the piping method, make sure to slightly overfill your gaps so you have some extra mortar to smooth out onto the stone.
5. Smooth Out the Mortar
With the mortar in place, grab a brush or a sponge and start smoothing it out. You’ll want to intentionally brush the excess mortar around the edges of the stone to close up any remaining seams and get a finished styled look. I smoothed out my extra mortar with this large sponge.
6. Sand the Stone
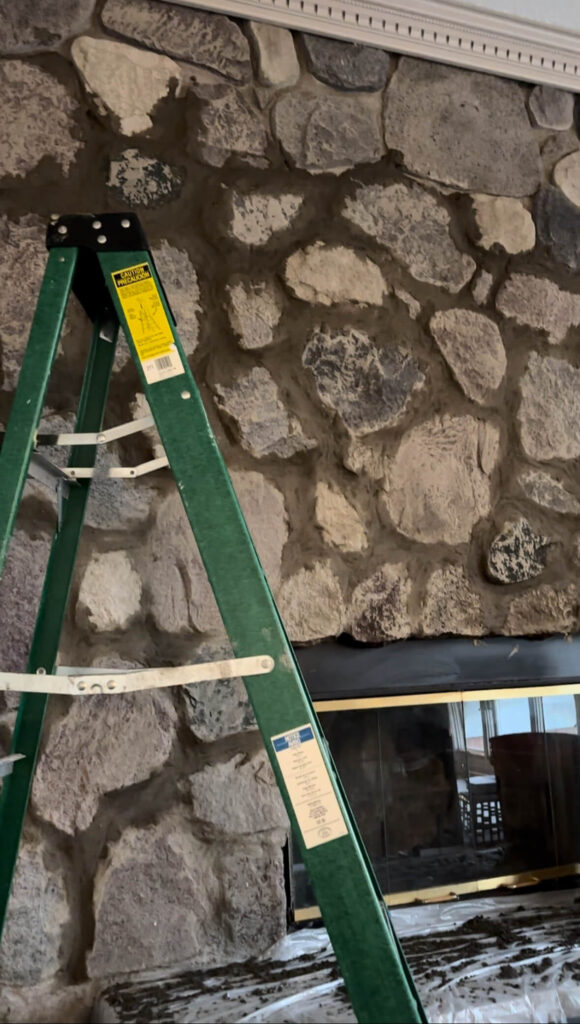
Once I was FINALLY done working with the mortar and it had completely dried, I started “sanding” the stones to mute the original bold color. Let me tell you, this part will really work your arms!
Because of the type of mortar I used and it being my very first time using it, my application had a few jagged spots and you could even see some marks from my fingers as I tried to fill the deep gaps. I wanted a smoother, more worn-in look, so I grabbed a wire brush and vigorously scrubbed the fireplace.
Scrub the stone with the wire brush until you get the texture and look you want. This is the wire brush I used and I liked the look it created on the stones. This part also took a few hours and I had to take breaks in between to rest. But the colors definitely toned down and it looked so much better.
About a month after I overgrouted this fireplace, I did the same to the fireplace in my basement. This time, I found these wire brushes that attach to your drill. They made the process much easier, but they do make the process a bit messier, so be sure to wear a mask and glasses!
7. Adding Details and Decor
After hours of applying mortar and brushing stone, my fireplace was finally done!
All that was left to do with the overall space was to add a few finishing touches. For the fireplace itself, I sprayed the gold finishes with black paint to make it a little less 90s. For the room, I added this gorgeous area rug and a new fabulous chandelier.
After the fireplace had a gorgeous, updated look, it really transformed the room! Next, I decided to add a fireplace mantel to continue to update the entire space. I ended up building the perfect mantel for this fireplace! Check out the DIY Fireplace Mantel Tutorial HERE!
Products Needed for a Fireplace Makeover
Does your stone fireplace need a makeover? If so, I highly recommend this over grouting technique! Here are all the supplies you’ll need for your fireplace makeover.
- 5-gallon bucket
- Drill with a grout-mixing paddle
- Drop cloth
- Gloves
- Grout piping bag (if your gaps are smaller than mine)
- Large sponge
- Mortar (I used about 4 bags because of how deep my gaps were)
- Wire brush
- Wire brush drill attachments
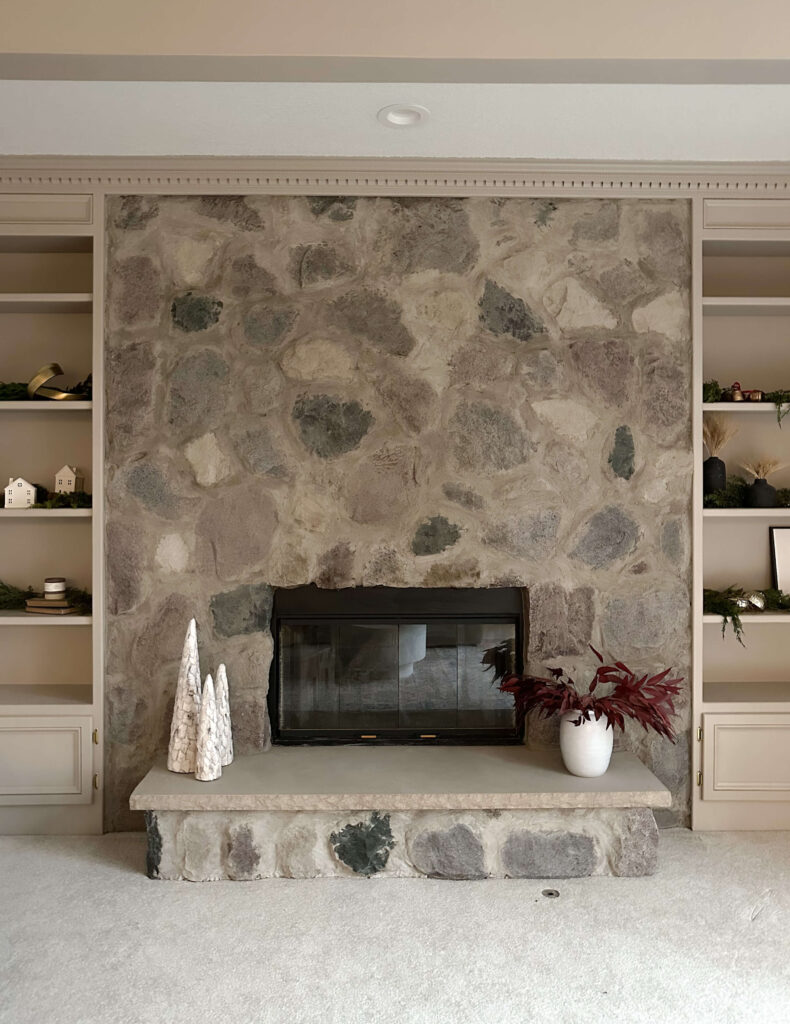
DIY Fireplace Makeover
This project will always have a special place in my heart because it was such a learning experience for me. Here’s my main takeaway from this whole project: just because something doesn’t go as planned at first, doesn’t mean it’s ruined or won’t turn out the way you want. It just means you’ll need to spend a little more time getting there!
I know this fireplace makeover can be as rewarding an experience for you as it was for me! Just remember to use plenty of mortar, apply it thoroughly, sand down your stones, and take breaks when you need them. When your fireplace makeover is complete, cozy up with a warm blanket and enjoy the results of your hard work, I know I did!
Looking for more ways to upgrade your fireplace and living room? Check out some of these great DIY projects:
Be sure to follow me on Instagram @lakeandlumber for more project how-to’s and design inspiration!
