Jump to Supply List
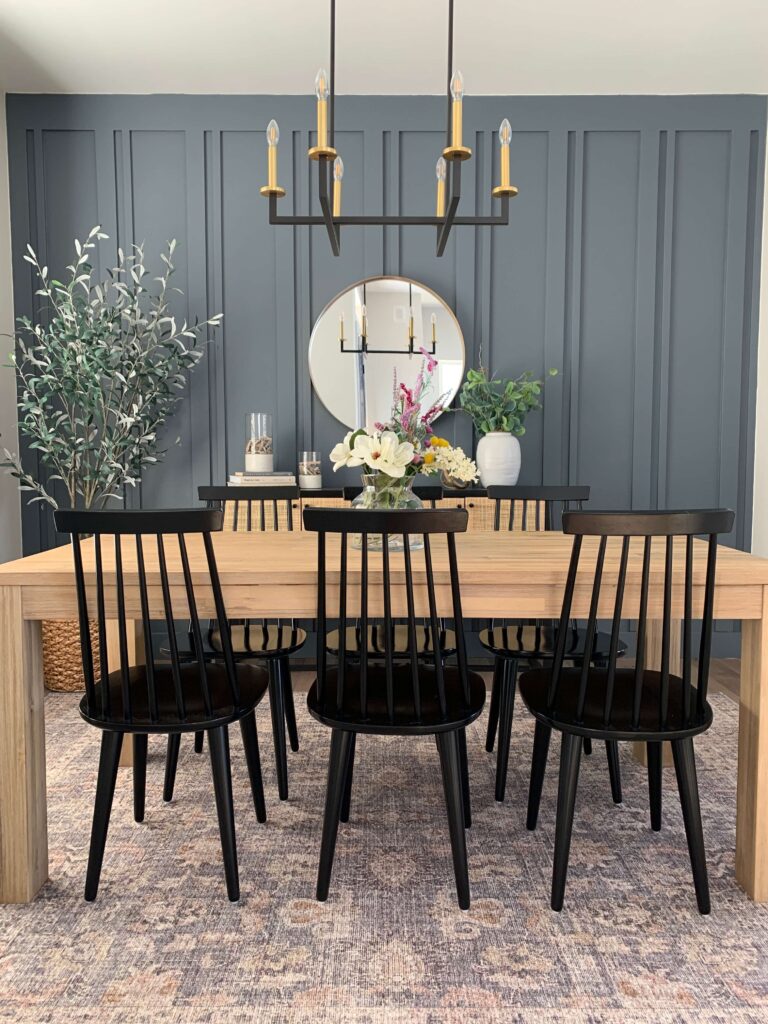
I’m not kidding when I say this dining room DIY accent wall was one of my favorite projects! Not only did it give me the biggest bang for my buck, but it has been by far the biggest “wow” factor in my house. And on top of all that, it is one of the easiest, most beginner-friendly projects I have ever done! In fact, it was my second solo DIY project ever! I love it so much! Read on, and I’ll show you what I did to create this amazing showstopper of a project.
DIY Accent Wall
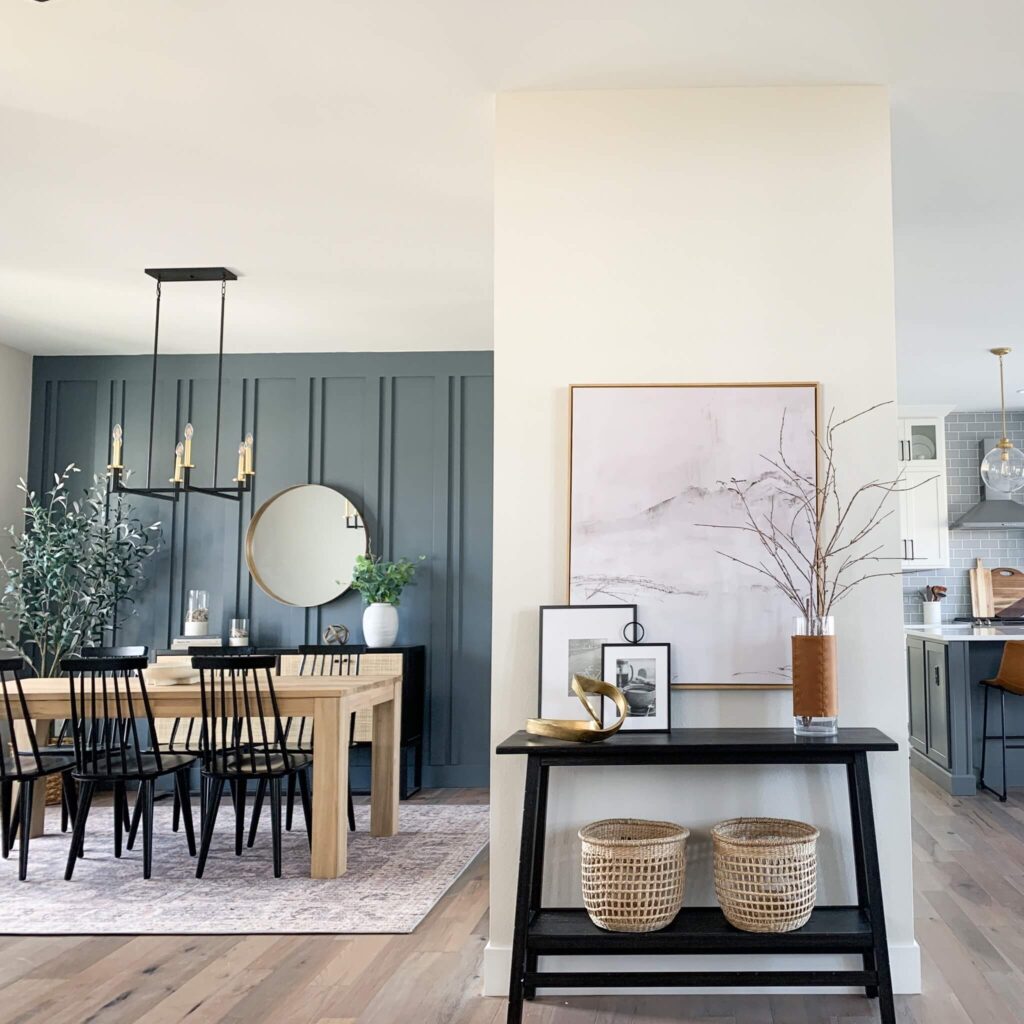
My dining room area is one of the first things you see when you walk into my house and it always looked so bare and boring to me. But now… now it’s a beautiful showpiece! That’s the power of a great accent wall!
To prepare for my DIY accent wall project, I painted over my cool gray surrounding walls with a warmer color, City Loft by Sherwin-Williams, which instantly made this room seem bigger and brighter. I also turned my Studio McGee TV stand into a buffet by building it a new set of legs, and then it was time for the main event… creating a fabulous accent wall!
What is an Accent Wall?
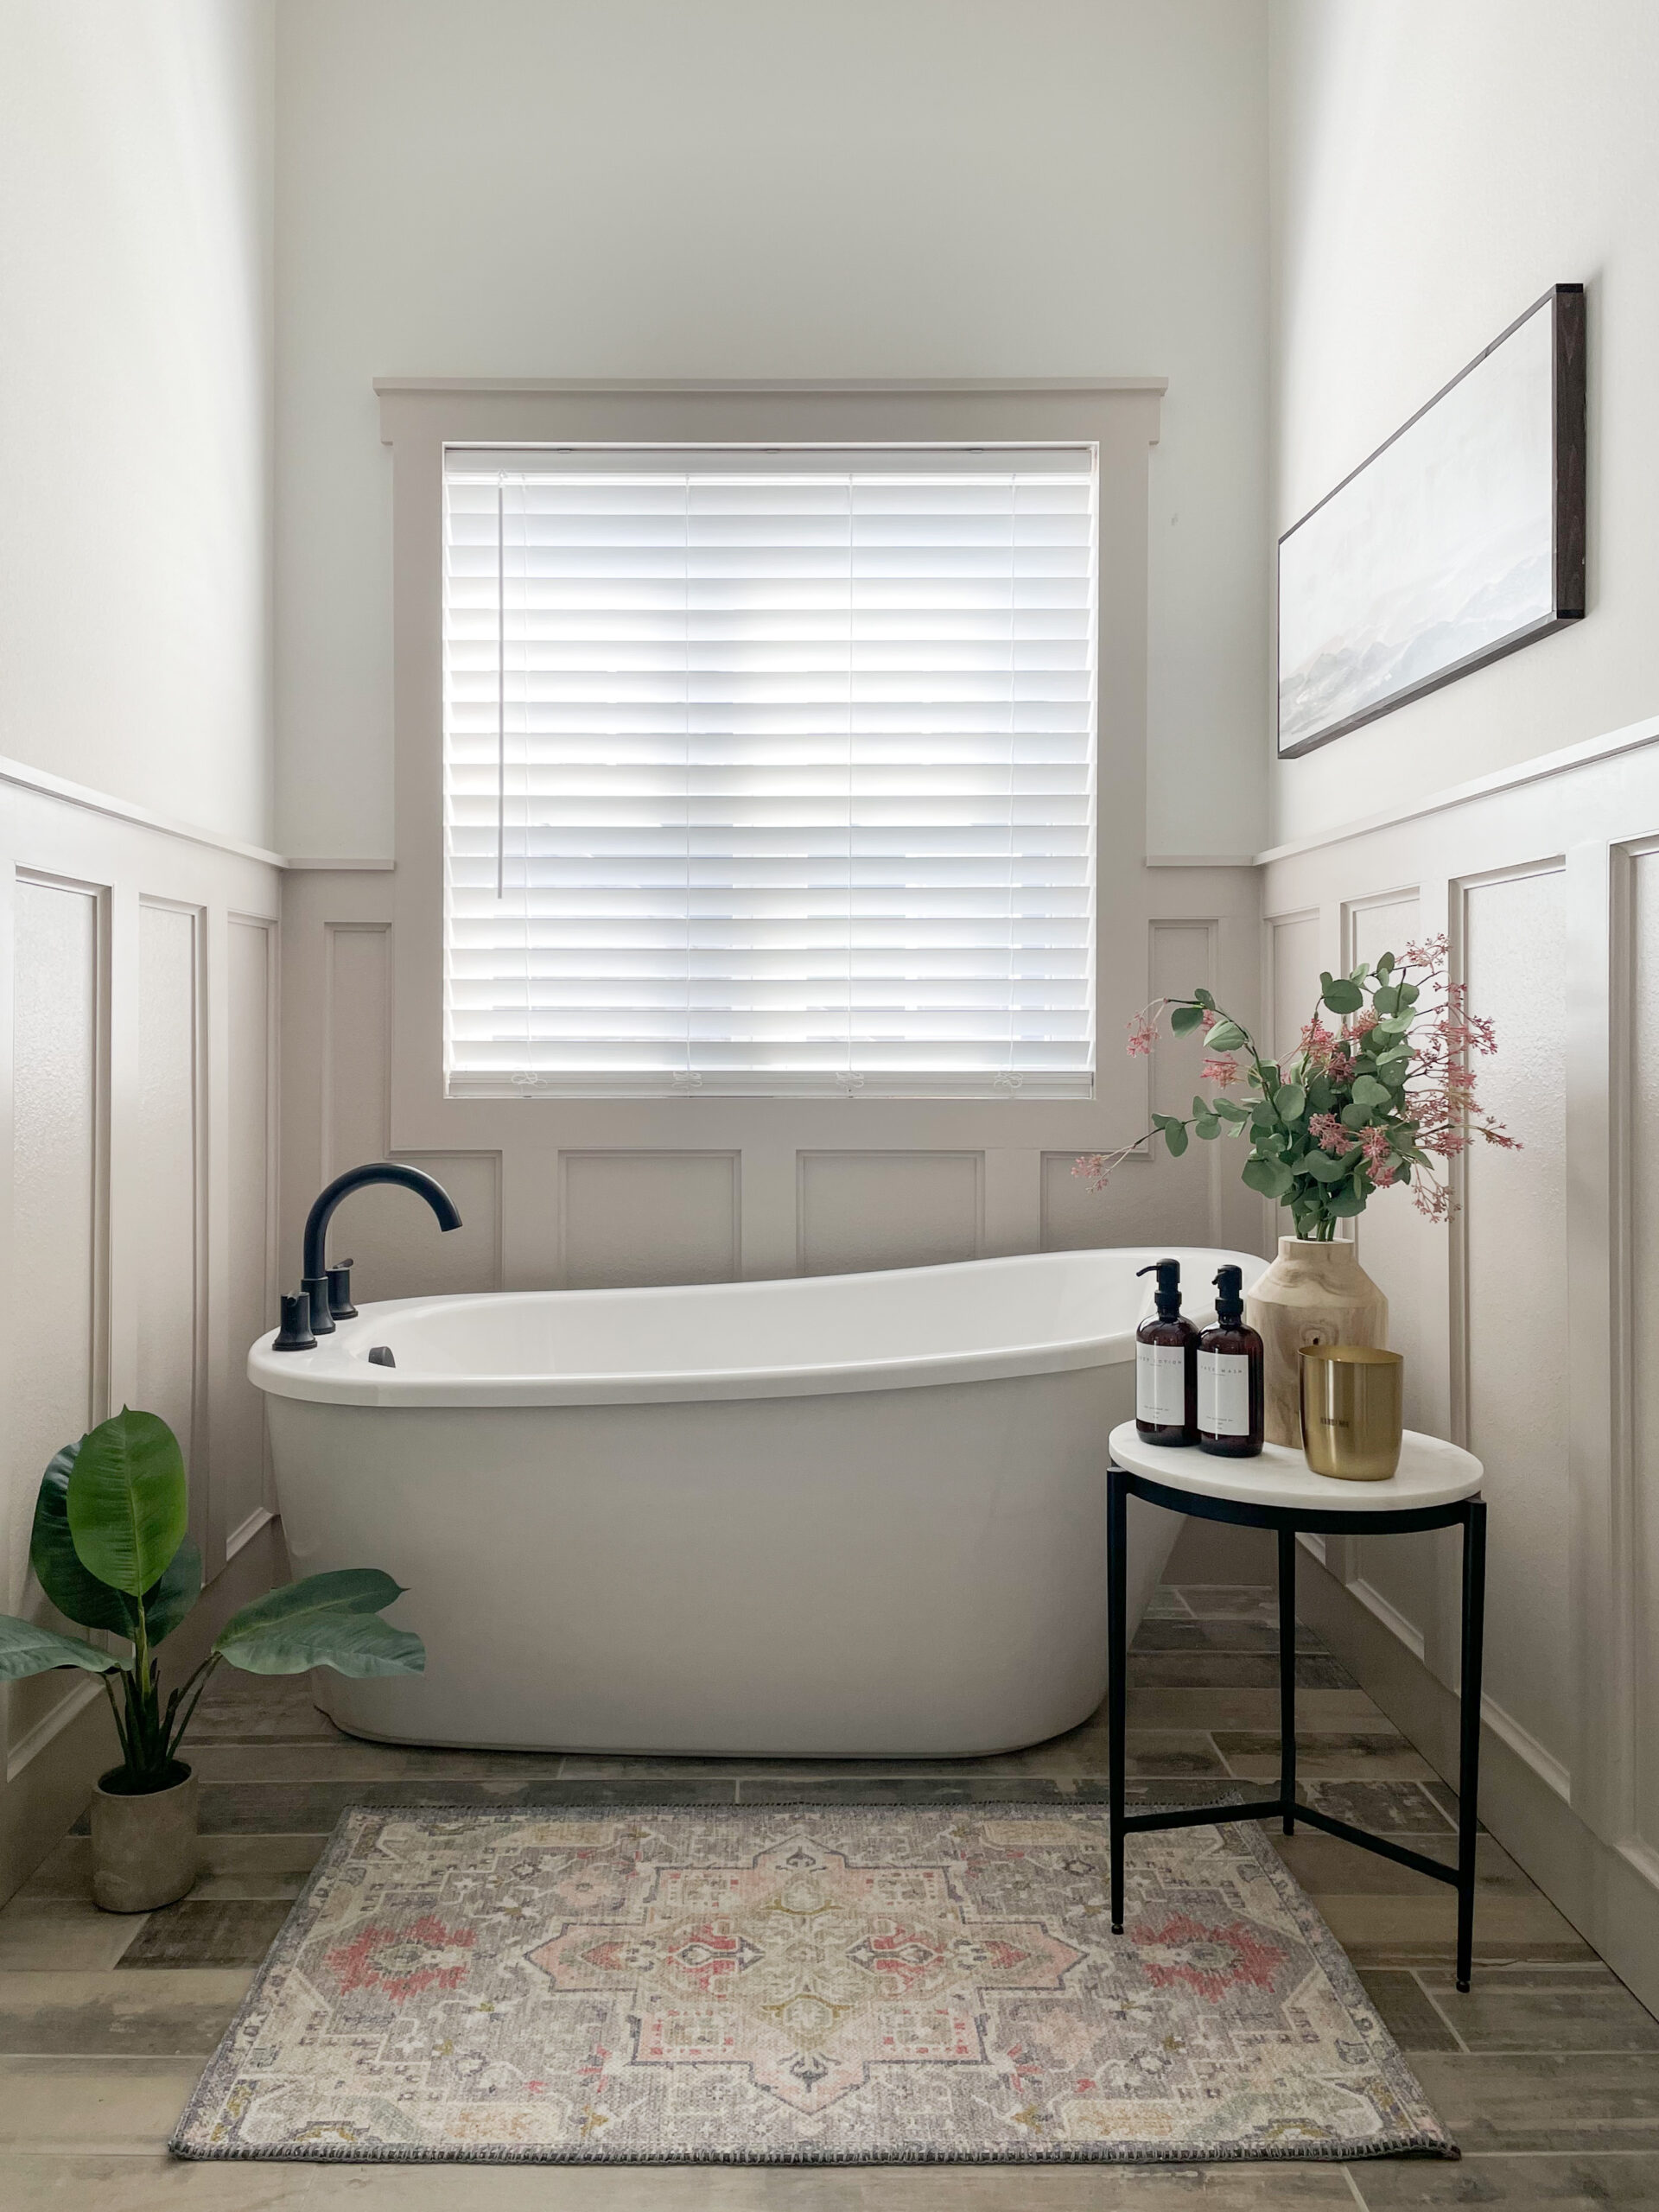
You’ve probably heard of an accent wall before, but by definition, an accent wall is a wall in a room that is specifically designed to look different from the others, draw attention, and become a distinct focal point. There are lots of ways to achieve this different, eye-catching look. You can use wallpaper, paint colors, artwork, woodwork (like my bathroom board and batten), and other design elements to create your own, unique accent wall.
You can make it as bold as you’d like with bright colors and elaborate patterns. Alternatively, you can make a more understated accent wall with subtle colors and soft textures. An accent wall is an opportunity to show off your style, so have some fun with it! I absolutely love the way my dining room accent wall turned out and I’m excited to share what I did with you!
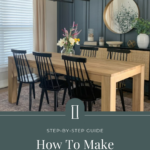
How to Make an Accent Wall
Creating my accent wall was a fun and rewarding experience. Here’s what I did to create my elevated, moody dining room accent wall.
1. Choose a Design
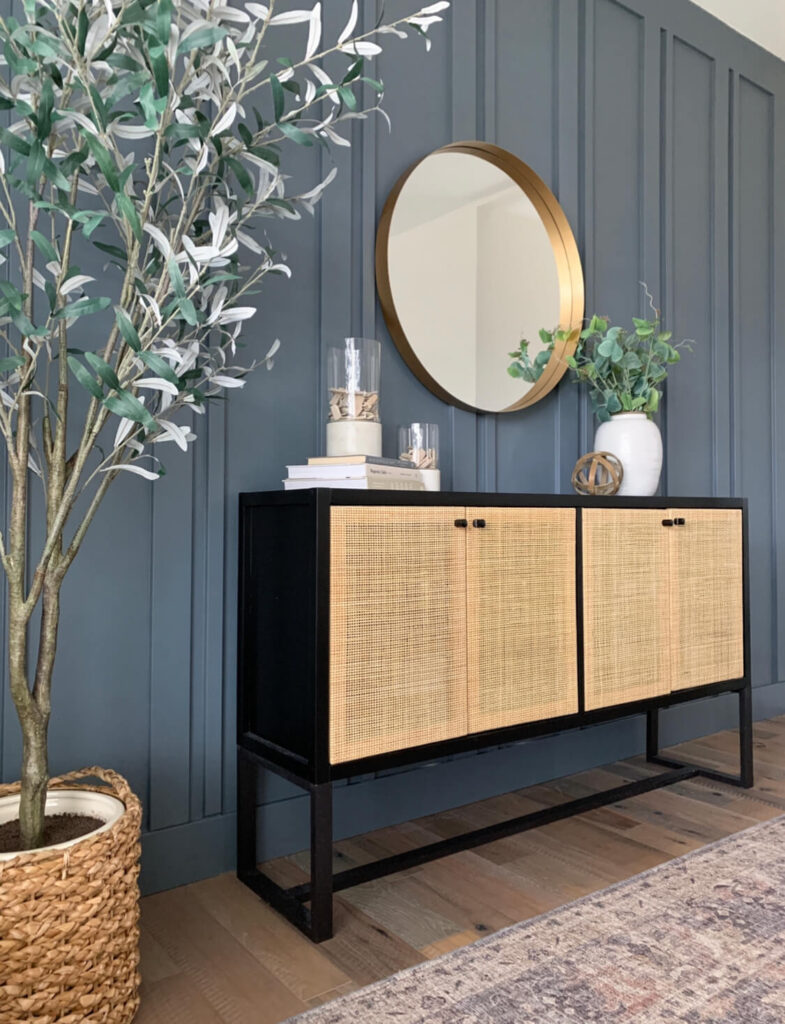
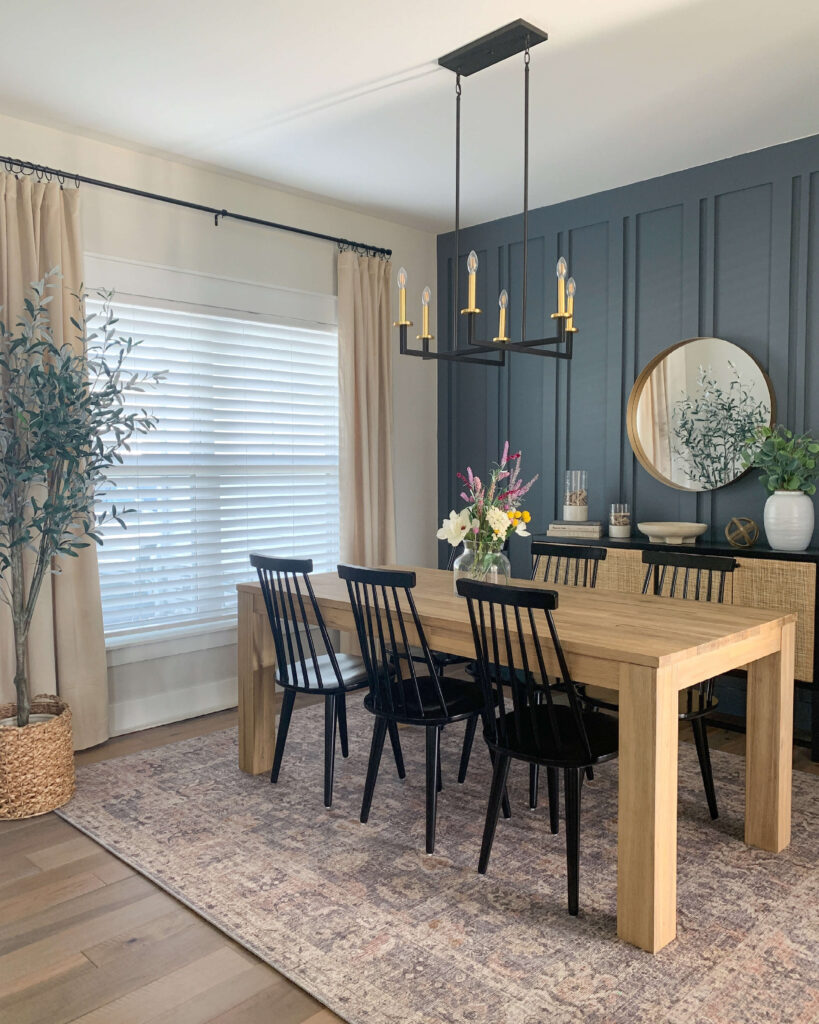
For my design, I bounced back and forth between a few ideas, but in the end, I went with a wood accent wall with vertical wooden boards. To make the design a little more unique and interesting I decided to do double wood boards close together in two different widths. It’s almost a board and batten look, but still kind of its own thing.
You can browse Pinterest or look through my website to help you get ideas and choose a design for your own accent wall.
2. Measure and Cut the Wood
Once I settled on a design, I measured the wall and got my materials. My ceiling is 9 feet high and I already had 6-inch baseboards, so I had 6 inches to fill if I wanted to use 8-foot boards. I decided to add something at the top of the wall to cap off my design. To do this, I used 2 pieces of 1” x 6” primed MDF boards that were about 8 ft long each to create a crown molding look at the top. I cut the pieces to fit the width of my wall using a miter saw. For my design, I wanted the double wood boards to run vertically between the top pieces and the baseboards.
The next step in this process is to cut the wood boards. As luck would have it, I actually didn’t need to cut my boards! I bought 8-foot long boards, so with the 6-inch baseboard and 6-inch top board, it was perfect for the 9-foot ceiling!
I used 9 pieces of 1” x 4” primed MDF boards for the wider boards and 9 pieces of 1” x 2” primed MDF boards for the narrower boards. Primed MDF boards were best for this project because they’re easy to work with and come pre-primed which comes in handy when it’s time to paint.
Pro tip: For the edge of the board that touches the baseboard, cut that edge at a 45-degree angle to better line up with the top of the baseboard. It looks so much better than leaving it as a straight edge.
3. Nail the Wood Boards to the Wall
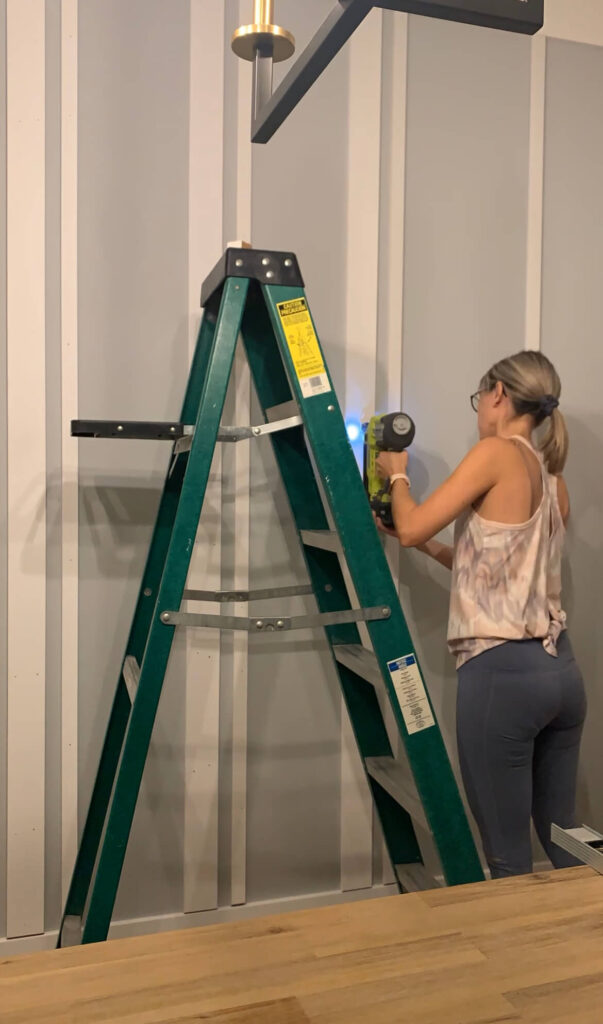
Now that I had all of my boards cut and ready to go, it was time to nail them to the wall. I used my brad nailer with 2” brad nails to nail in my boards. I also made sure to use a spacer in between the wood pieces to keep the boards uniformly spaced. The spacer is just a small piece of wood cut to the width that you want for your space. I think mine was 2″ for the space between the wide board and the skinny board.
Pro-tip: Try to shoot your nails at a slight angle and alternate to the left and then right. This helps to lock your wood piece into the drywall without having to use adhesive.
The nailing part was easy, but the tricky part was working around the outlet on the wall. At first, I just cut a piece out of the wider stripe to accommodate my outlet, but honestly, it didn’t look as nice as I wanted it to when you stood near it. So I ran to The Home Depot and grabbed a gang box extender. You want to make sure you have a gang box around your outlet because it keeps the live wires from touching the wood or drywall.
Next, I cut two small pieces of my 1×2″ board and created a frame for the box extender to sit on. Once I filled in the seams with wood filler and sanded it down a little, the outlet looked like it was trimmed and meant to be there.
4. Fill in the Holes
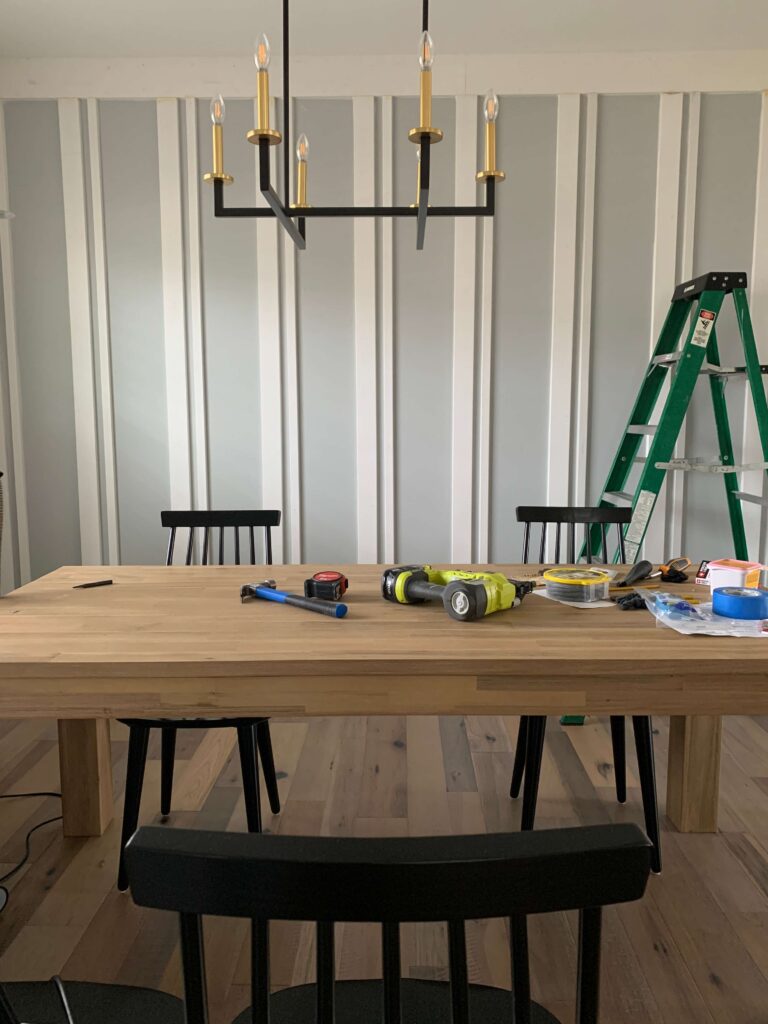
Caulking is one of those necessary evils when it comes to DIY, especially on accent walls, where there is A LOT to caulk. But hey, it’s got to be done! I used caulk and wood filler to fill in the nail holes and gaps alongside the boards. Reminder! Caulk is for the seams where the wood meets the wall. Wood filler is used where two pieces of wood meet each other.
The top crown molding piece wasn’t lining up very well against the ceiling so I had to break out the backer rods to fill in the extra space. With the backer rods in the bigger gaps, I was able to add caulk and it looked so much better. I let the caulk and wood filler completely dry before moving on to painting.
5. Paint the wall
Since I have an open concept space between my living room and dining room, I wanted it all to flow together nicely.
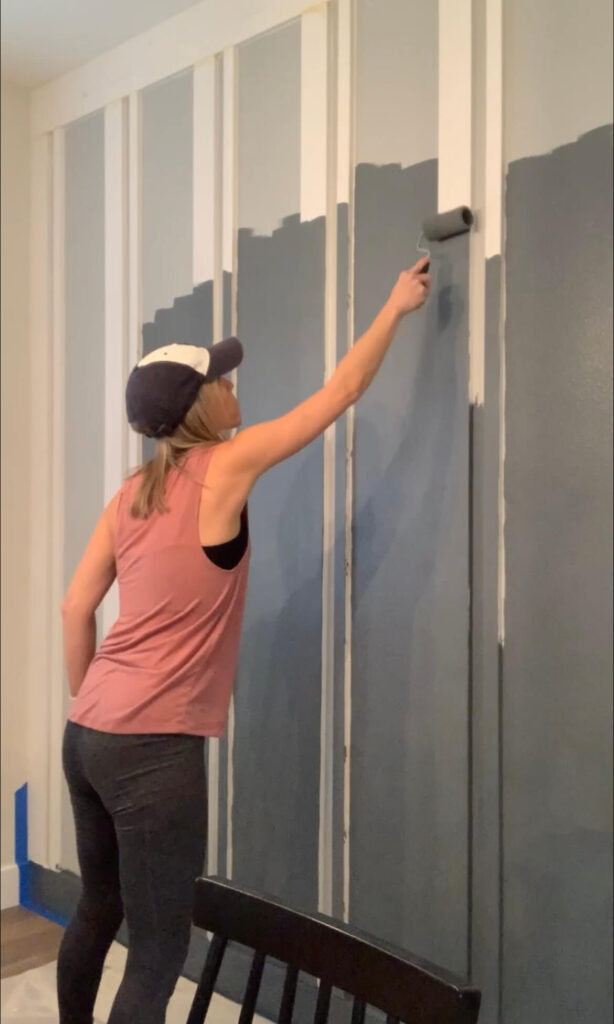
To keep the rooms looking cohesive, I decided to paint the accent wall the same color as my stair wall. I lightened up the surrounding dining room walls with a warmer paint color, City Loft, and pulled out my leftover paint from the stair wall. It’s a beautiful, moody shade of blue-gray from Sherwin-Williams called Sweeping Rock.
This color is from the HGTV Sherwin-Williams line exclusively at Lowes. I have had people say they have trouble finding this color, but your local Sherwin-Williams store should also be able to mix it for you! I gave the wall two good coats of paint and the color turned out great.
6. Finishing Touches
Once the DIY accent wall was finished all there was left to do was add the finishing touches!
To complete the whole look of the room, I added a light wood dining table, mixed metal decor pieces, modern black dining chairs, and a beautiful gold mirror as a centerpiece on the wall. I’m still in love with how this all came together!
Products Needed for a DIY Accent Wall
Here’s a list of everything I used to create my DIY accent wall.
- 2” brad nails
- 2 pieces of 1” x 6” primed MDF boards
- 9 pieces of 1” x 4” primed MDF boards
- 9 pieces of 1” x 2” primed MDF boards
- Backer rods
- Brad nailer
- Caulk
- Drop cloth
- Gang box extender (if needed)
- Ladder
- Miter saw
- Paint (I used Sherwin-Williams Sweeping Rock for the accent wall and City Loft for the other walls)
- Paint foam roller covers
- Paint roller frame
- Painter’s tape
- Spacers
- Wood filler
DIY Wood Accent Wall
If you follow me on Instagram and see me occasionally reshare my dining room accent wall, now you know why! I love it for so many reasons. It was a real bang-for-your-buck project and is still my home’s biggest showpiece years later. If you want to elevate a room in your home, pick a wall, and go for it!
If you’re feeling ready to tackle more DIY projects, I have so many great projects to choose from! Here are a handful to get you started:
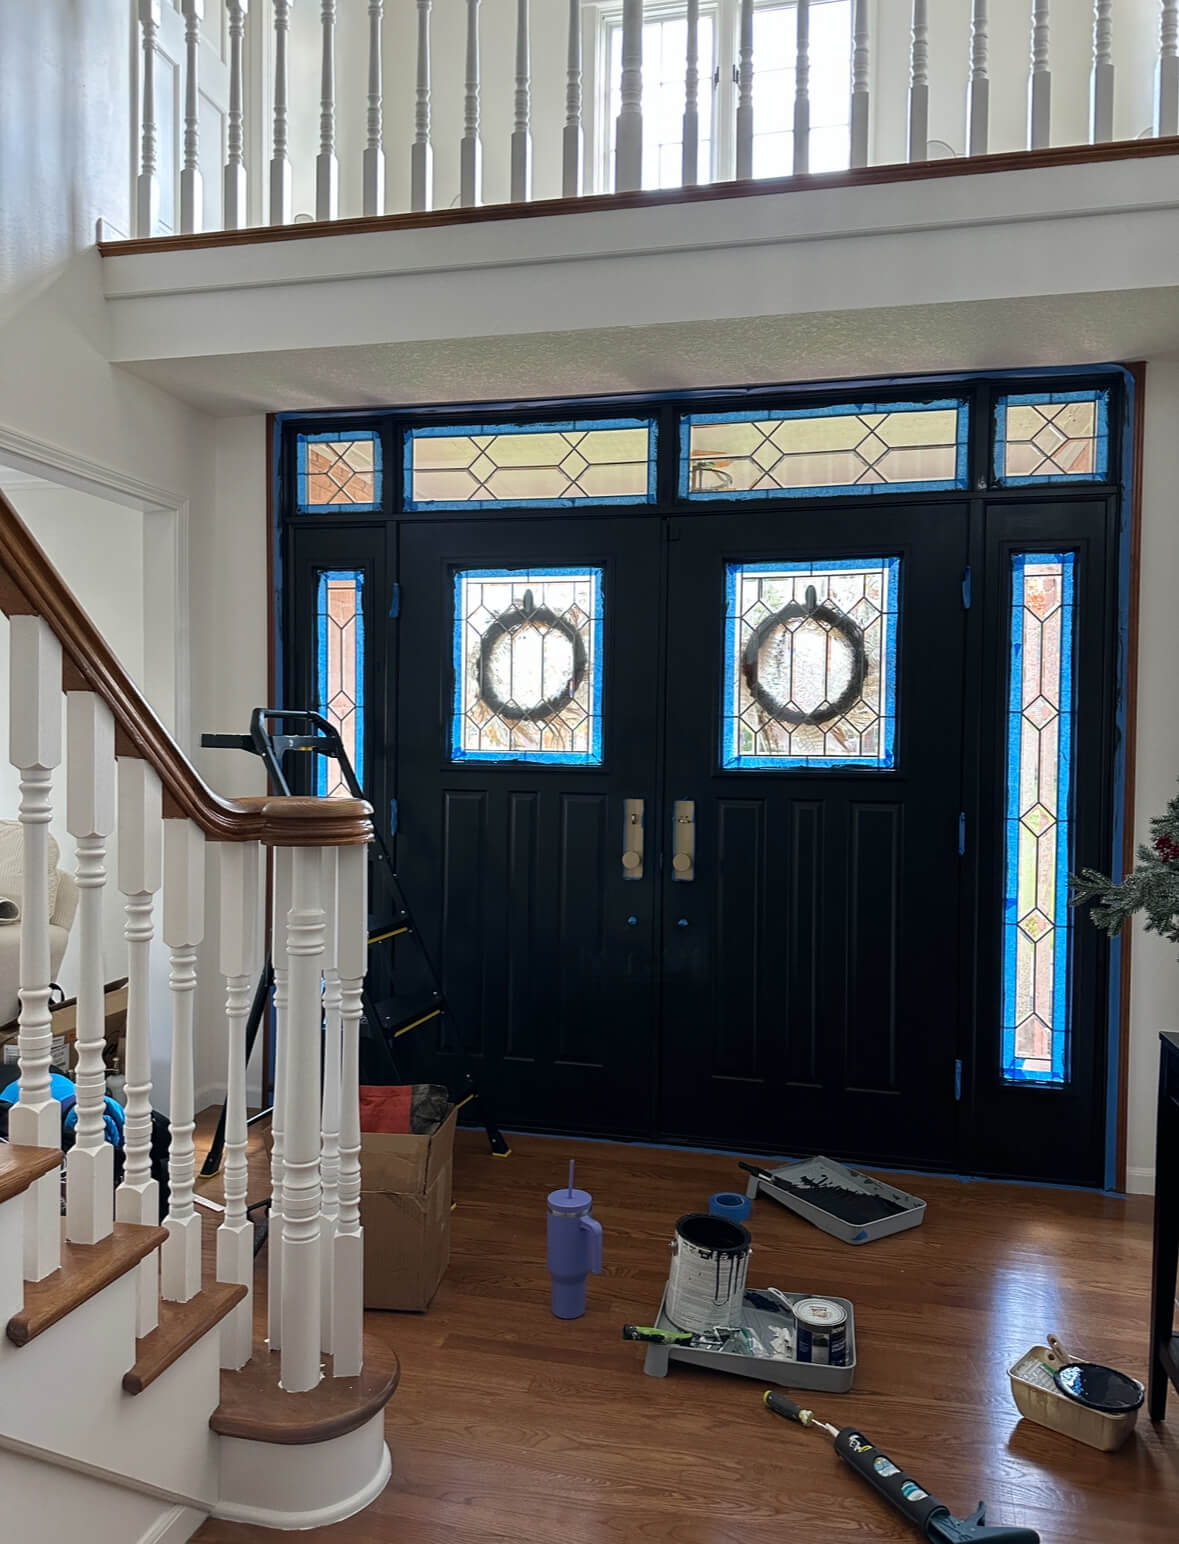
- How to Paint Interior Doors Like a Pro
- DIY-Friendly Window Grids for Under $10
- How to Install Wallpaper in 5 Easy Steps
Make sure to mention me on Instagram in any photos of your accent wall. I can’t wait to see it!
