Want a quick way to elevate your home? Adding a fresh coat of paint to the interior doors of your home (think inside of your front door, garage door, etc) is sure to upgrade your living space, and you can do it in just one day! So if you’re ready for an upgrade, here are my 3 easy tips on how to paint your interior doors like a pro.

Before we dive into the details, let’s talk about color, because that’s super important too.
Choosing the Right Paint Color for Your Interior Doors
When choosing the perfect color for your space, there are going to be mixed opinions. With so many colors to choose from, it can feel overwhelming.
There are several popular and trendy colors right now ranging from rich, dark colors to warm, neutrals to bold, vibrant ones.
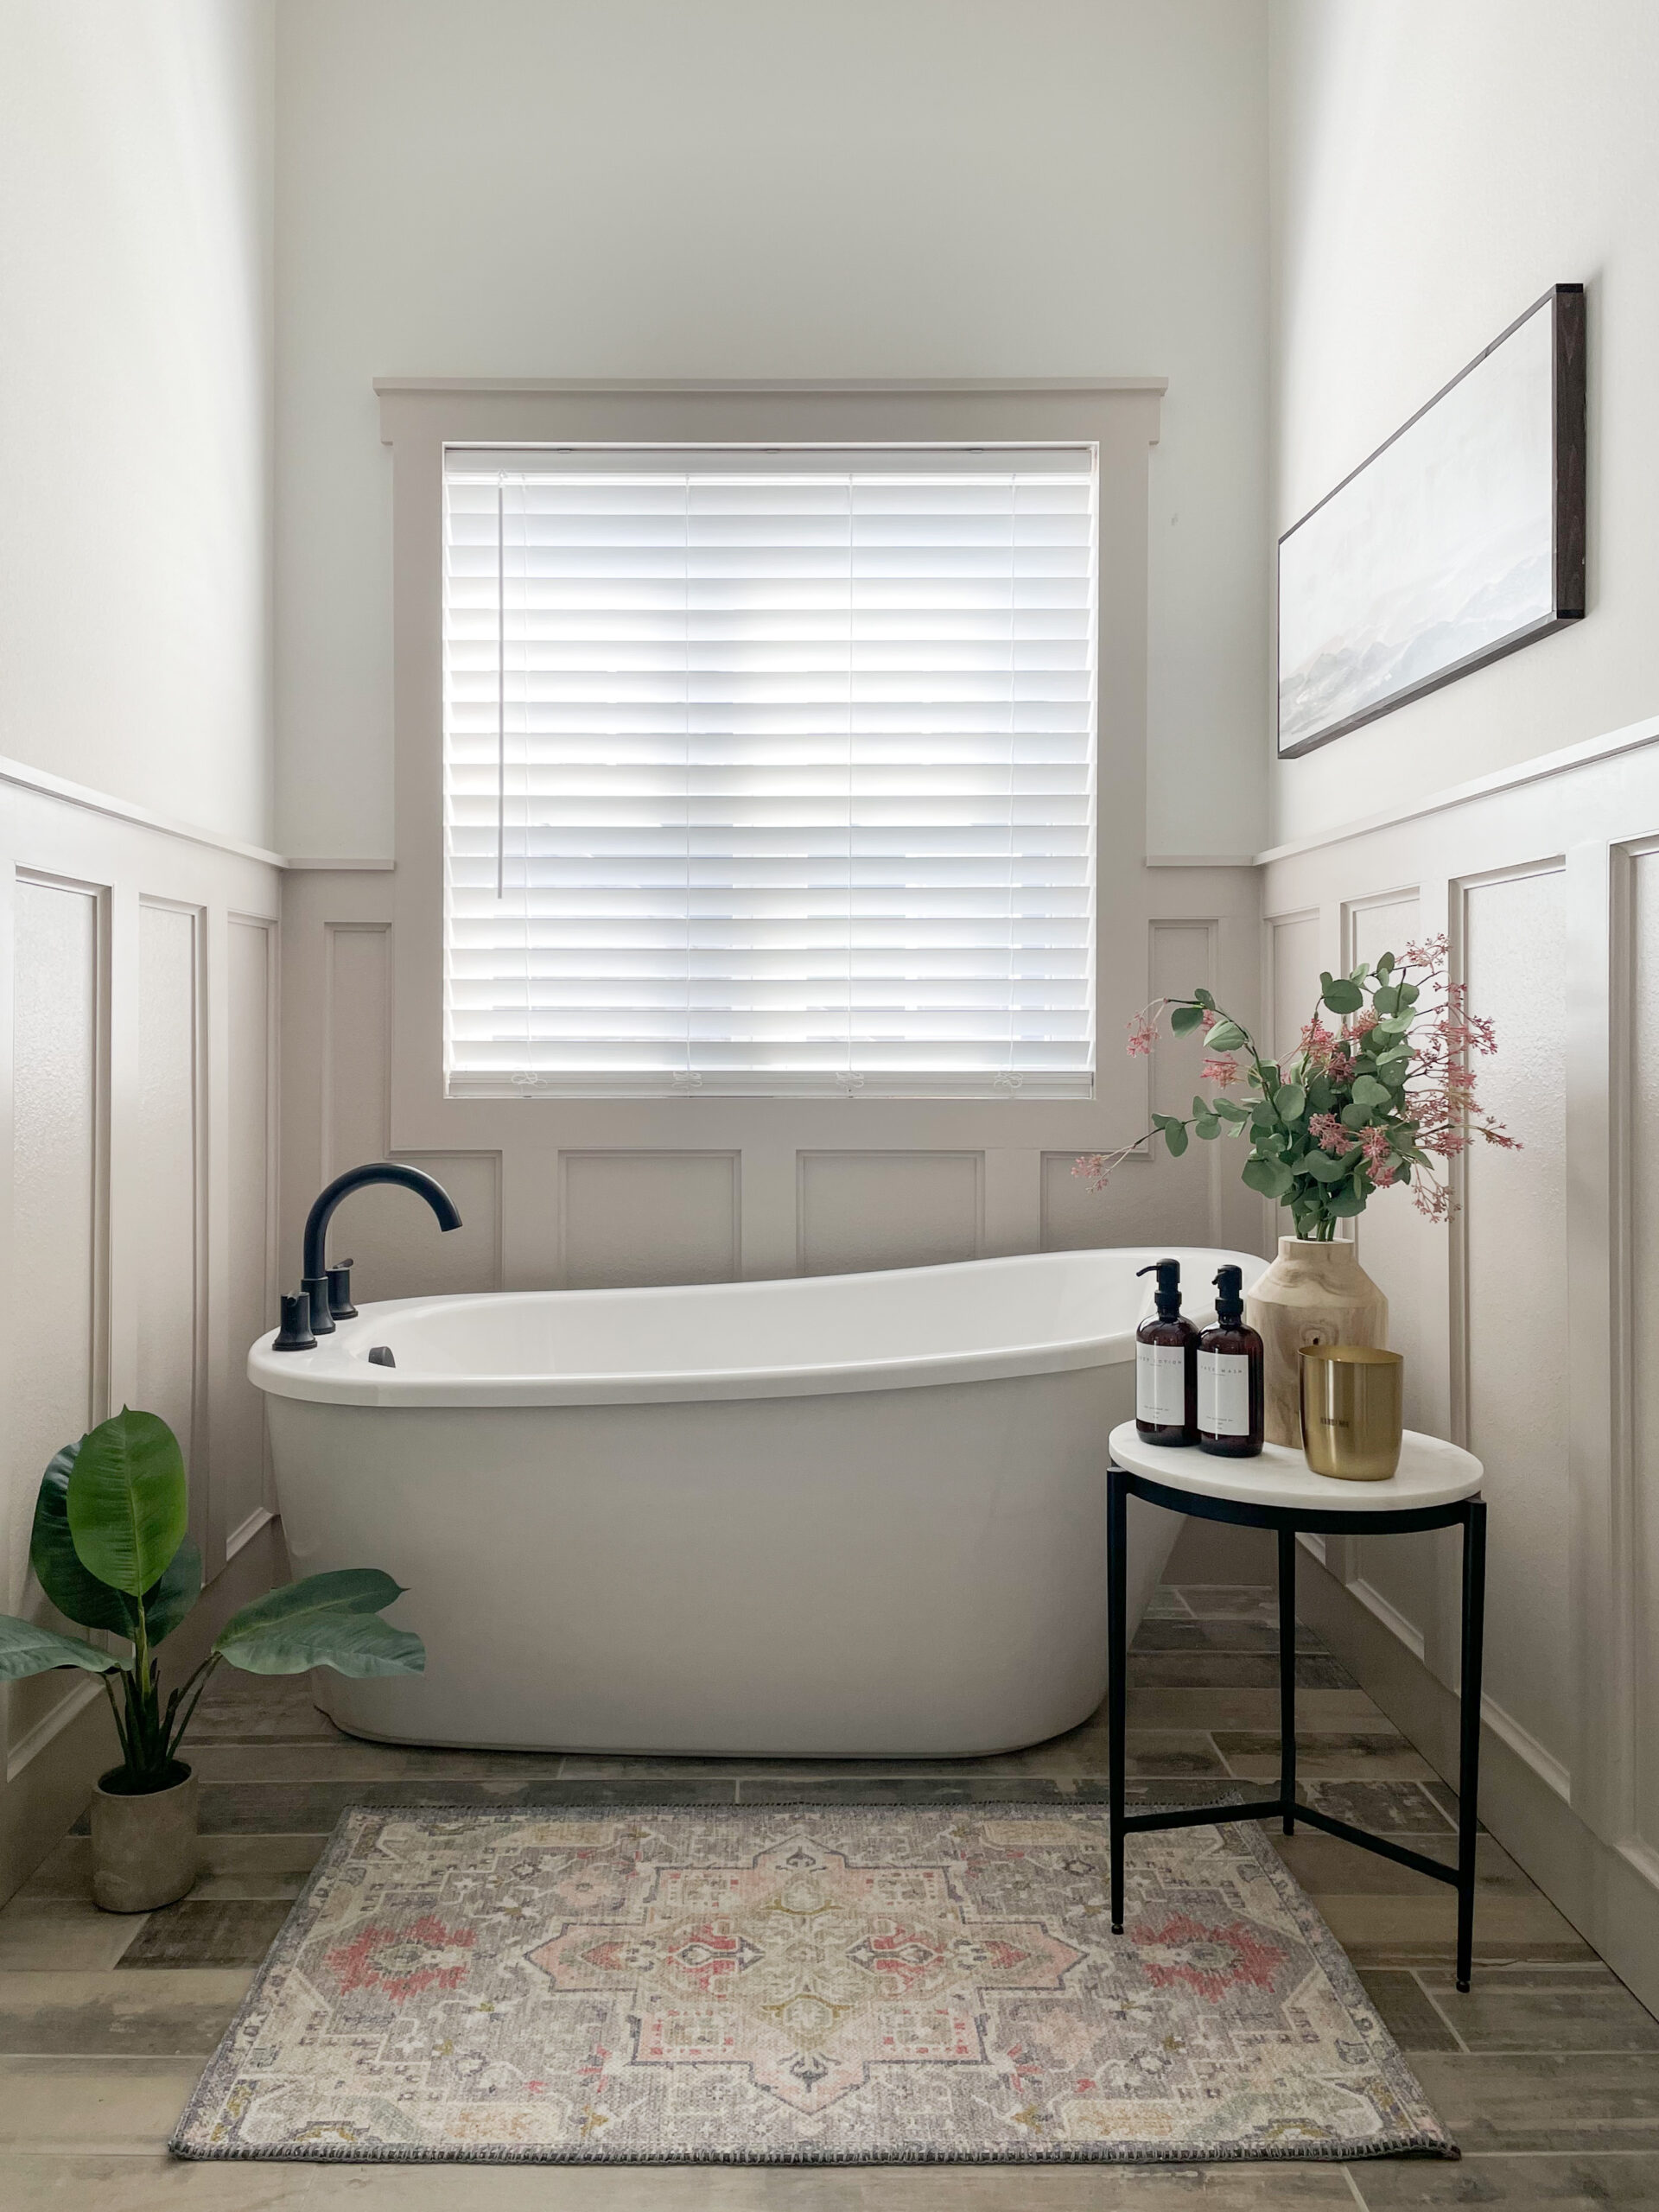
If you want to add depth to your room and make it appear larger, then choose a color that’s darker than your wall color. I tend to lean towards black, and I really like Black Magic from Sherwin-Williams. It gives my space a clean, classic, and sophisticated look.
If black paint doesn’t suit your style, there are many options available to you! You can scroll Instagram (my Instagram page has some ideas you might like) or Pinterest for a few inspo pics, and then pick a color that suits your home decor and style.
Some of my favorite colors that you might consider are Classic French Grey, Stone Hearth, and Boothbay Gray from Benjamin Moore. Sherwin Williams also has some fan-favorite colors like Agreeable Gray or Naval.
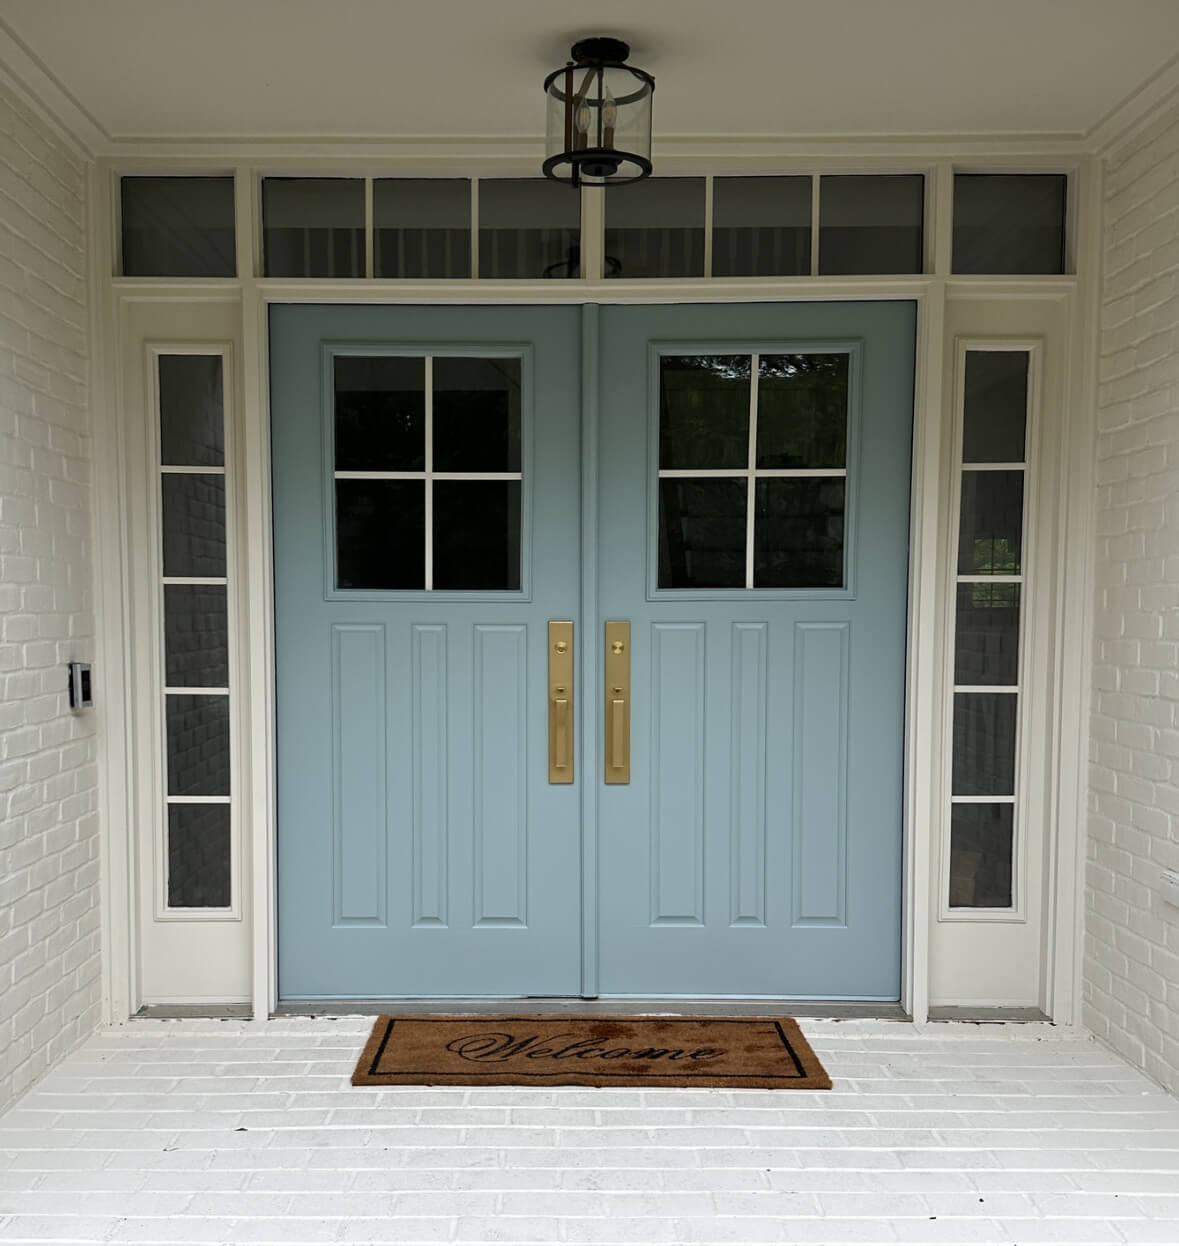
I recently painted my front door Benjamin Moore Mount Saint Anne which is a lighter color, and I love it!
To pick the perfect color for you, try to take into consideration your furniture, wall colors, lighting, and the size of your door. The best part about neutrals is that they usually fit in almost any environment, so don’t stress too much about what color you choose! But if you want some extra reassurance you’re making the right choice, you can always use Samplize.
Using Samplize to Choose Your Paint Colors
Samplize is perfect for when the little paint chips aren’t giving you enough confidence to choose your paint color. With Samplize, you can order full sheets of stick-and-peel paint samples made with real paint and provide an accurate representation of what the paint will look like in your room. That way you can be 100% confident that you’re making the right choice.
I love using Samplize for all of my paint projects!
After you’ve picked a paint color you love, you need to determine the sheen you want.
Should I use Semi-gloss, Satin, or Matte on My Interior Doors?
One common question that people ask me a lot, is what type of sheen of paint is best for their interior doors.
Personally, I usually stick with eggshell or satin for the door, and then I do the trim in semi-gloss!
What You Need to Paint Your Door
When it comes to painting your door, you actually don’t need that many supplies. All you’ll need is…
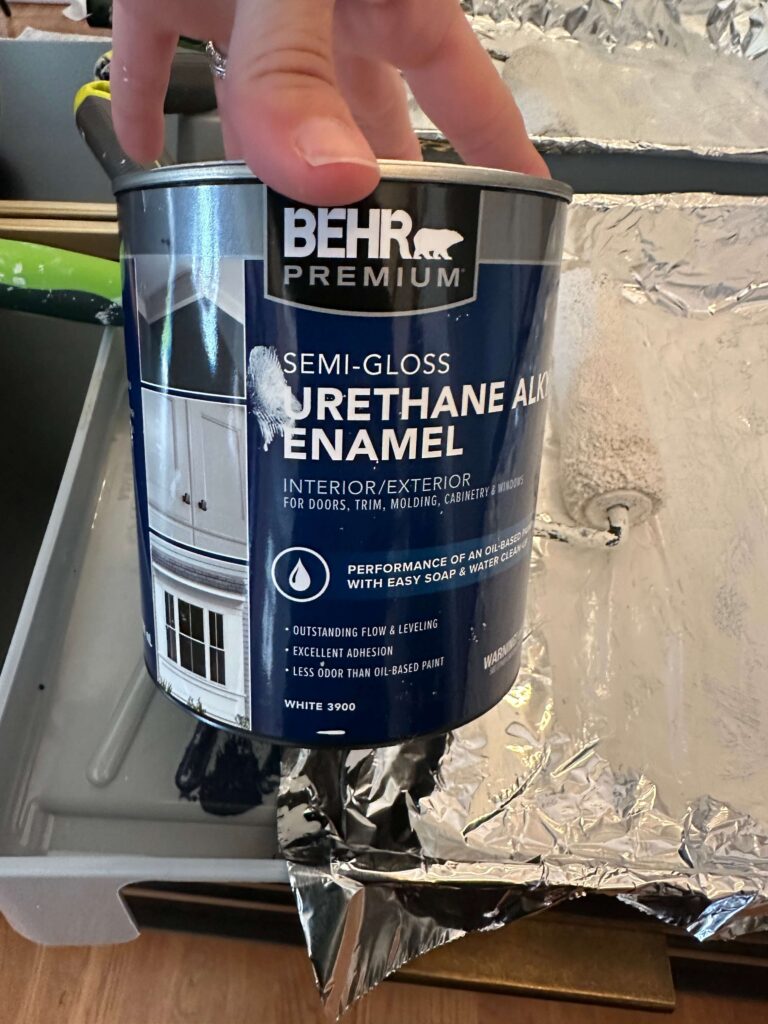
- Paint of your choice (I prefer Behr Cabinet and Trim enamel for a durable, smooth finish)
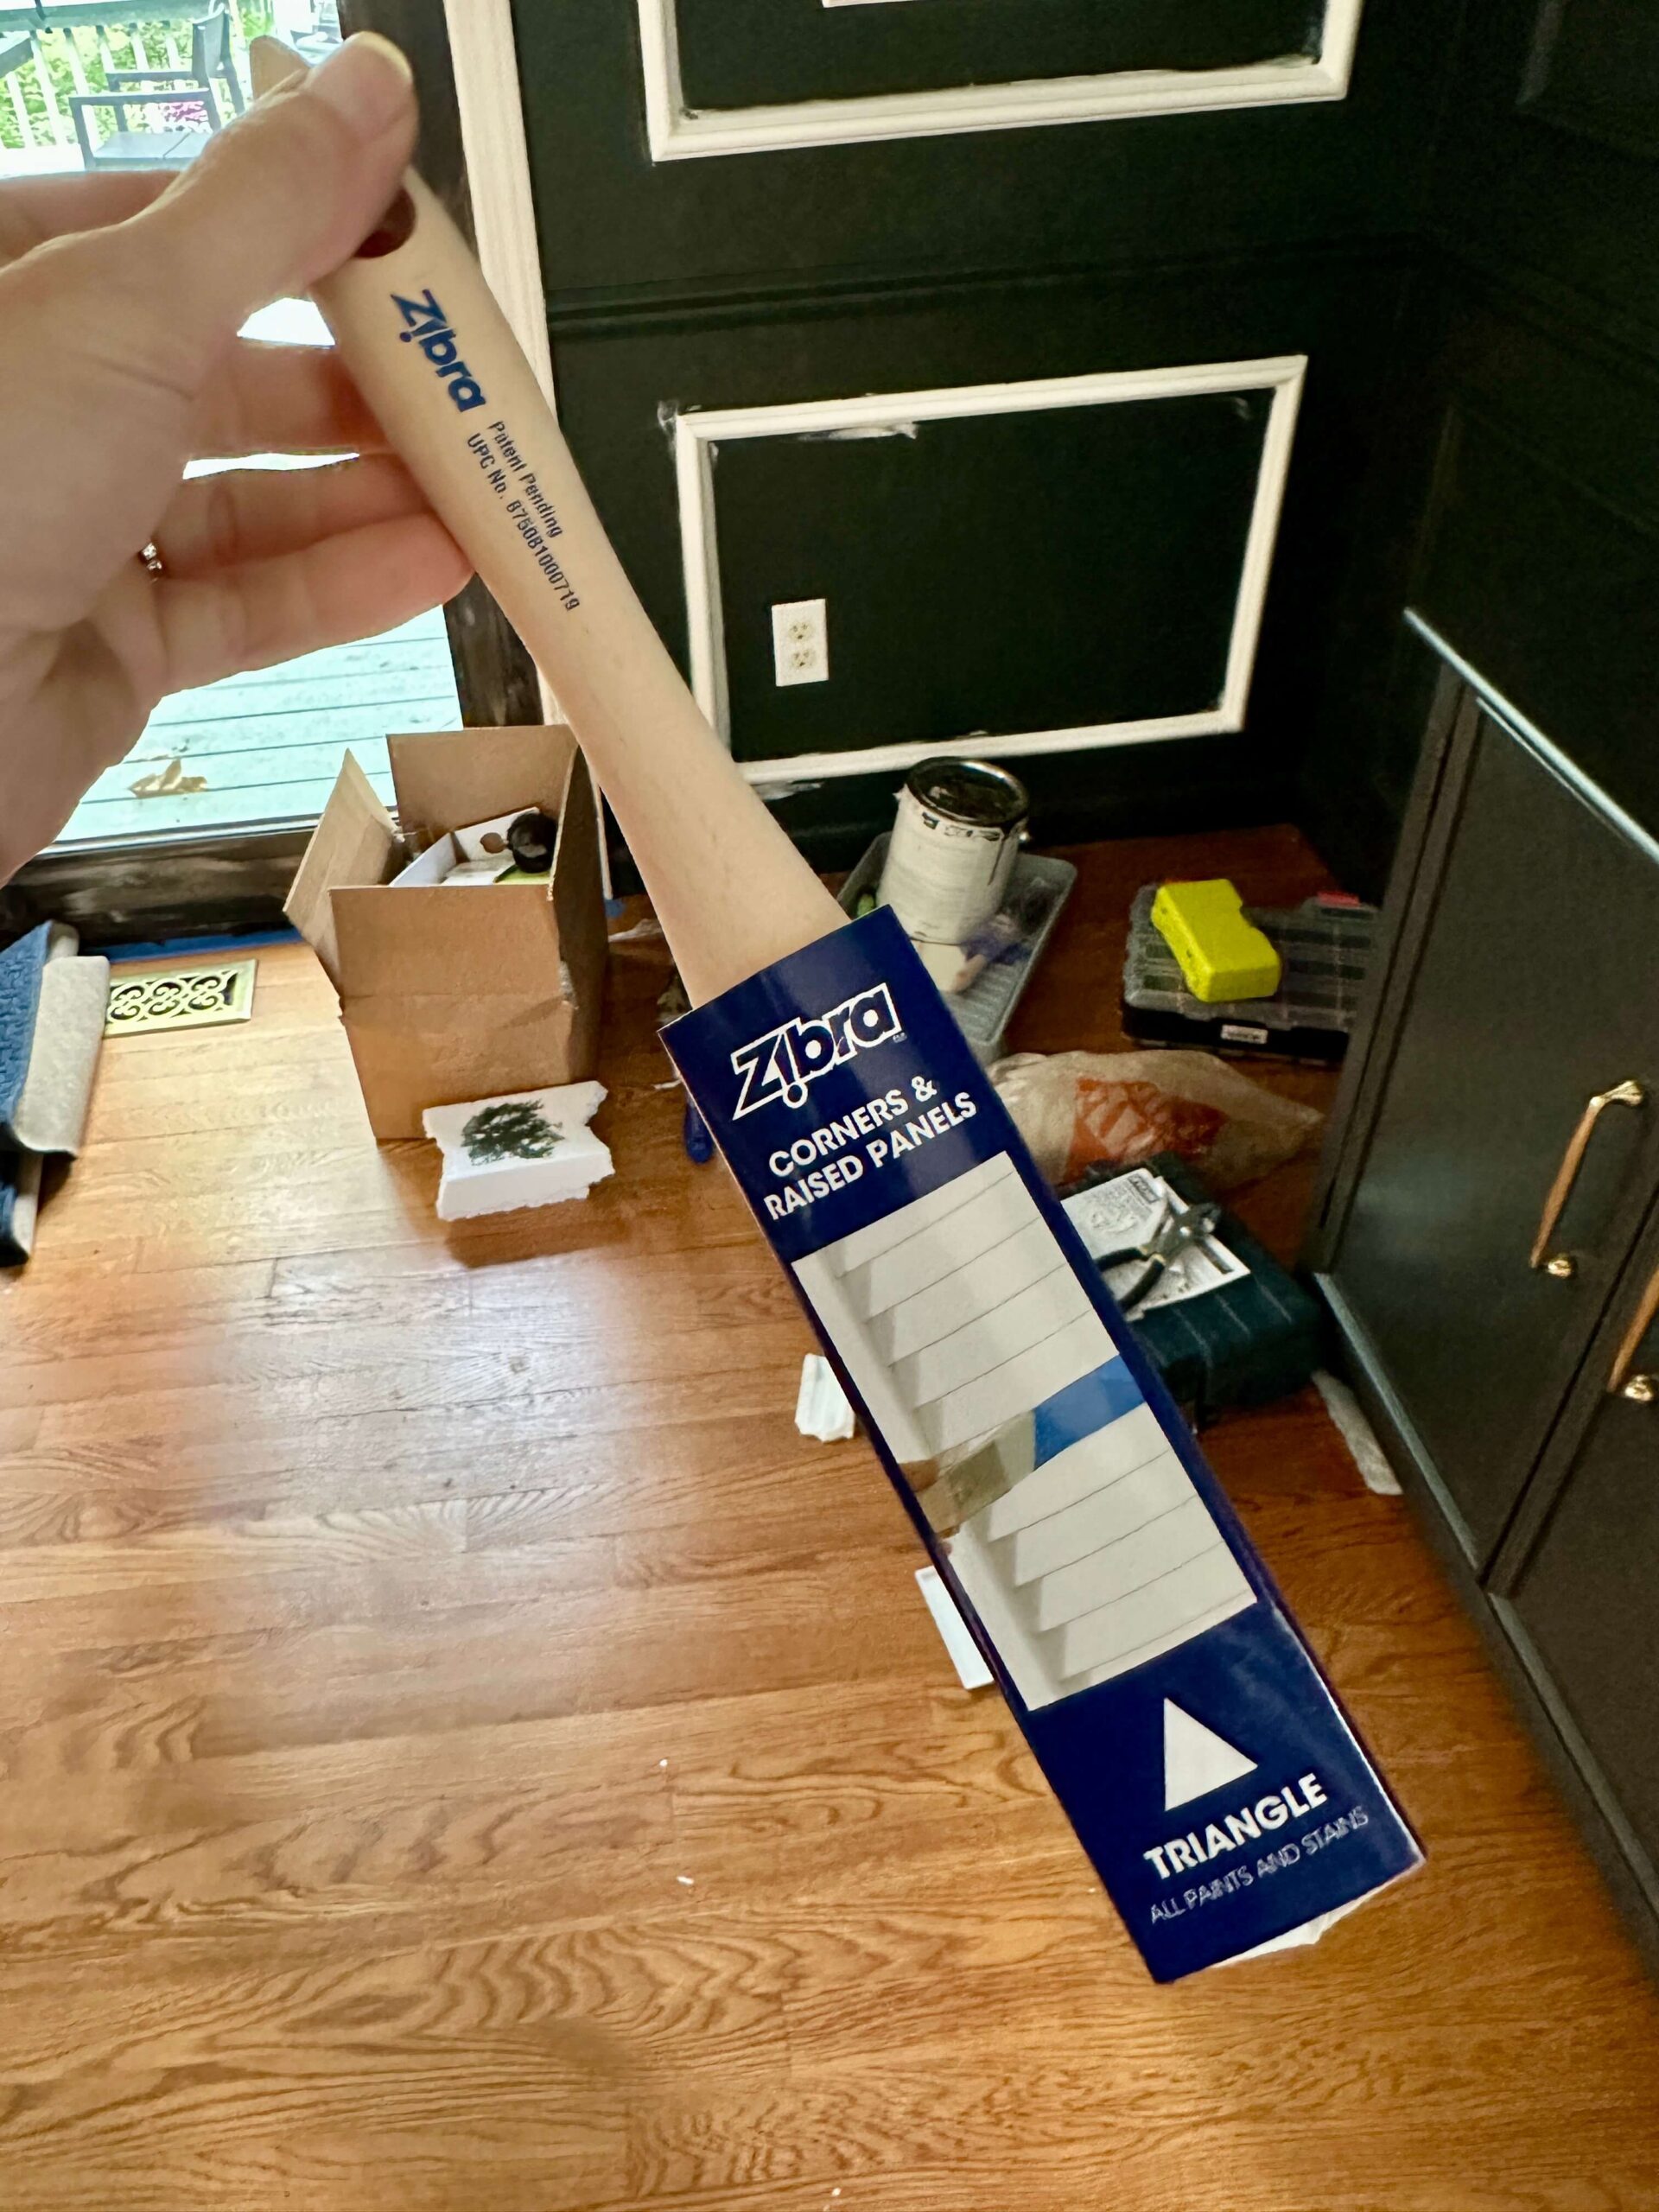
- A Zibra triangle brush
- A small foam roller frame and the actual foam
- Drop cloth (not necessary, but helpful)
- Painter’s Tape
- Rag and Surface Cleaner
I don’t use a drop cloth when I paint my doors, but if you are prone to paint drips, then a drop cloth is great to help protect your floors.
Before any DIY project, it’s important to do the proper prep, and it’s no different for less complicated projects like painting your doors.
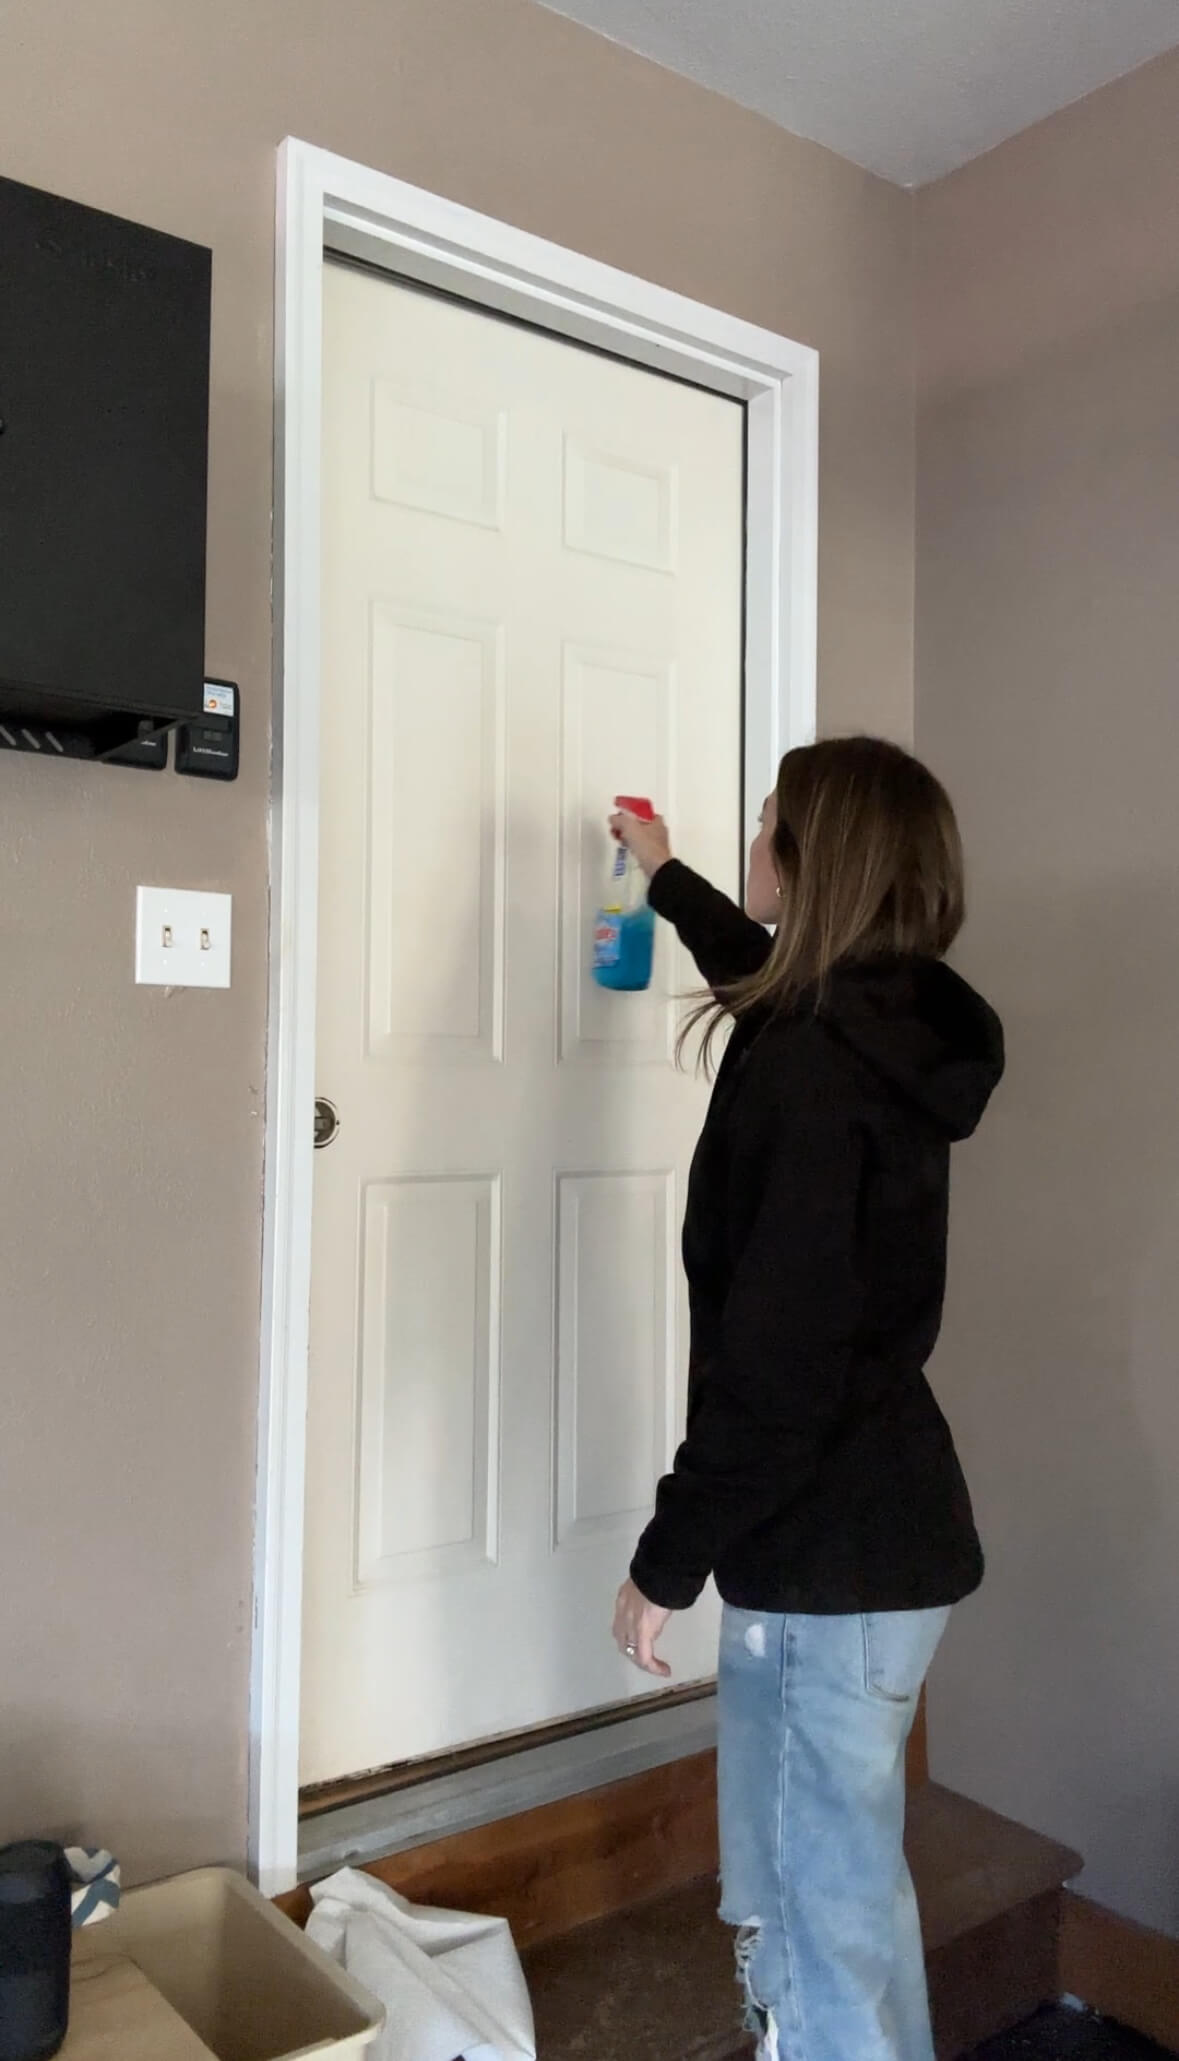
#1 How to Prep Your Doors for Painting
To get your doors prepped before painting them, you need to get your favorite cleaner (or just water and soap) and a rag, and thoroughly wipe down your door. You want to make sure that you get rid of all the dirt since that can affect how durable your paint will be. Plus, it helps ensure a smoother application.
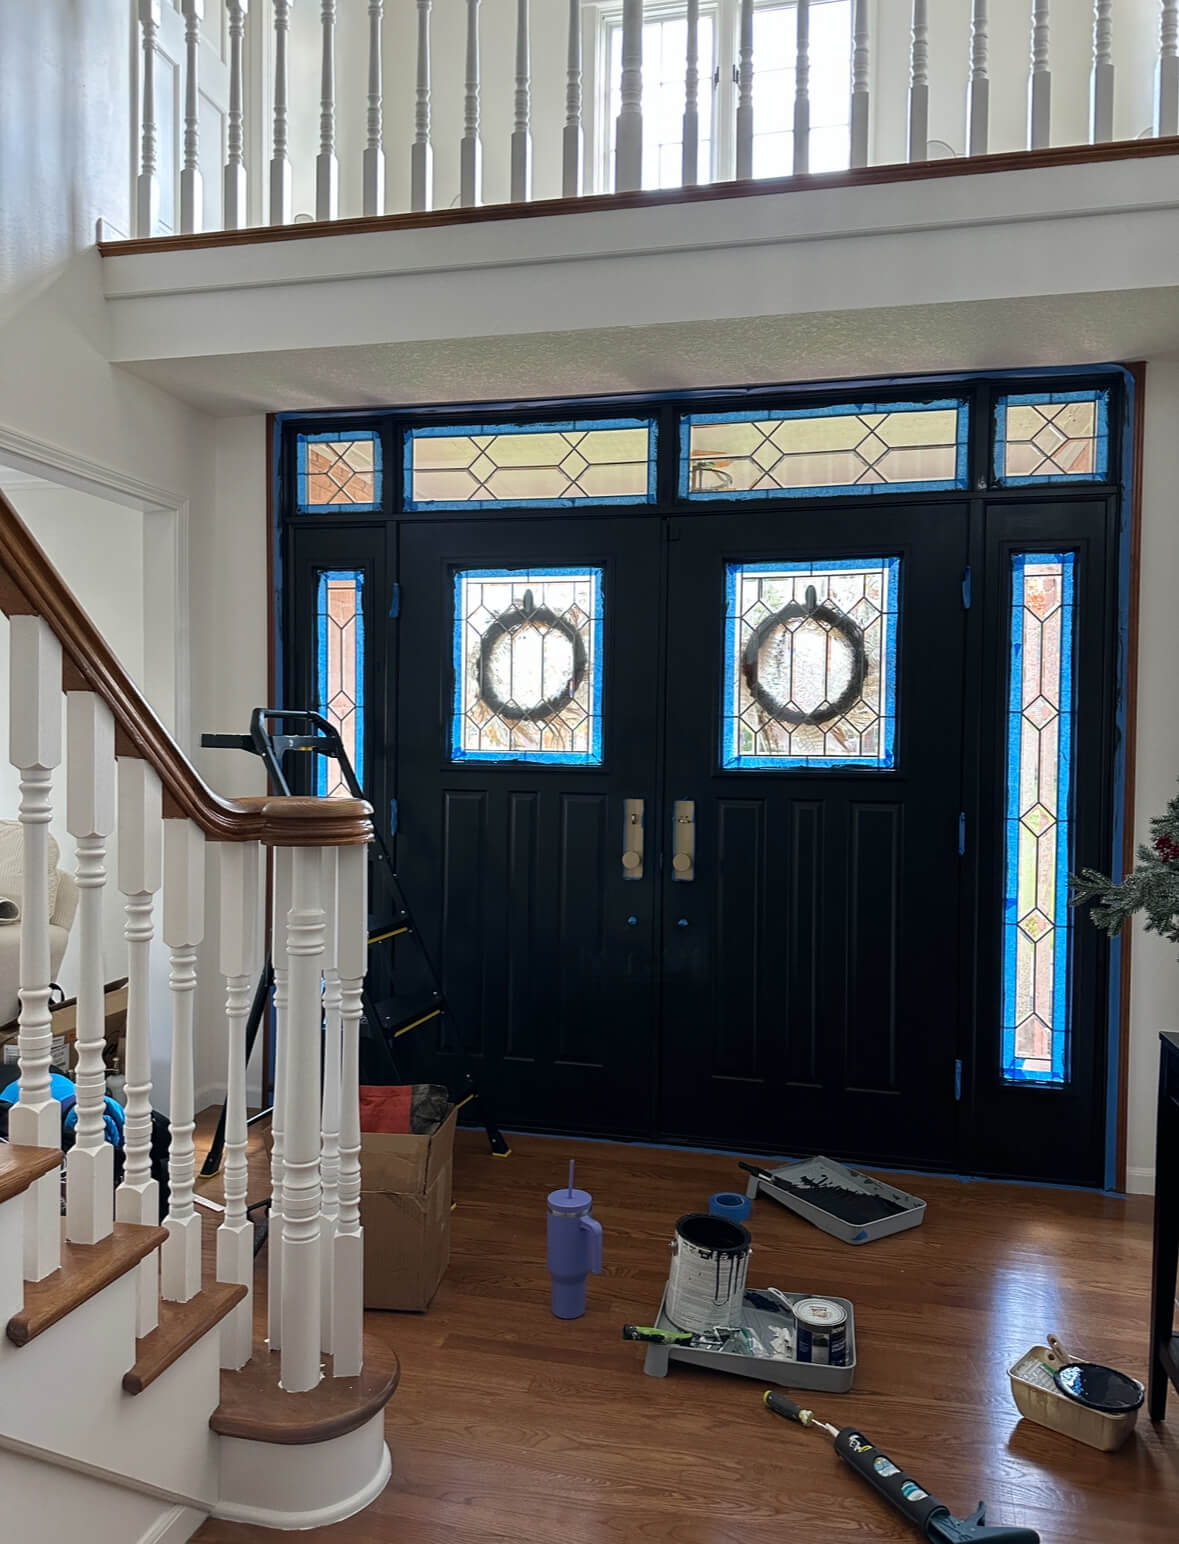
After wiping down your doors, remove the door handles if possible. Then use painters tape to protect the door hardware you didn’t take off. Some people think you have to remove the door from its hinges, but that’s not necessary. Just make sure to tape off the parts to avoid getting paint in unwanted spaces.
If you’re going to use a dropcloth, then make sure to lay it down in front of the door before you begin painting.
Also, Doors need light sanding with 220-grit sandpaper to rough up any old paint. This will help the new paint stick
After prepping your doors, it’s time to apply the paint!
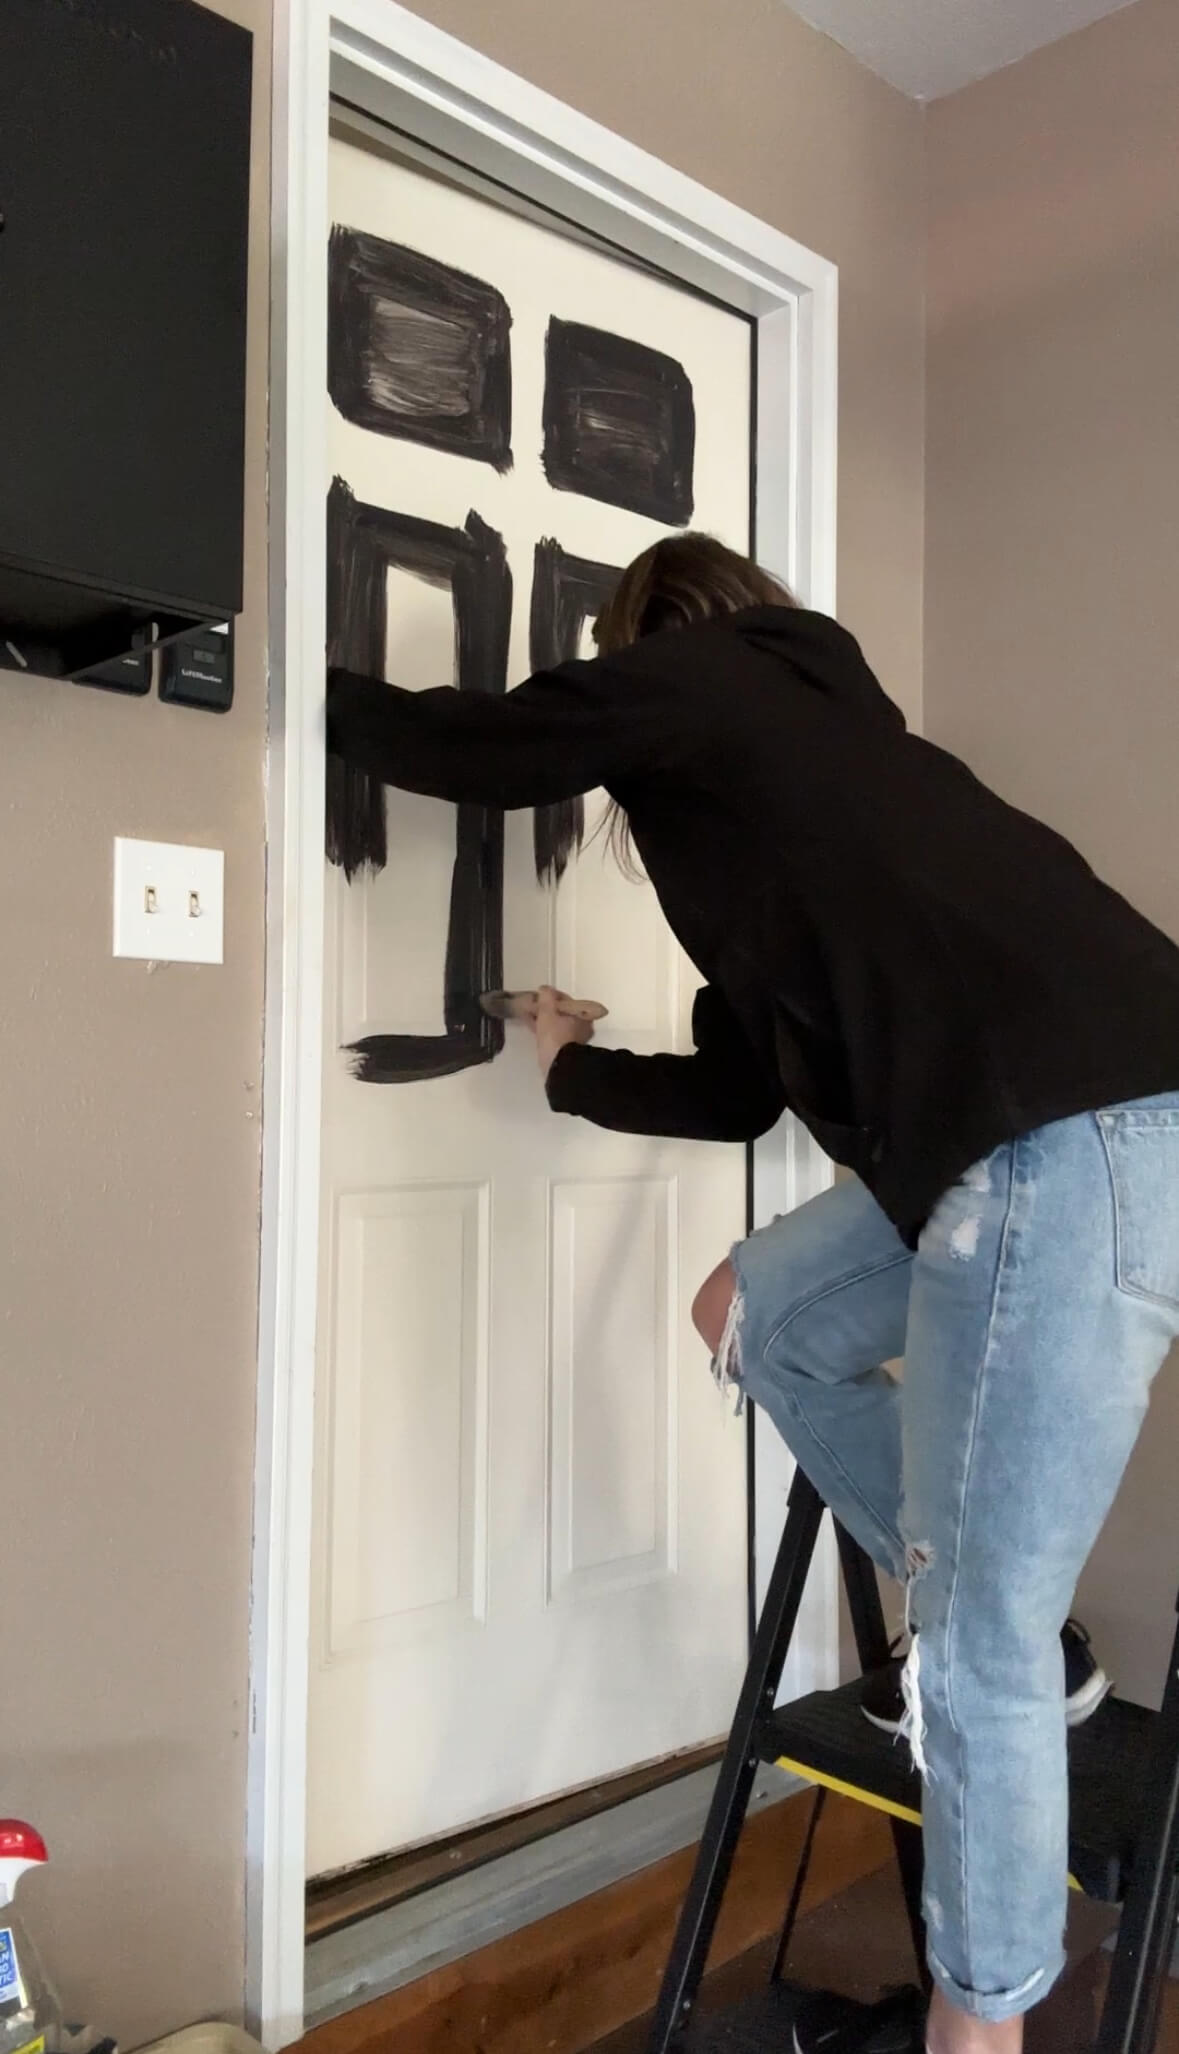
#2 Properly Applying Paint to Interior Doors
When applying paint to your doors, you can use regular paint, but cabinet paint is more durable and long-lasting.
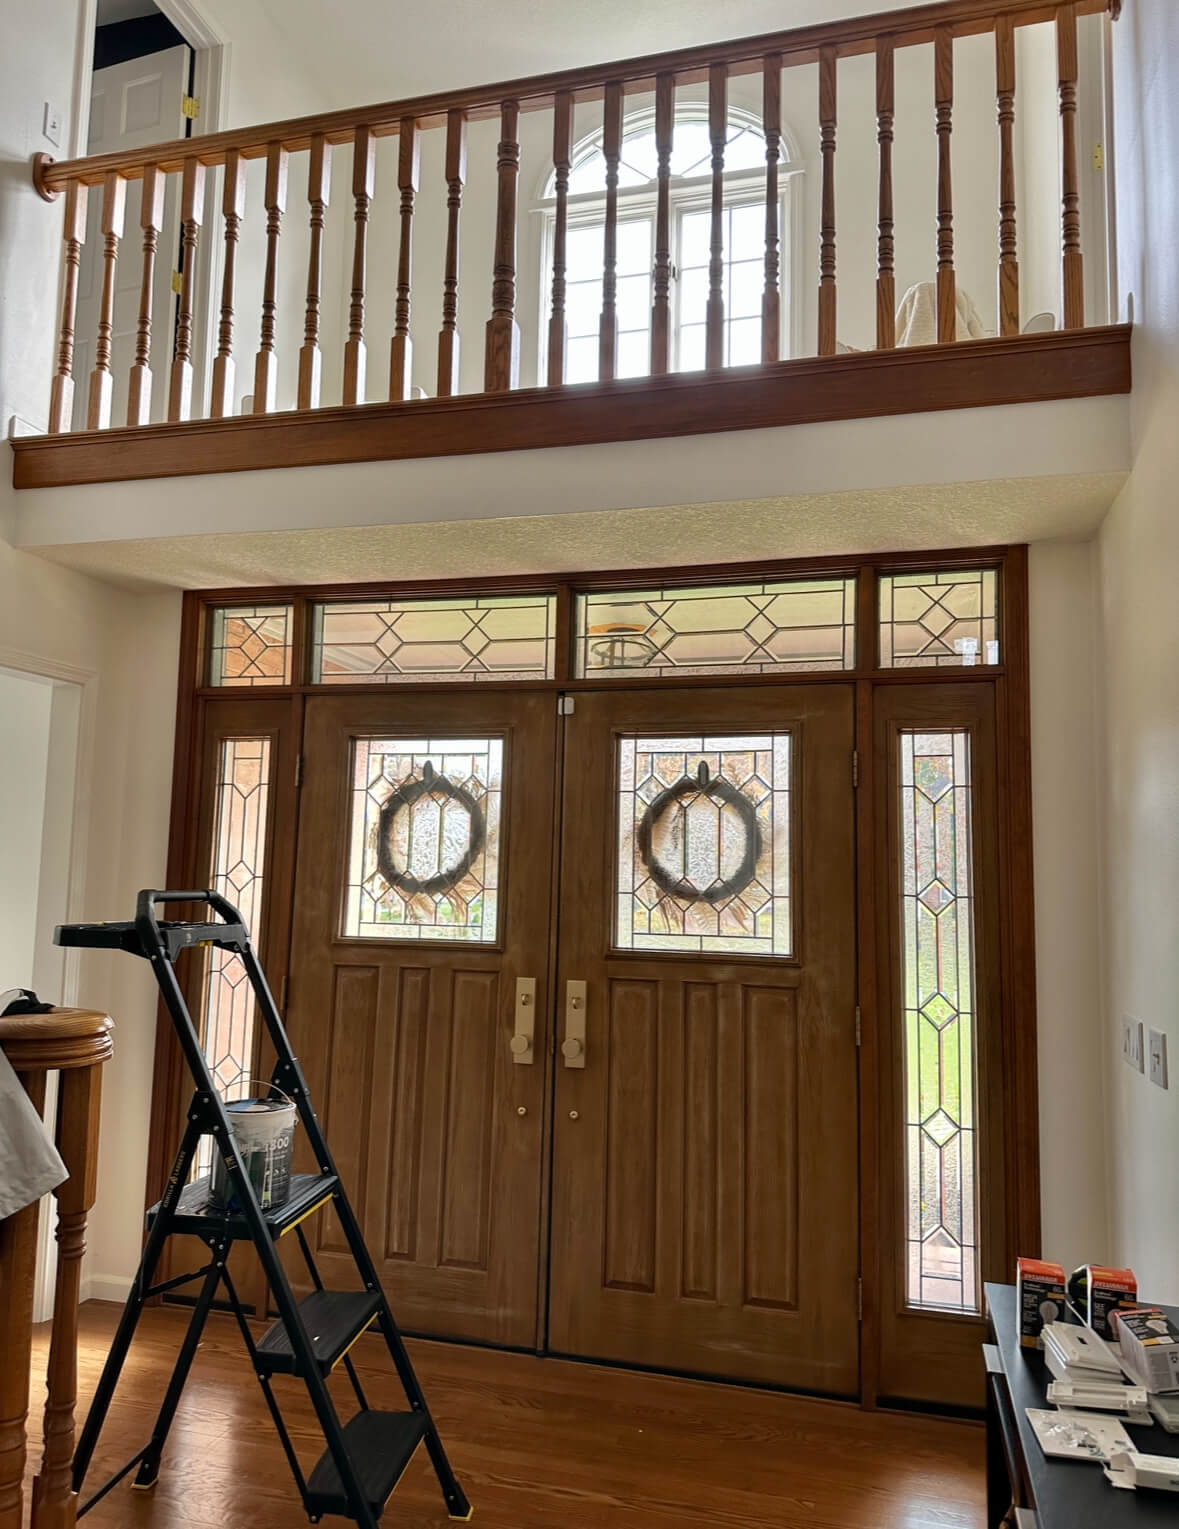
To get the correct application, the first step is determining if you need to apply primer. If the door has been previously painted, you won’t need a primer (as long as you follow the prep instructions above). If your door is a dark color and you’re going to a lighter color, a coat of primer will make that transition smoother.
After applying the primer (if you needed it), you will need to apply at least 2-3 coats of paint for the paint to look even, so don’t get discouraged when the first coat doesn’t look like you expected.
Is it better to use a brush or a roller?
You don’t need much to paint your door, but I do recommend that you use a small foam roller with bearings to get the most even look. I’ve painted my door with just a brush before, and while I still liked the final result, you will have better results with a foam roller.
Especially if you’re a beginner painter, then using a foam roller can provide an even coating with fewer bumps and no paint strokes.
One advantage of using cabinet paint is that it has some self-leveling agents in it, so it really helps to get the smoothest, brush-stroke-free finish.
However, I do like using a brush for insets and edges.
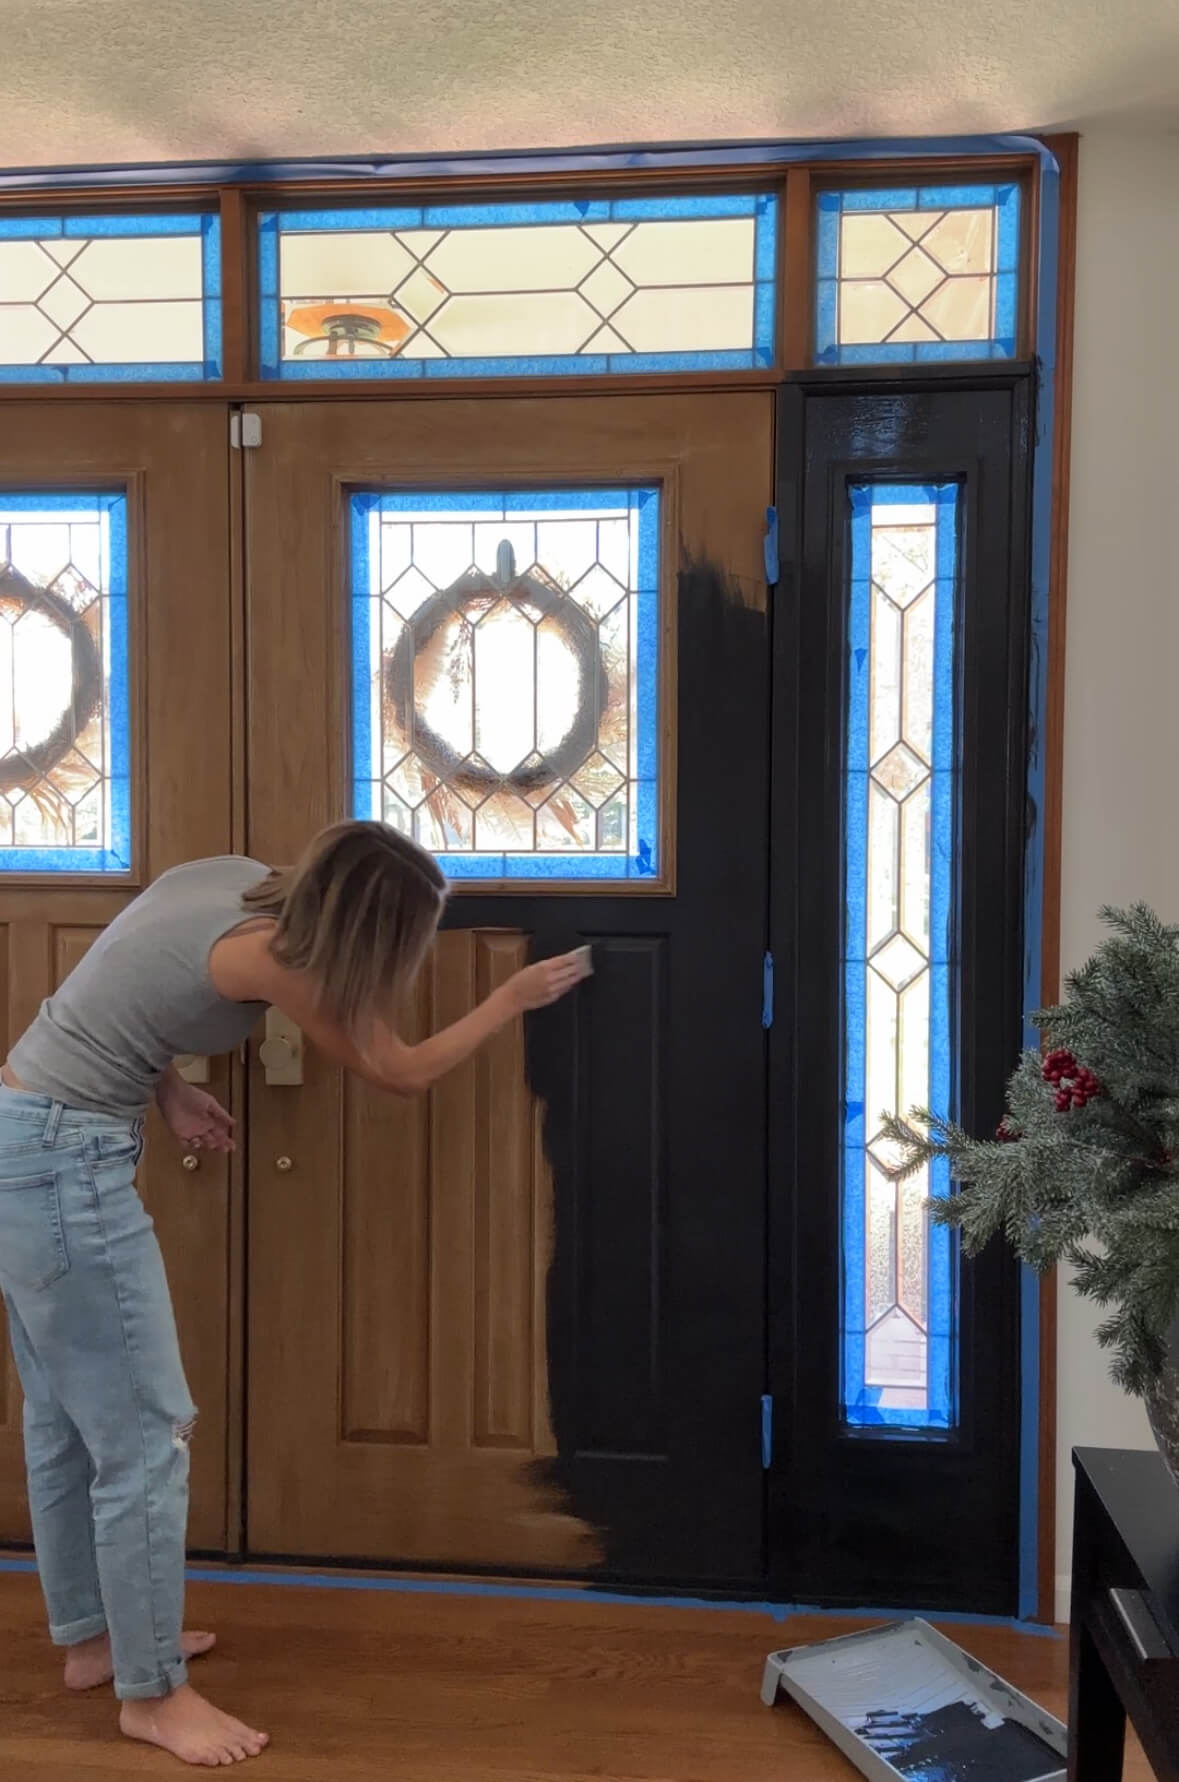
#3 Use a Detail Brush
Using a detail brush is great for all the tight spaces and around the hardware. You can get a basic triangle brush, and use it to get in all the details of your door. Then run the foam brush over the smooth areas to get rid of brush marks. That will take your painting job from DIY to professional-looking in no time.
And that’s it! With these 3 tips, you’re sure to get excellent coverage and the smooth door you’ve been wanting. Painting your doors is the perfect beginner DIY project and something that anyone can do.
Continuing Your DIY Journey
Now that you’ve painted your doors, you’ll probably want to start updating other parts of your home! If you’re ready to start doing projects that will transform your home, make sure to follow me on Instagram.
I’m always sharing my favorite projects, budget-friendly renos, and more! Of course, if you want some easy projects to get started on right away, here are some of my favorites:
Those are just a few of my favorites. You can find so many more on my Instagram!
XO Melissa