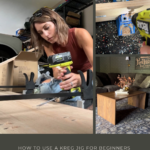
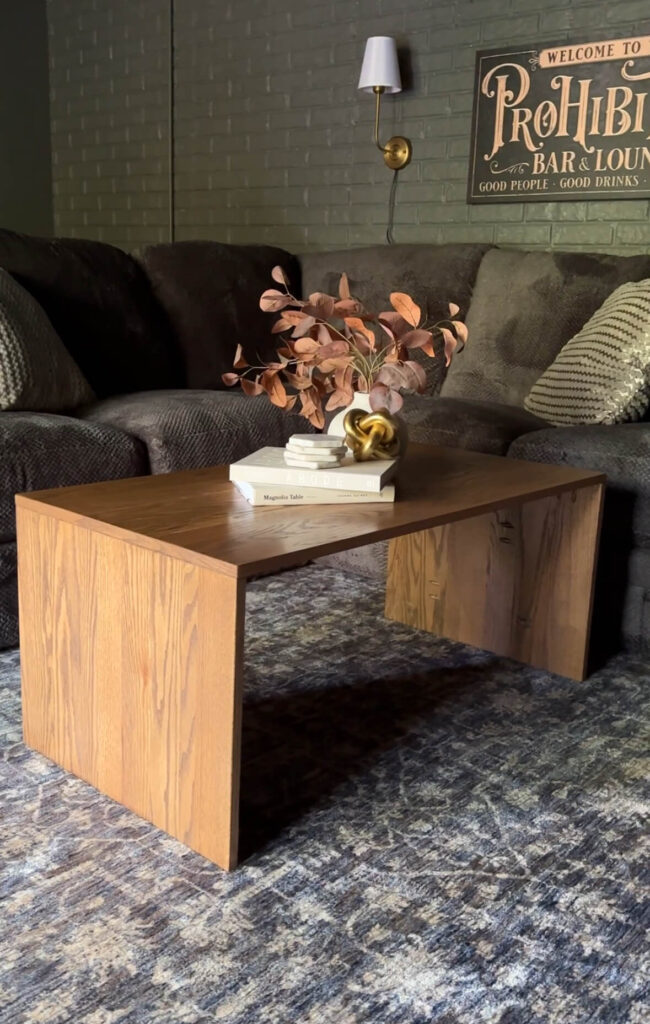
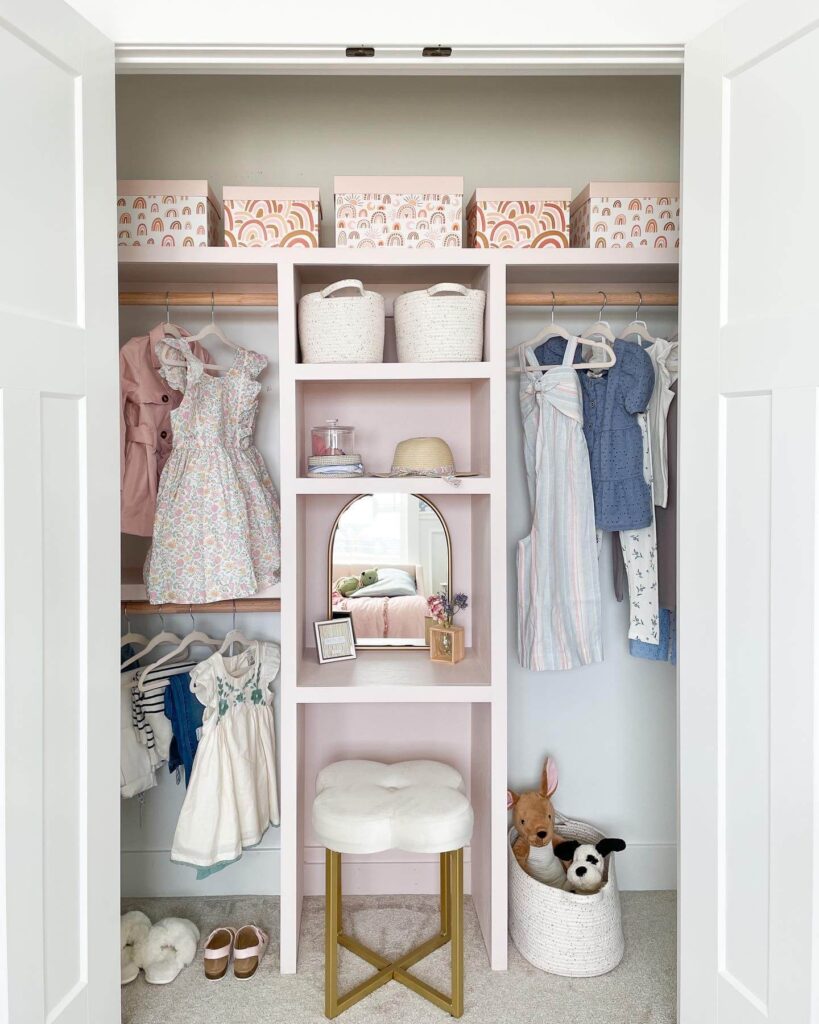
Whether you are looking to build a custom closet or build a new coffee table, there is one tool that you will find yourself reaching for again and again, the Kreg Pocket Hole Jig.

What is a Kreg Pocket Hole Jig? It is an invaluable tool that allows you to connect two pieces of wood without visible screws, providing a stronghold, without disrupting the high-end look of a piece. In other words, it takes your project from DIY to professional!
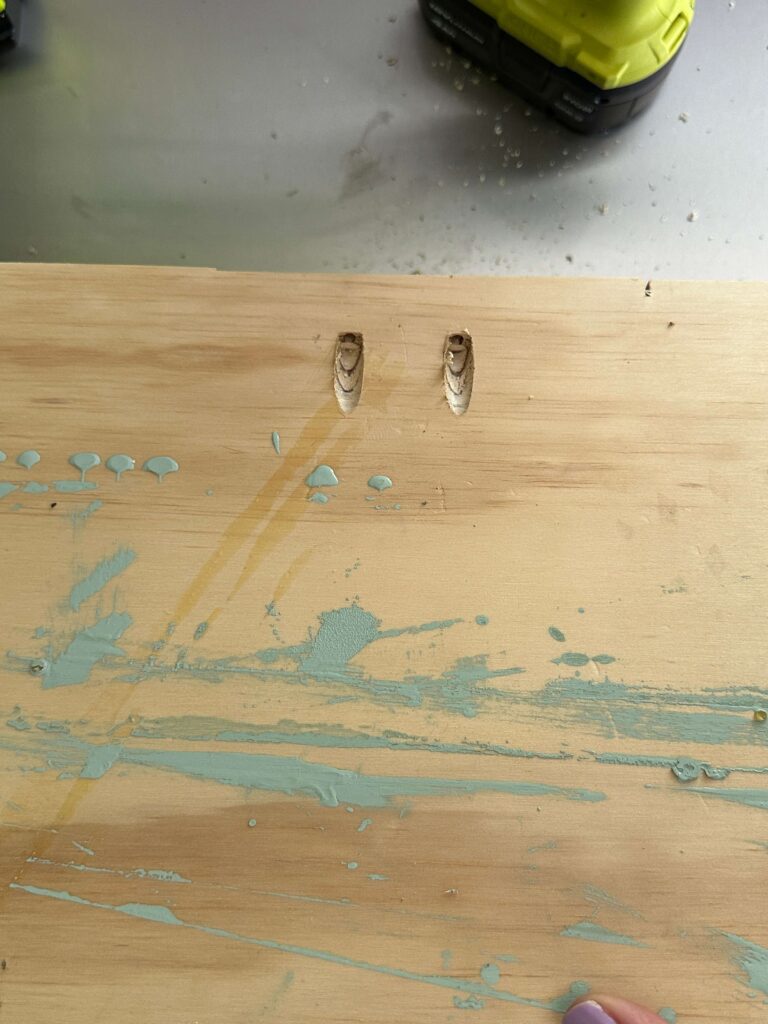
The Kreg jig makes pocket holes that provide a clean, professional look. It also creates perfectly straight holes without having to use a drill press.
But what is a “pocket hole”? You make a pocket hole by drilling at an angle into a piece of wood to create a pocket for a screw to fit into. This is the pocket-hole joinery technique. It’s a simple and strong way to join two pieces of wood. The Kreg Jig might feel intimidating at first, but learning how to use a Kreg Jig tool will transform your DIY game in the best way possible.
The Kreg Jig Basics
There are several types of pocket hole jigs, but I am a fan of the Kreg Jig brand. This kit comes with everything you need to get started, including pocket hole screws!
Do I need to Use the Kreg Jig Brand Screws?
While you can use other screws, the Kreg screws are specifically designed for pocket-holes.

They have a flat head that applies pressure evenly in the pocket hole. The self-tapping tip helps them drive in easily, and they are available for different types of woods and environments. While you don’t HAVE to use them, I choose to because I know they will consistently get the job done.
How to Set Up the Kreg Jig
Setting up the Kreg Jig might feel daunting at first, but it’s easier than you might think. The results are so worth it! You’ll love how it makes your finished project look polished and professional while still ensuring it’s super sturdy and will last a long time!
Make sure to refer to your manual when setting up your Kreg jig for the first time. I recommend keeping your manual in a safe place. Even though I’ve used my Kreg jig a million times, I still refer back to the manual before I begin. It’s easy to skip a step when going too quickly.
How to Use Your Kreg Jig in 3 Easy Steps:
- Adjust the Thickness: Use the markings on the height guide located on the top of the jig to adjust for the thickness of your wood.
- Set the Drill Bit Depth: Using the designated drill bit groove located on your Kreg Jig, lay the drill bit in there and line it up with the correct markings. Then, tighten the depth collar with a wrench around the drill bit to be able to maintain the appropriate length when drilling holes later on.
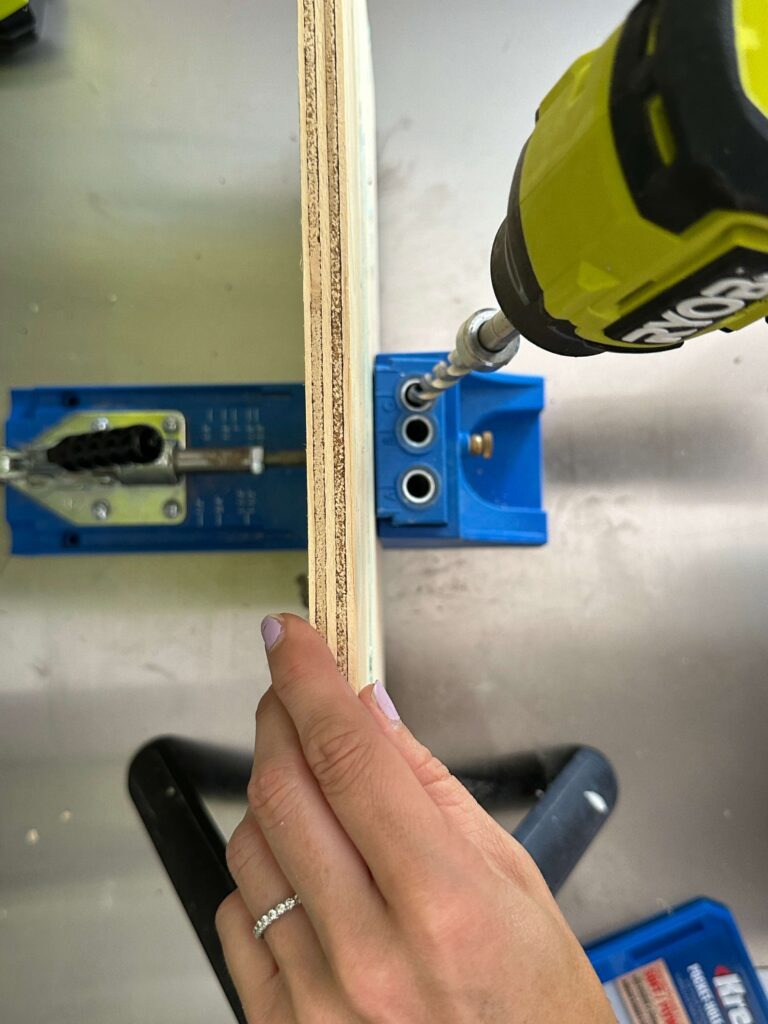
- Choose the Hole and Spacing: After making the adjustments, decide which hole and spacing make the most sense for the width of the wood that you are using. For example, when drilling into a 2×4, I use the two outer holes. When drilling into a 1×2, I use the two inner holes. If I am doing a project that uses an even wider or longer piece of wood, then I’ll use one hole and move the jig to have the spacing that I want and need.
If you’re more of a visual learner, then you can find the setup process on my Instagram. Look under the ‘Kreg Jig’ highlight bubble.
Using the Kreg Jig for the First Time
You can use your kreg jig in a variety of projects like benches, shelves, tables, etc. I even used mine to build my DIY Crib Mattress Porch Swing.
It keeps my projects super sturdy and gives them a professional appearance every time! When I built my farmhouse table in 2017 (one of my first DIY projects EVER), I made over 100 pocket holes. The Kreg jig made the process quick and smooth.
Tips for Success:
- Check All Your Adjustments: When you use the Kreg jig for the first time, you’ll want to double-check all of your adjustments. I still break out the instruction book during setup, just to make sure I don’t make a mistake!
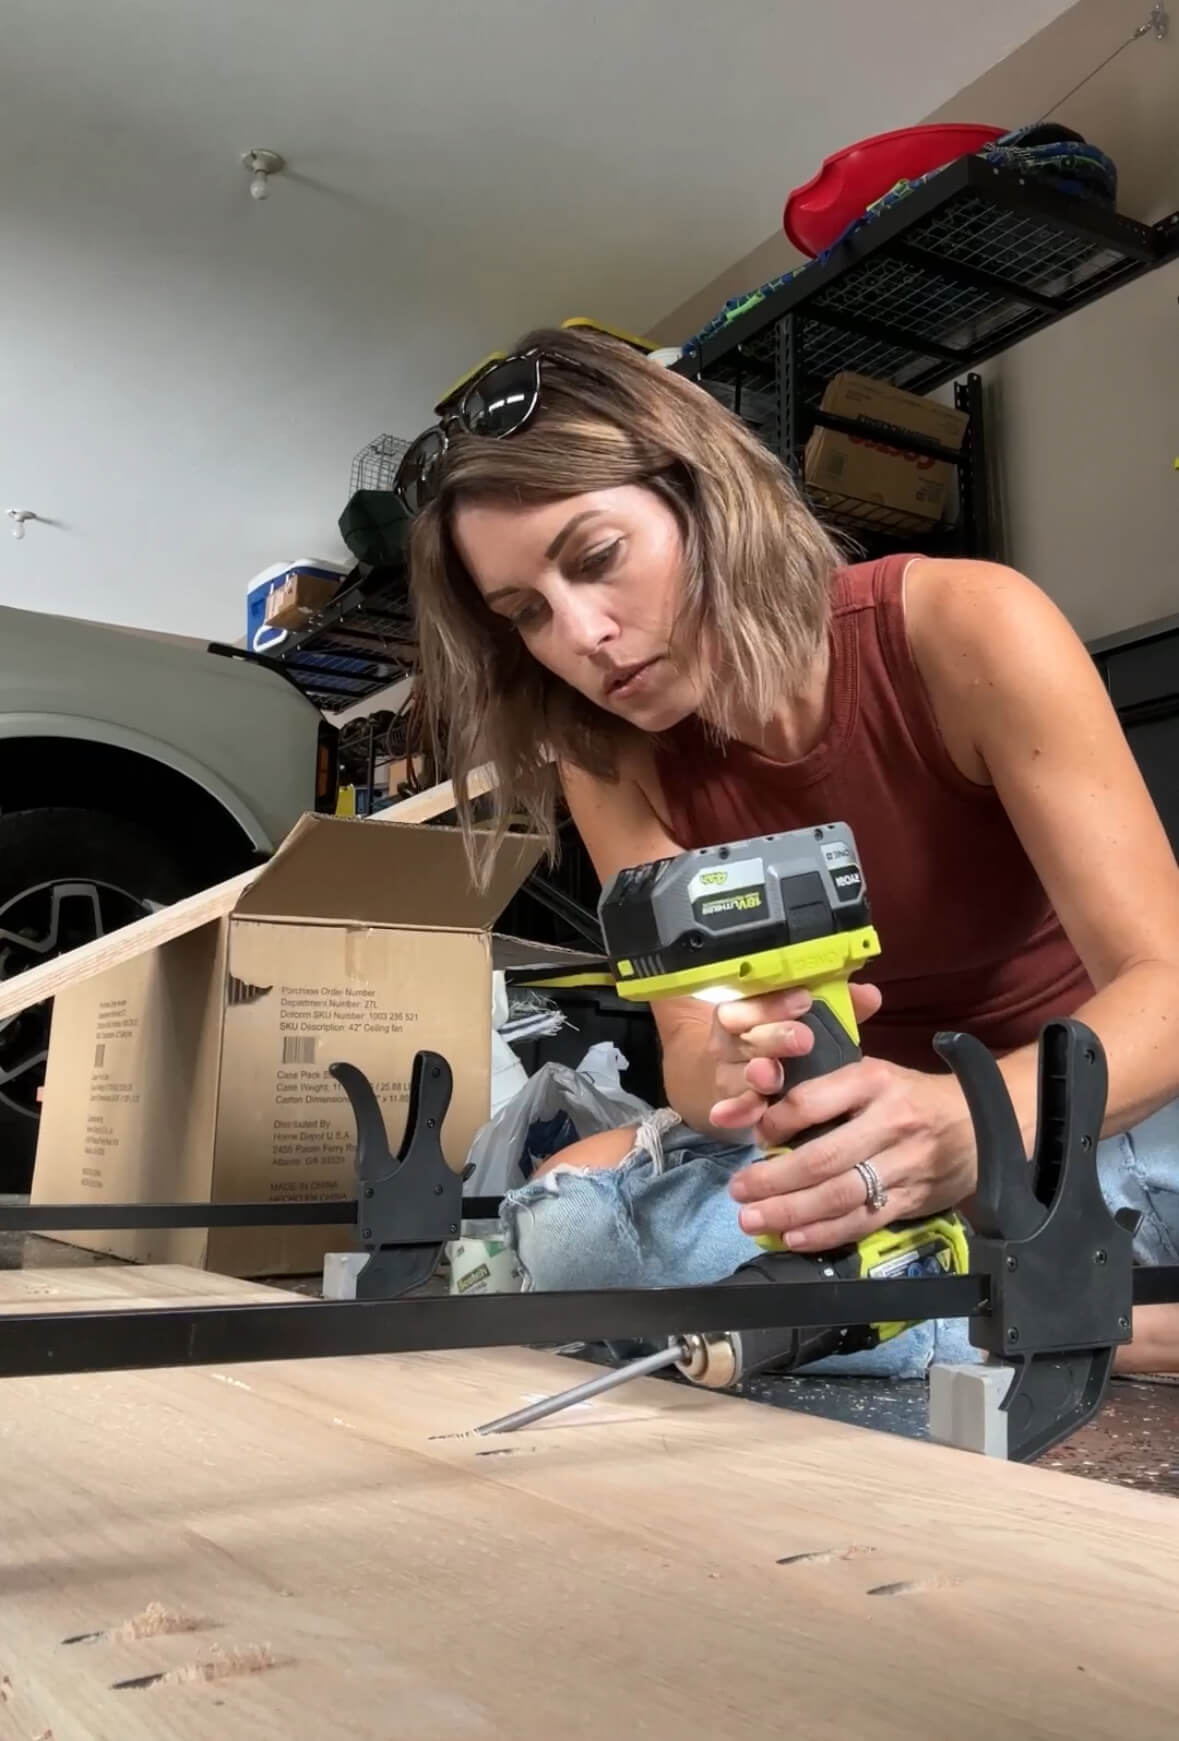
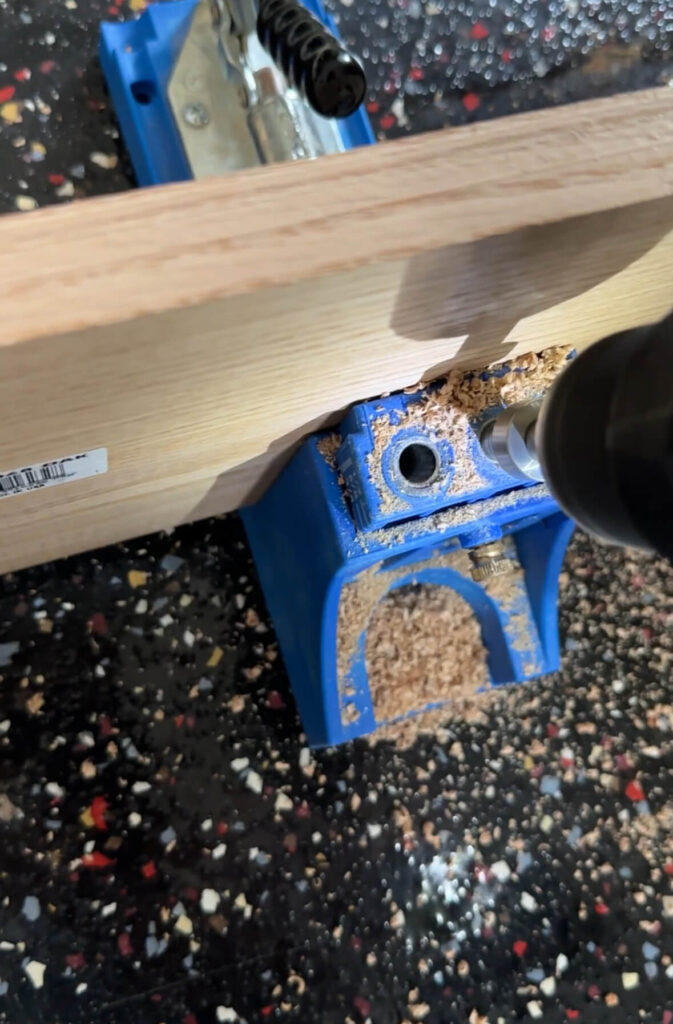
- Clamp Your Wood: Using the Kreg Jig, make sure to secure your wood into place using the clamp on the Kreg Jig itself.
- Make a Test Joint: I recommend using a scrap piece of wood with similar measurements to make a test joint before you do your first ‘real’ one.
- Drill the Pocket Holes: After you have the wood in the clamp and in place, plunge the drill into the holes you are using until you reach the depth collar.
- Measure and Space Out Your Holes on Both Boards: If you’re using a lengthy board and doing multiple pocket holes, it’s recommended that you space them 6” to 8” apart. If you’re only making two holes on a 1×2 or 2×4, then you can use the two holes and spacing that are already provided for you.
- Line Up and Clamp: Use clamps to hold the two pieces of wood that you’re joining together. Always use wood glue! Wood glue is extremely strong and will keep your joints tight. Apply the glue before clamping the wood together. You will then clamp your two pieces of wood together. While this can be done without a clamp, you will get a much better joint if you invest in a set of clamps. I use this brand of clamps, it’s a great set to get started. If you don’t use clamps, expect to have to do more sanding and finishing touches to your project.
- Screw Pieces Together: Use your square bit to screw your project into place. Set the clutch on the drill to low to avoid overdriving!

And that’s it! You’ve made your very first pocket hole!
Projects to Try with Your New Tool
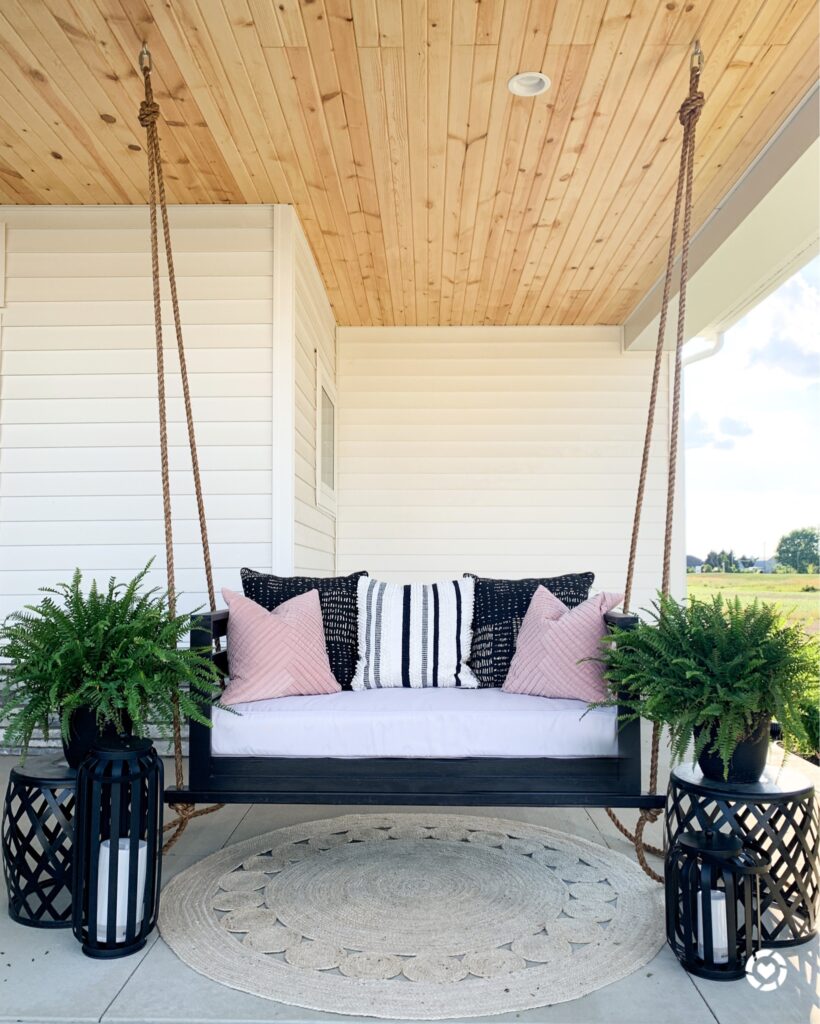
Getting a new tool is always exciting, and the Kreg Jig opens up a world of possibilities! Get your new Kreg Jig, and start working on projects like this beautiful porch swing. I’ve got a detailed post about how I built my porch swing with my Kreg Jig and Brad Nailer that you’re sure to love!
You can also find other fun projects on my Instagram like

And if you’re still unsure about the Kreg Jig, but still want to transform your space, check out a few of my easy beginner projects. These can elevate your space and make it feel more personalized and cozy!
XO Melissa