Jump to Supply List
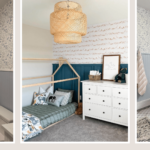
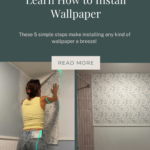
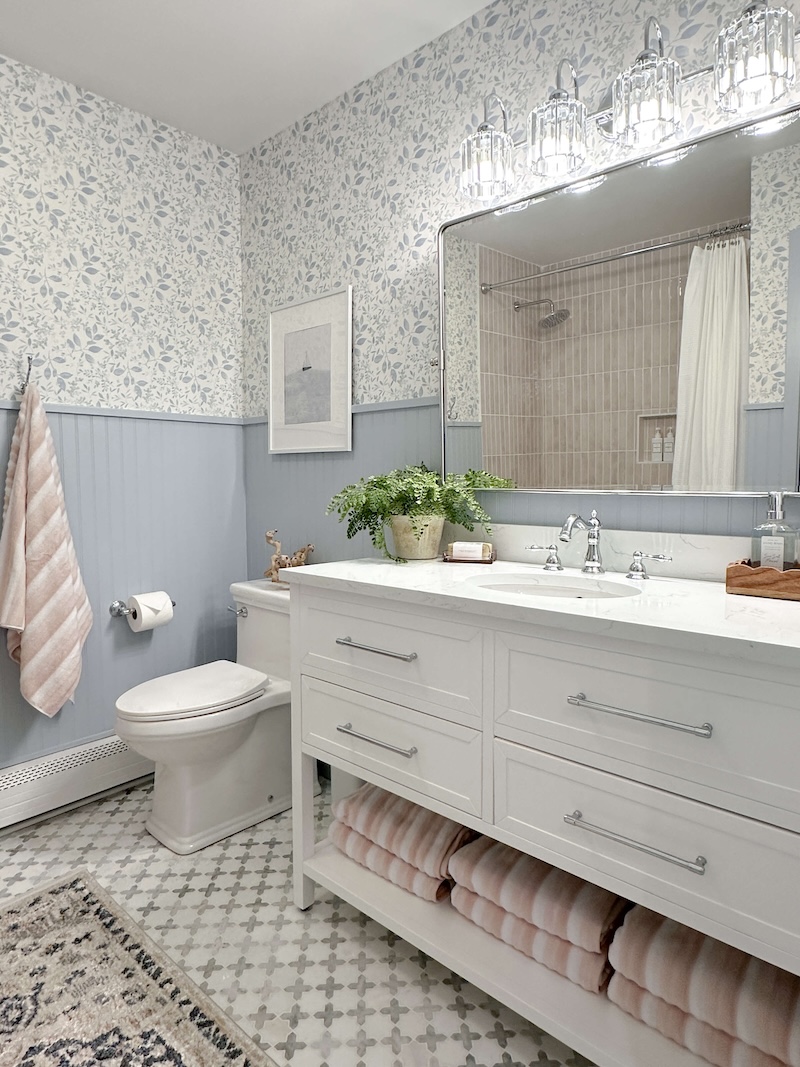
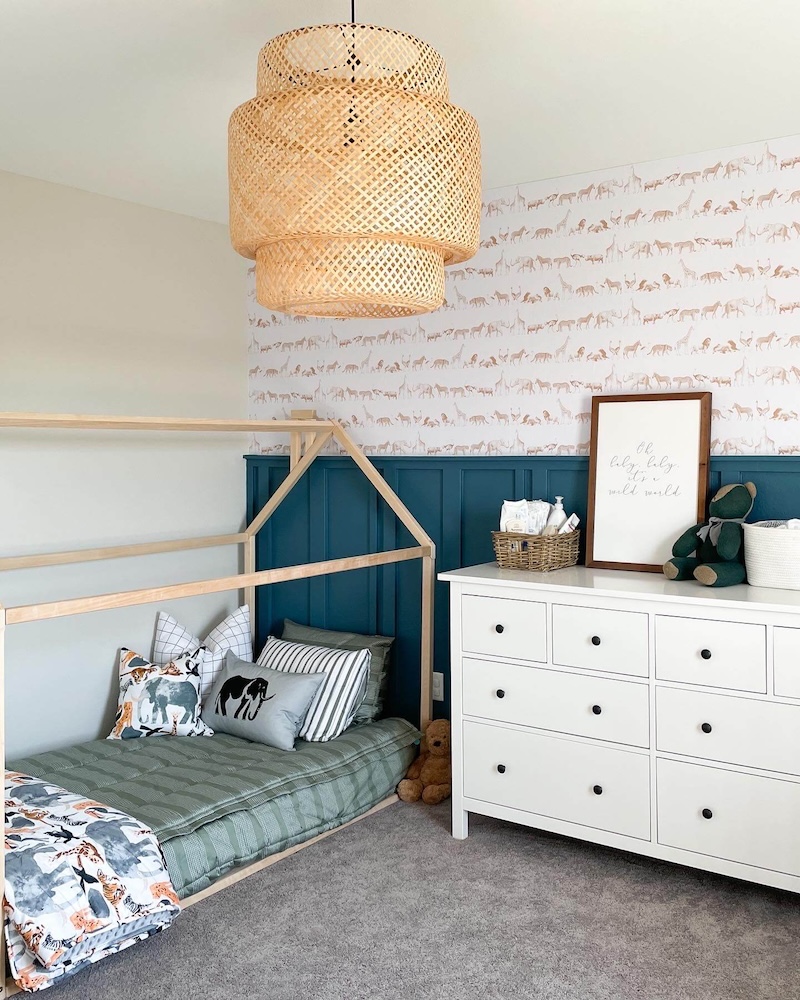
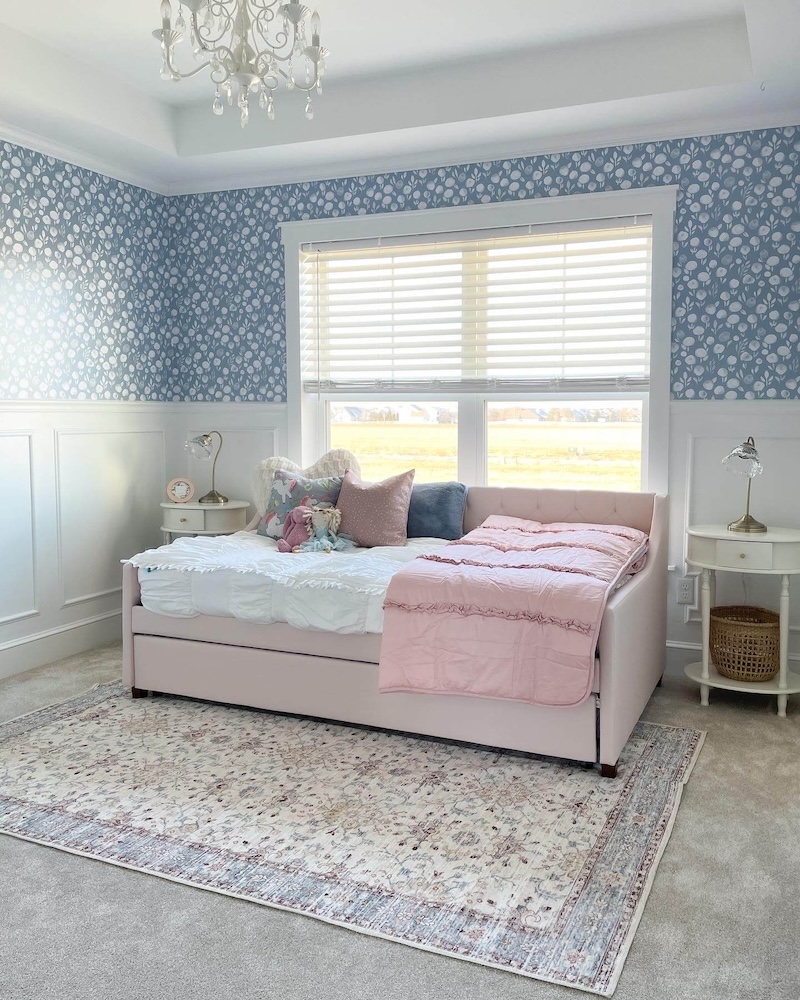
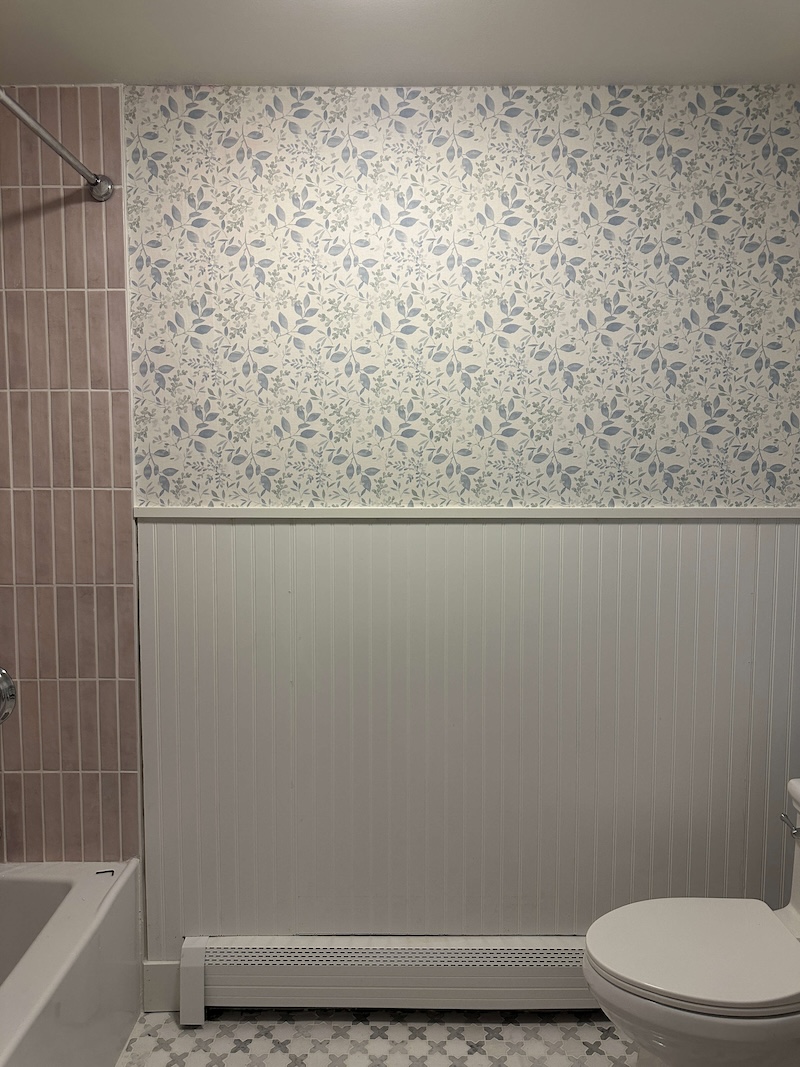
Installing wallpaper is a beginner-friendly DIY that can give your room a major facelift. Wallpaper can be used as a fun accent wall, a backsplash, or a visual feature above your beadboard. This post breaks down how to install wallpaper in 5 quick and easy steps so you can feel prepared for the perfect installation!

Types of Wallpaper
Before you learn how to install wallpaper, let’s talk about the different types of wallpaper and how to apply each kind. There are 3 different types of wallpaper, and they are installed in various ways.
Non-Pasted Wallpaper
Non-pasted wallpaper requires mixing your own paste to adhere it to the wall. I’ve personally never tried this type, but many people prefer it.
Non-pasted wallpaper is generally considered more durable, but it can be more finicky to apply. If you’re looking for longer-lasting wallpaper that will be longer-lasting, then non-pasted wallpaper may be the best choice for you.
Pre-Pasted Wallpaper
Pre-pasted wallpaper is more permanent than peel-and-stick wallpaper and is a common choice for DIYers and professionals alike. What differentiates pre-pasted wallpaper from the others is that pre-pasted wallpaper comes with adhesive on the back of the wallpaper (versus having to mix the paste yourself).
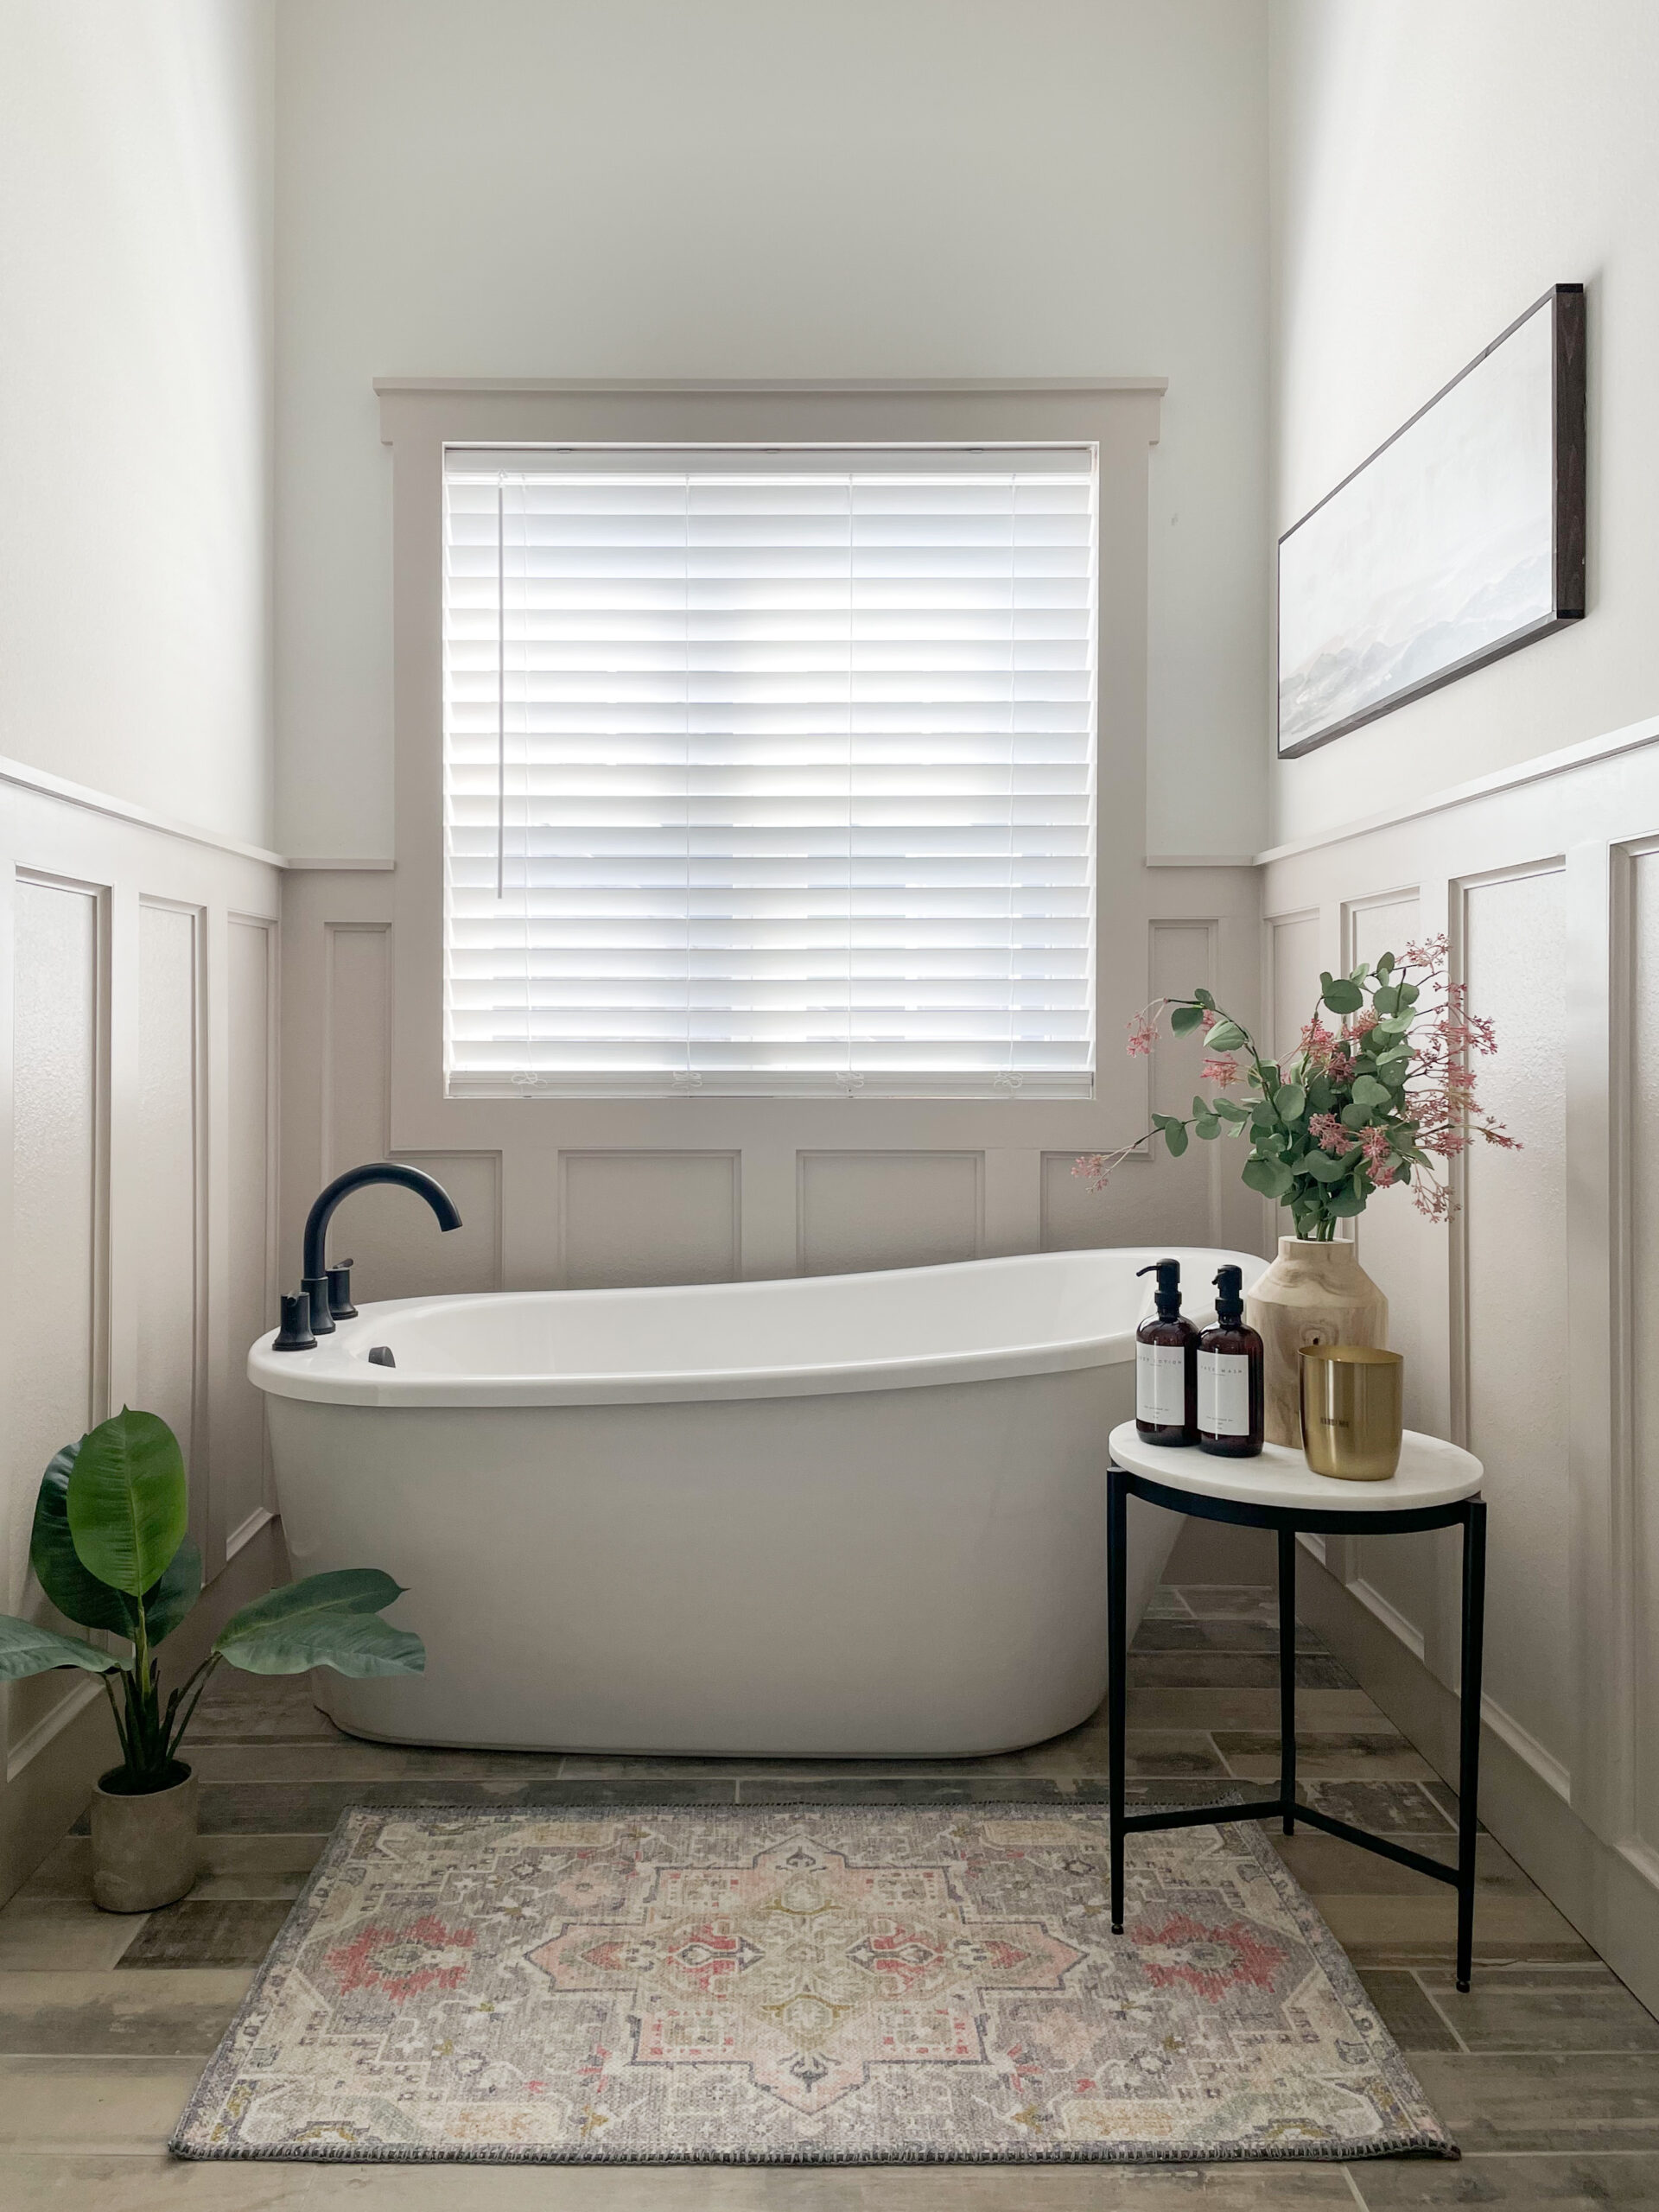
Pre-pasted wallpaper requires water to activate the glue already on the back of the wallpaper. So many people were telling me that it was superior to peel-and-stick so I decided to try using it for my Lake House DIY bathroom remodel. And honestly, it was not my favorite wallpaper. I found it to be messy and difficult to apply.
Peel-and-Stick Wallpaper
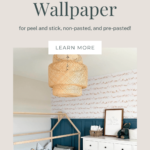
Peel-and-stick wallpaper is my personal favorite for installing wallpaper. To apply peel-and-stick wallpaper you simply peel off the backing and stick it to the wall. It really couldn’t be easier.
Not only is it easy to apply, but it’s the least messy wallpaper application process as well. You also have more flexibility with this wallpaper because it is easier to remove that non-pasted and pre-pasted wallpaper. For someone who likes to change up their spaces fairly often, peel-and-stick wallpaper is the way to go!
How Much Wallpaper Do I Need?
Ordering wallpaper, depending on the brand, can get expensive quickly. When purchasing wallpaper, you want to make sure you have enough to finish your project without overordering, but you also don’t want to get to the last 2 feet of wall space with absolutely no wallpaper left. Ask me how I know…
So even though it may be tempting to just guess how much wallpaper you need, I recommend doing the math to ultimately save you money and frustration.
To calculate how much wallpaper you need for your DIY, grab your measuring tape from your set of hand tools and start measuring the walls where you plan to install the wallpaper.
Measure the height and width of each wall assuming you want to cover the entire wall, then multiply the two numbers together. That will give you the total square feet of wallpaper you’ll need for that ONE wall. If that wall has a door or window, you can also find the area of the door or window (in the same way), and subtract that from the total amount of square footage.
To convert your square feet into rolls, look up how many square feet your roll of wallpaper covers. Divide the number of square feet you need by the number of square feet in a roll, and you’ll have an idea of how many rolls you need to purchase.
If this process doesn’t make sense, you can also look up wallpaper calculators online. There are many different ones to try that help you calculate the number of wallpaper rolls to buy for your space. In the past, I’ve used this calculator from Lowe’s.
How to Install Wallpaper
Let’s dive into the step-by-step process of how to install the 3 different types of wallpaper.
1. Purchase Your Wallpaper
Before diving into the installation process, you need to choose what wallpaper you want to use for your project. You also need to decide on a wallpaper design that you really love and that works with your decor.
I prefer using peel-and-stick wallpaper because it is easiest to apply and remove. There are also a lot of great peel-and-stick wallpaper designs available. I like to get my peel-and-stick wallpaper from Timber Leaco. It’s so easy to install, and there are a lot of fun patterns to choose from!
If you are looking for pre-pasted or non-pasted wallpaper, there are also many amazing choices! I found the wallpaper I used at the lake house on Amazon and the quality was amazing!
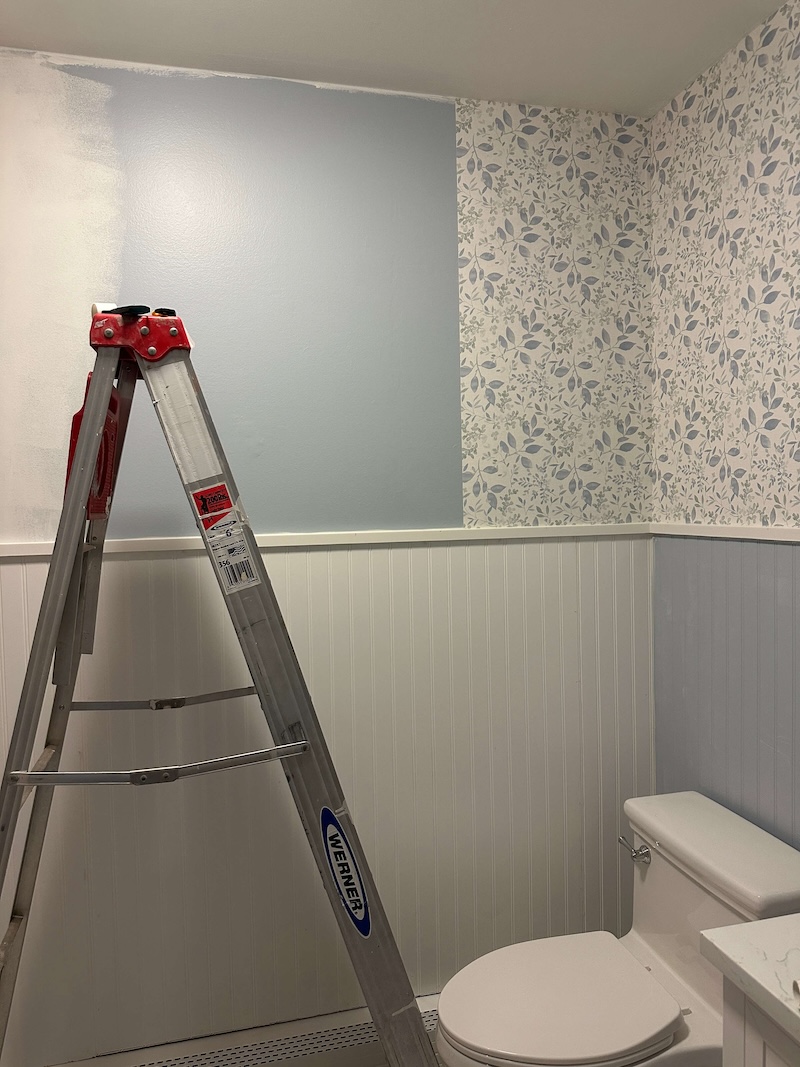
2. Prep the Walls
Prior to hanging the wallpaper, you need to prep the walls by cleaning them well, removing any outlet covers, and turning off the electricity to the outlets.
Any wallpaper will stick better if the walls are free from dirt and grime. To thoroughly clean the walls, wipe them well with soap and water. Let the walls fully dry before moving onto the next step! This process takes almost no time at all and is easy to do.
If there are outlets where you are hanging your wallpaper, make sure to remove all the outlet covers. You also want to turn off the electricity to those outlets, so you don’t accidentally hurt yourself when cutting out the holes in the wallpaper.
If you are wallpapering over freshly hung drywall or think you may want to remove your wallpaper in the future, be sure to give the walls a quick coat of wallpaper primer.
3. Mark the Walls
When hanging wallpaper, you want to make each piece as straight as possible. One trap that people fall into is only using the ceiling as a guide. I can guarantee that this strategy will end up with a crooked wallpaper installation.
To ensure the best wallpaper installation, you need to use a straight line as a guide. Take your measuring tape and level to mark straight lines down your wall in regular intervals (depending on the width of your wallpaper) with a pencil.
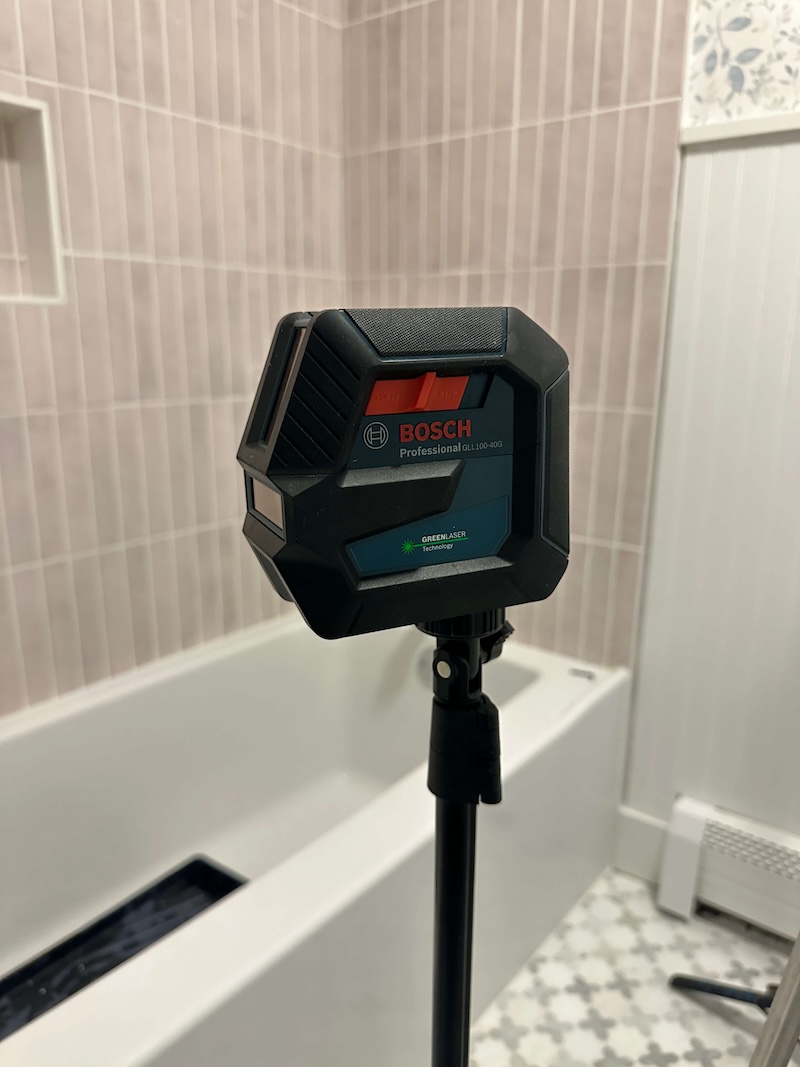
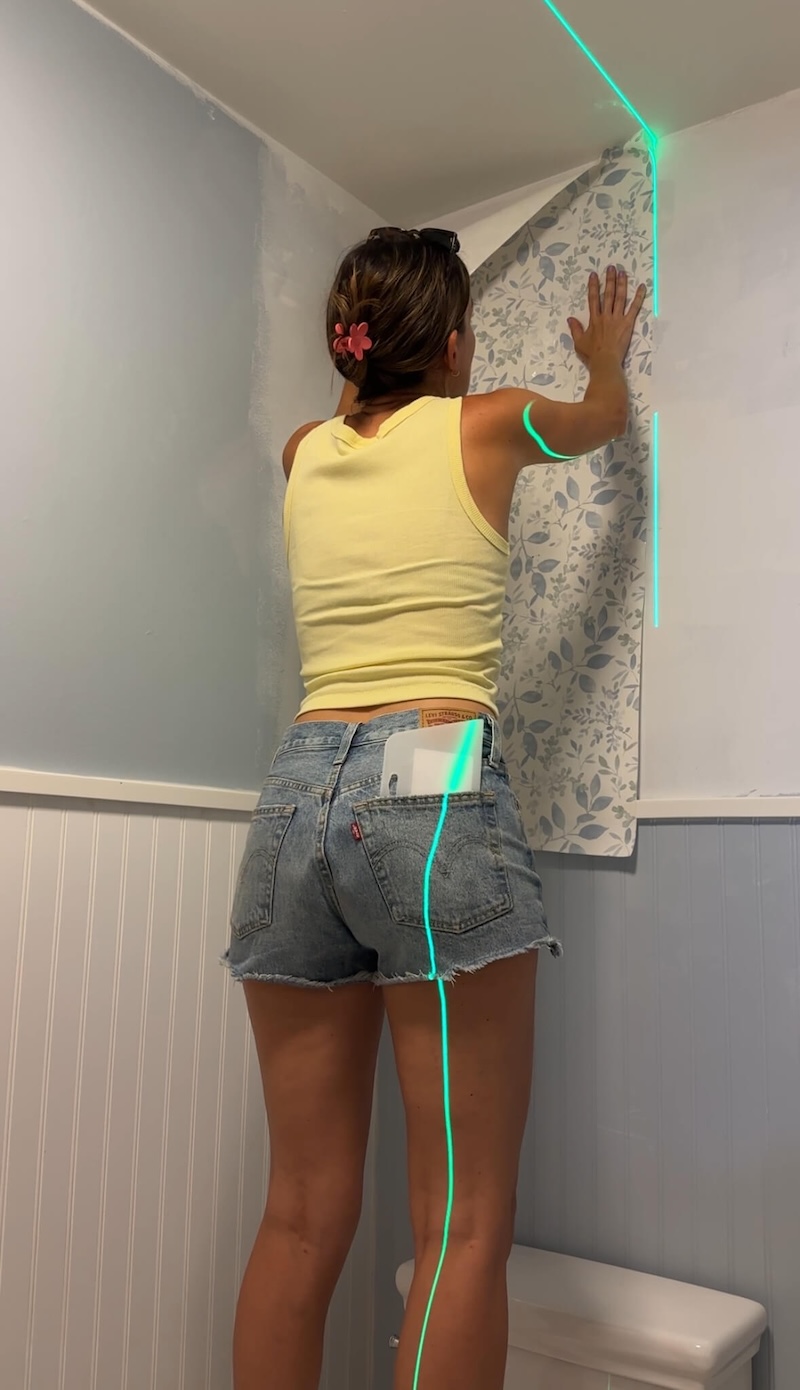
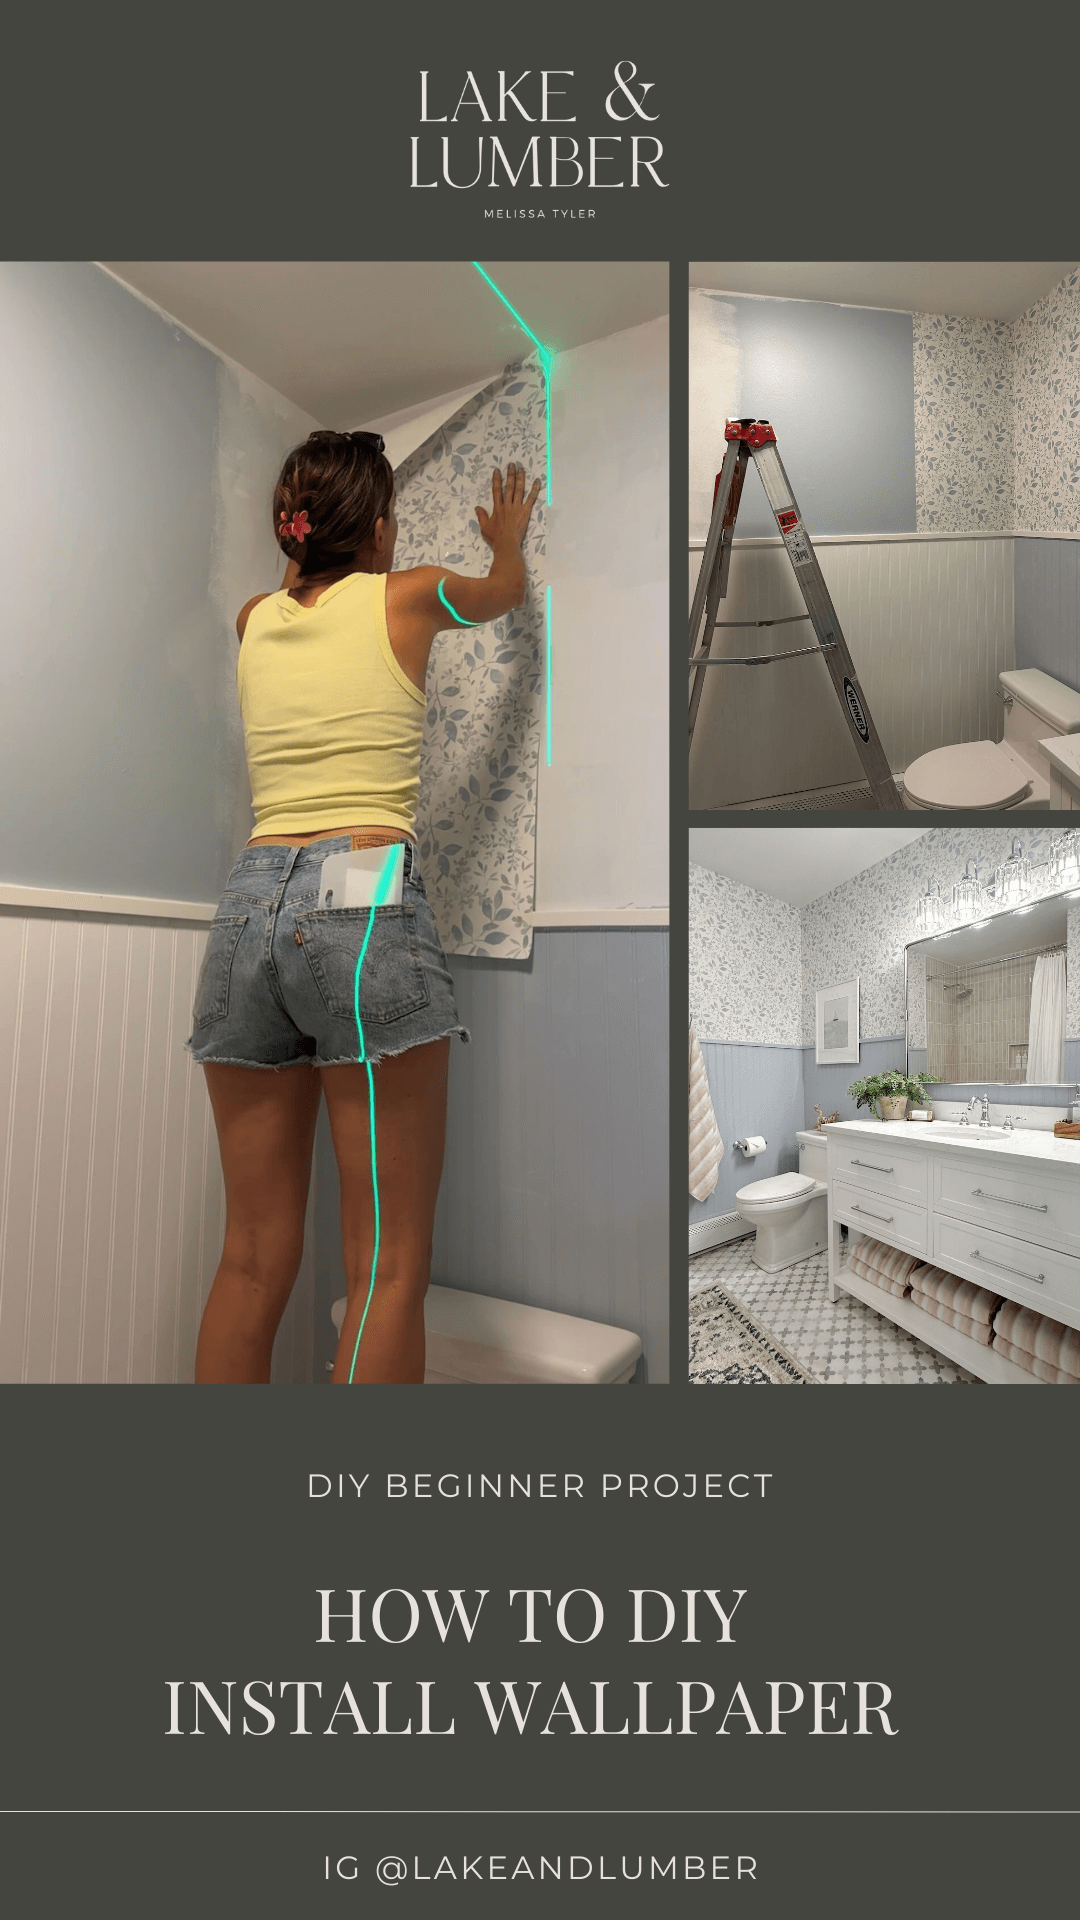
If you don’t want to trace the lines with a pencil, a laser level is a great choice as well. It will project the line on the wall for you so that you don’t have to worry about drawing it on. This is the method that I prefer when hanging wallpaper.
4. Hang the Wallpaper
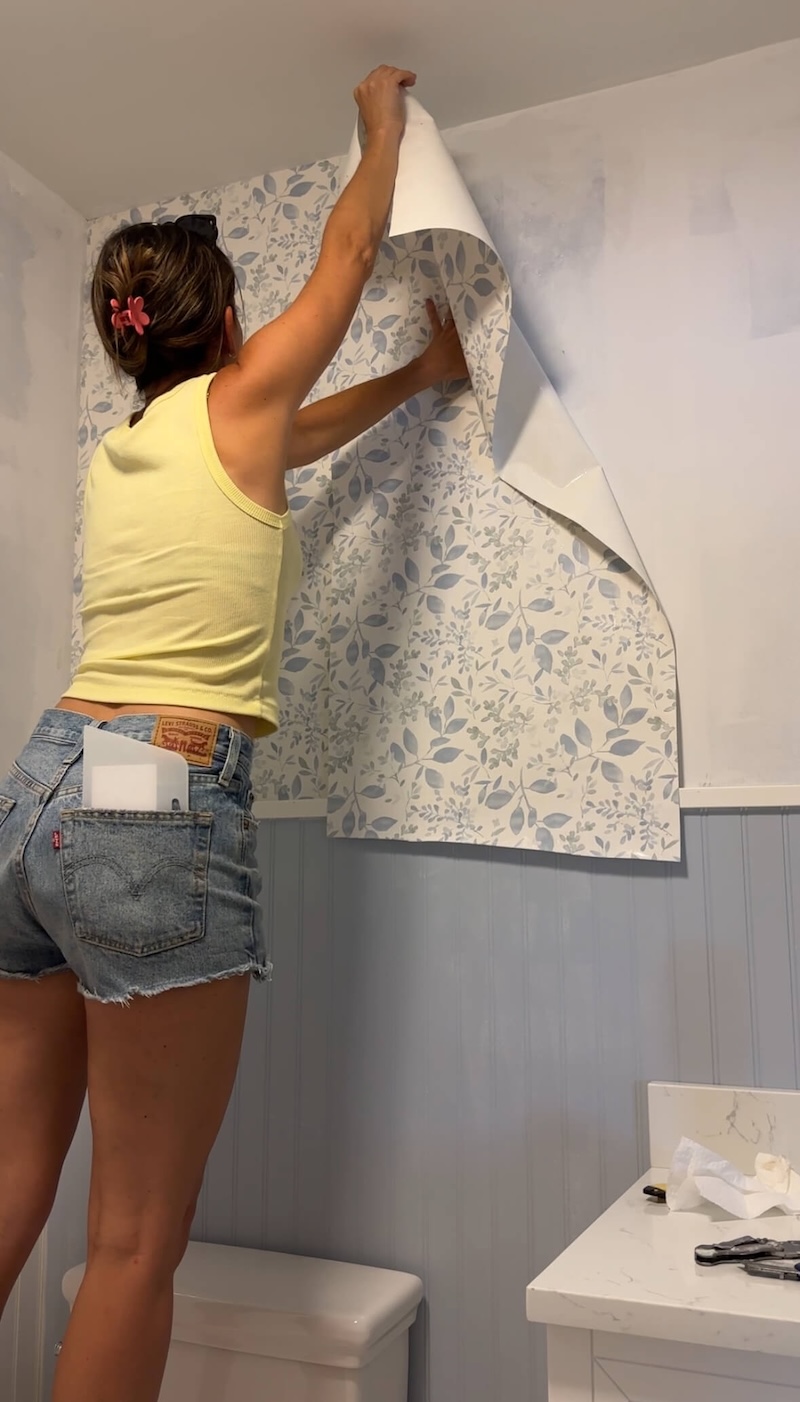
Once your walls are marked, it’s time to cut the wallpaper to size. After measuring your wall, cut the wallpaper, making sure to leave a little overhang at the top and bottom to prevent any gaps. You can go back and trim any excess later. Also, don’t worry about cutting holes for outlets at this time. You can go back and cut those after the wallpaper is hung.
When cutting the wallpaper, pay attention to the pattern. Lay your pieces next to each other before applying them to the wall to ensure those pieces will have a pattern that aligns. For most peel-and-stick patterns, this hasn’t been a problem, as they come precut into strips the size of your wall. However, when you are working with pre-pasted or non-pasted wallpaper, the paper comes in long rolls that you cut yourself!
When I was hanging the non-pasted wallpaper in the lake house bathroom, the pattern was harder to line up vs when I’ve used peel-and-stick wallpaper.
Once you have all this important prep work done, you are ready to apply your wallpaper. The application of each type of wallpaper differs, so be sure to pay close attention to the application process to help you get the best installation with whatever wallpaper type you choose.
How to Apply Peel and Stick Wallpaper
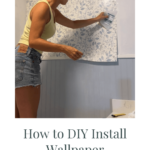
Peel and stick wallpaper has the easiest application process. As its name suggests, you simply peel the backing off the back of the paper and stick the wallpaper to the wall.
Start by carefully peeling back the very top of the adhesive backing. Line the wallpaper up next to the level, then stick just the top of the wallpaper to the wall. Using a wallpaper smoothing tool (this kit comes with the smoothing tool and razor blade, that you’ll need to apply peel-and-stick wallpaper), slowly push the wallpaper onto the wall, getting rid of any air bubbles and peeling the backing as you go down the wall.
Make sure to get all the air bubbles out of each section before pulling off more backing. Repeat the process until the strip of wallpaper is securely attached to the wall. Next, repeat these steps with the rest of the wallpaper, making sure the pattern lines up as you place each piece on the wall. Be patient with yourself, wallpaper can take a while to install!
How to Apply Pre-Pasted Wallpaper
While pre-pasted wallpaper does have the adhevise already on the paper, it does take a bit more work to install versus peel-and-stick wallpaper.
To apply pre-pasted wallpaper, start by soaking the paper with a sponge or spray bottle for 20 seconds to activate the glue, and then fold both ends of the wallpaper into each other so that they’re touching the paste. This process is called “booking.” Let the paper book for about a minute before hanging.
Once the wallpaper is on the wall, follow the same process as the peel-and-stick wallpaper to apply it to the wall. Line the wallpaper up next to the level, and ensure the wallpaper is straight at the top. Then use your wallpaper smoothing tool to smooth the wallpaper onto the wall and remove air bubbles as you go.
Make sure to get all the air bubbles out of each section before pulling off more backing.
As with the peel-and-stick, repeat this application process with each strip of wallpaper until it is all adhered to your walls.
How to Apply Non-Pasted Wallpaper
Applying non-pasted wallpaper is the most time-consuming of the 3 types of wallpaper applications. Rather than peeling off an adhesive backing or activating the adhesive already on the paper, you have to mix the adhesive and paint the glue on the paper before hanging.
To apply non-pasted wallpaper, use a brush to paint the glue on the entire backside of the wallpaper. You can also paint the glue on the wall instead of the wallpaper, which most people find to be much easier. (However, you cannot paint the adhesive on the wall if your wallpaper requires booking. Be sure to read the wallpaper’s instructions to ensure you are installing it correctly).
Once the wallpaper (or wall) is covered in adhesive, then you can apply the non-pasted wallpaper just like you would with the other two types (place it on the wall lining up with the marks you made with your pencil or with your laser line then smooth it out with the wallpaper smoothing tool).
For all wallpaper types, be sure to follow the instructions for the specific paper you are using. Some papers require you to overlap the seams, while others are cut to align perfectly!
5. Trim the Wallpaper and Reinstall Outlets
Now that you have the wallpaper adhered to the walls, you’re almost done! Take your utility knife and trim the overhanging pieces on the top and bottom of the wall. Then, with the electricity turned off for the outlets, use the utility knife to cut holes in the outlets. These cuts don’t need to be perfect, because you’ll put the covers back on to hide any imperfections.
Next, install your outlet covers. If you want to update your outlet covers, I have a few that I really love. These are some of my favorites:
All of these outlets are a great way to update your space while still staying within your budget. Of course, you can also paint your old outlet covers to match the wallpaper. I also included the paintable outlets above, so you can paint those too!
Products Needed to Install Wallpaper
Feeling confident in your ability to install peel-and-stick wallpaper? Here’s a list of products included in this post to get you started:
- Level or laser level
- Measuring tape
- New outlet covers (optional): First outlet mask, second outlet mask, multi-outlet surge protector, snap power guide light
- Utility knife
- Wallpaper of your choice (I like to use Timber Leaco brand)
- Wallpaper Primer
- Wallpaper smoothing tool
Installing Wallpaper
Installing wallpaper (no matter what kind you choose) is going to take some patience, but the end result is well worth it! I love using peel-and-stick wallpaper because not only is it easier to hang, but it also comes off easily when you’re ready to try something new.
I like my wallpaper to be easy to remove because my aesthetic and my kids’ preferences change! When I moved into my new house, I had to remove so much wallpaper I never wanted to do that again. It was awful. (If you’ve ever had to remove old wallpaper with a steamer, you know what I’m talking about).
For those of you who need to remove wallpaper, here are some of the wallpaper removing tips I learned to help you get that tricky wallpaper off those walls.
If you’re ready to jump into more DIY projects like this one, make sure to try these 3 Beginner-Friendly DIY Projects and get these beginner-friendly tools. I wish I hadn’t waited so long to get the tools I needed and just do the projects myself! Happy remodeling!