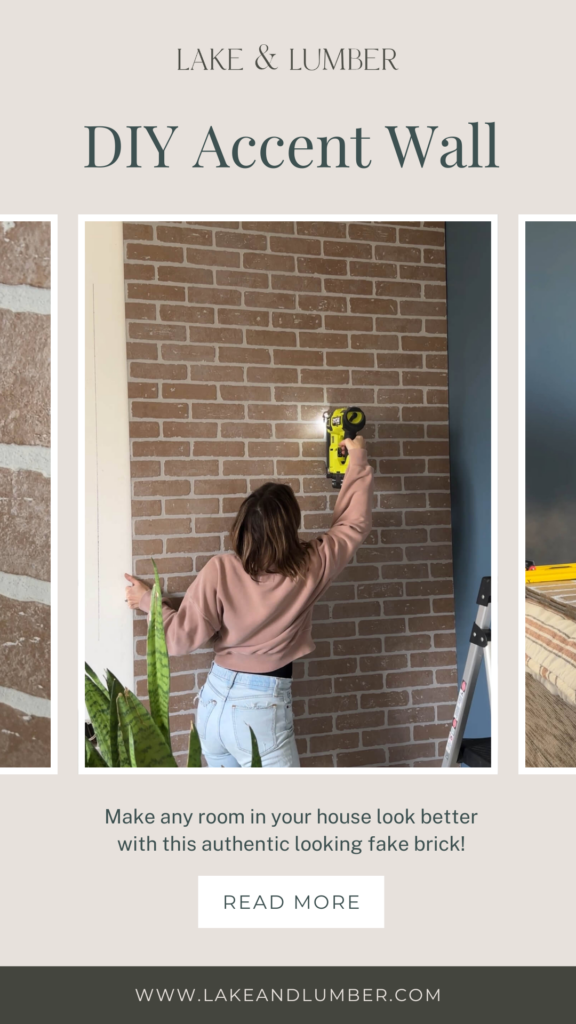
Not all faux brick walls are created equal. I hate to say it because I know some styles have their die-hard fans, but a very common challenge is the inauthentic appearance that results from trying to create them on a budget. This can lead homeowners to believe a convincing brick effect is simply out of reach.

However, through years of DIY experience, I’ve developed a method to create a highly realistic faux brick accent wall. What’s even better? With my tips and tricks, this approach is achievable for even novice DIYers.
So follow along to learn how I just created the most realistic faux brick wall on the internet and learn how to build a budget-friendly faux brick wall for yourself too!
That is, if you’re up for another project (am I the only one that has 10 projects going on at once?).
The Key to Success: Choosing the Right Materials
The foundation of a successful faux brick wall lies in selecting the appropriate materials. Avoid the big, bold red brick panels – these tend to create an unrealistic effect. Instead, opt for panels with a more subtle color variation.
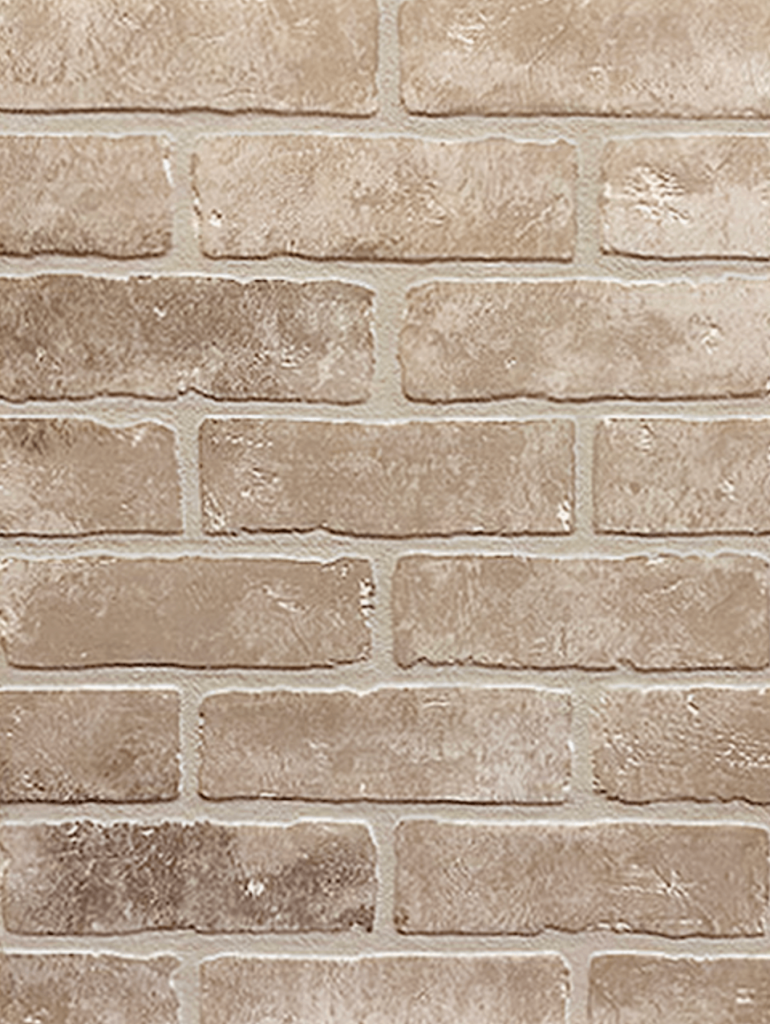
In my project, I used Style Selections panels from Lowe’s, which provided a perfect foundation. Another secret weapon for achieving realistic texture is sanded grout. This adds a crucial layer of depth to the final look. I opted for Simple Grout in Platinum – a color that complemented the chosen panels beautifully.
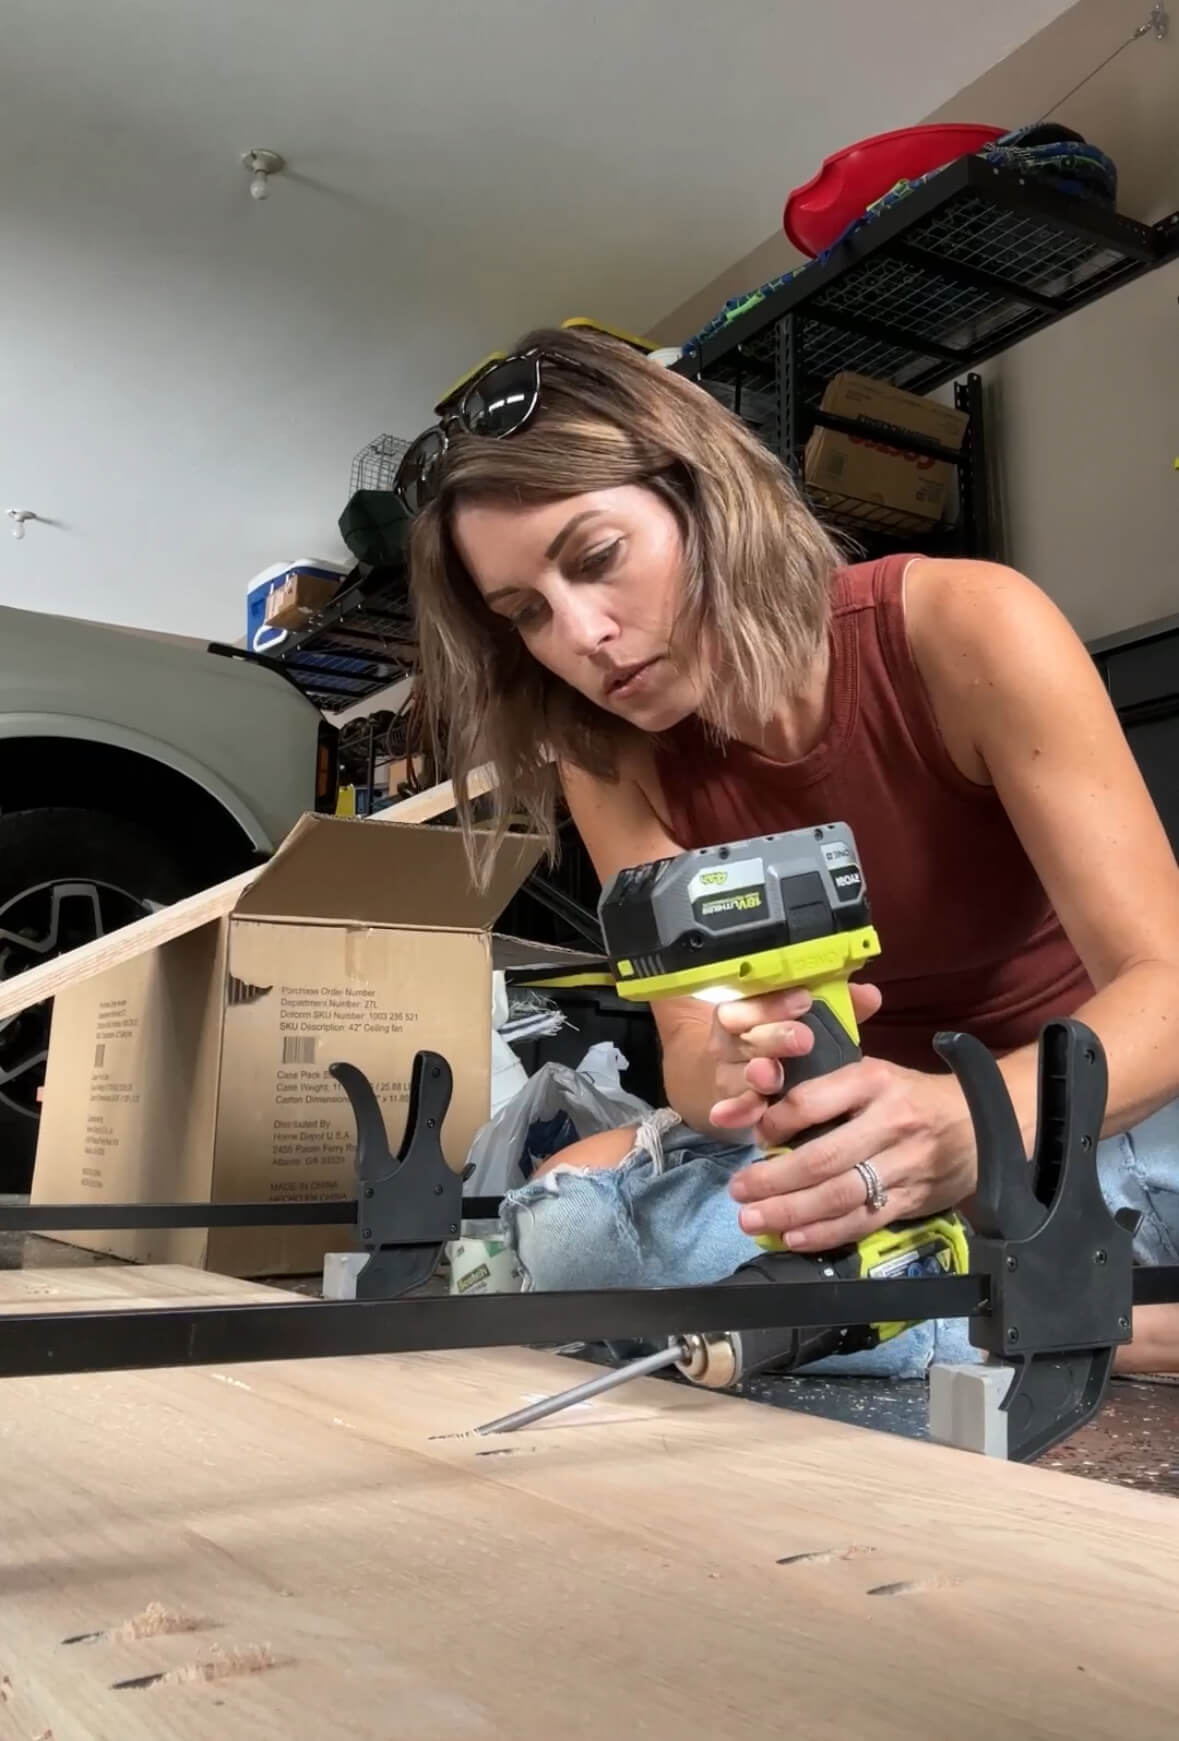
Finally, a high-quality brad nailer is essential. The Ryobi 18g brad nailer is a dependable choice and a great tool to add to any DIYer’s arsenal.
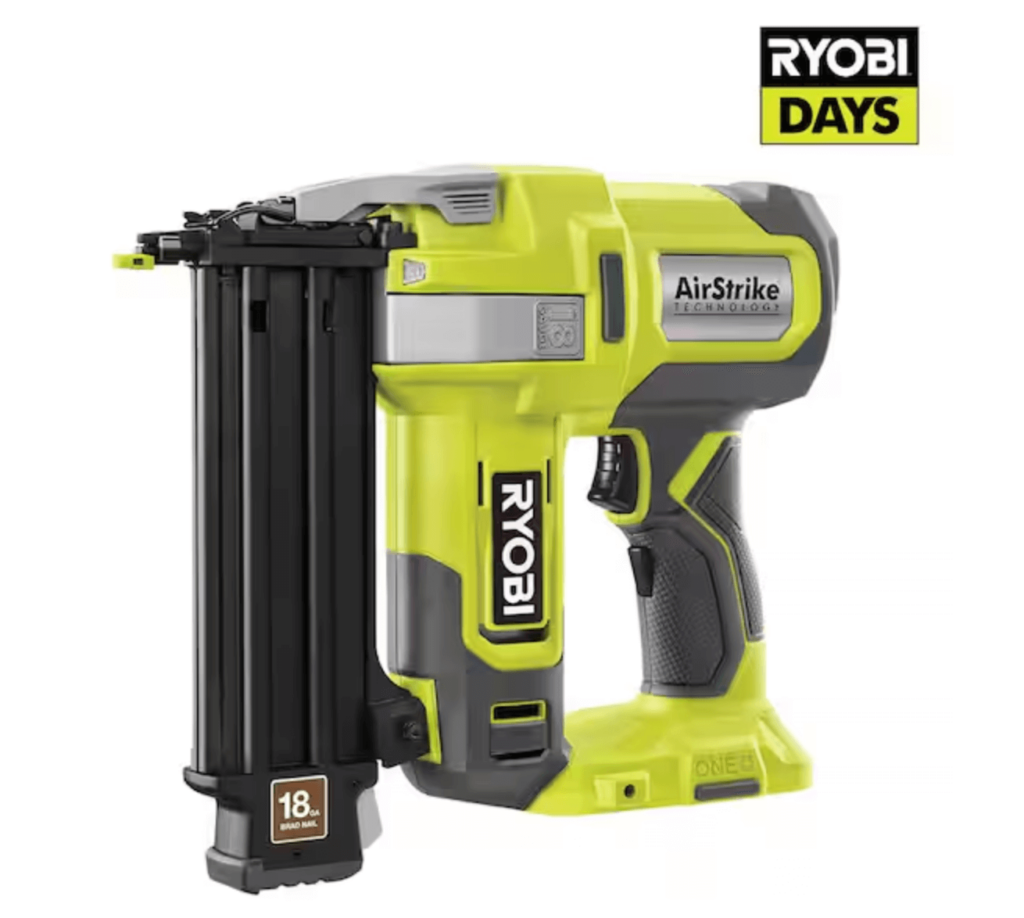
This 18g Brad nailer was the very first power tool I ever bought myself, and it was key to helping me have the confidence to tackle so many DIY projects! My only regret was not buying it sooner…
Building Your Dream Faux Brick Accent Wall
Preparation is Key
Before starting, lay down a drop cloth to protect your work area. Your drop cloth could be an old sheet or tarp, or you can purchase one to use again and again. I like this one here. This project can get messy, and proper preparation saves significant cleanup time. Next, locate and mark the wall studs.
If you are looking for a good stud finder, I highly recommend skipping over all of the fancy, battery-powered options! My tried and true favorite is the Stud Buddy and it is also the most affordable!
Expert Tip: Avoid Permanent Solutions
For this project, we’ll forego adhesives. Why? Removing adhesive later can be a laborious task, potentially requiring drywall replacement. Brad nails with a length of 1 ¼ inches offer a secure and removable alternative.
Aligning for a Realistic Look
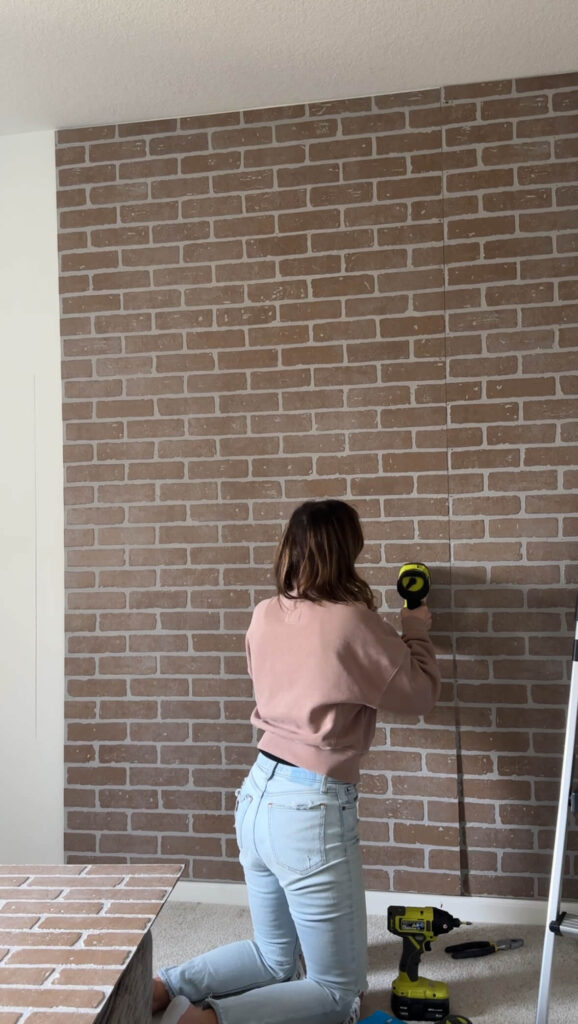
Once you have your studs marked, meticulously align the brick-and-mortar lines between each panel. This step is crucial for achieving a natural look. Resist the urge to simply line up the panels at the top or bottom. This approach can result in uneven bricks, a giveaway of an artificial look.
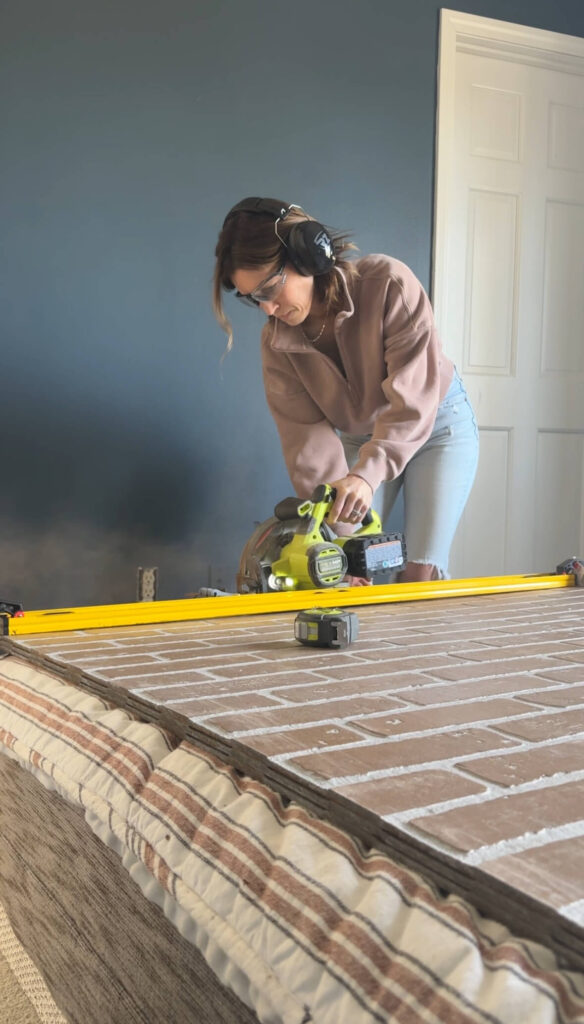
If necessary, use a saw to ensure proper alignment. When hanging the panels, aim for the tightest possible fit between them. In my project, I had to gently tap the panels into place to achieve a seamless look.
Working Around Outlets: A Handy Trick
Here’s a helpful tip for navigating outlets: flip the outlet cover and apply a small amount of toothpaste to the outer corners. Screw the cover back on in reverse, then use the toothpaste marks as a guide to position the panel for a perfect fit without excessive pressure.
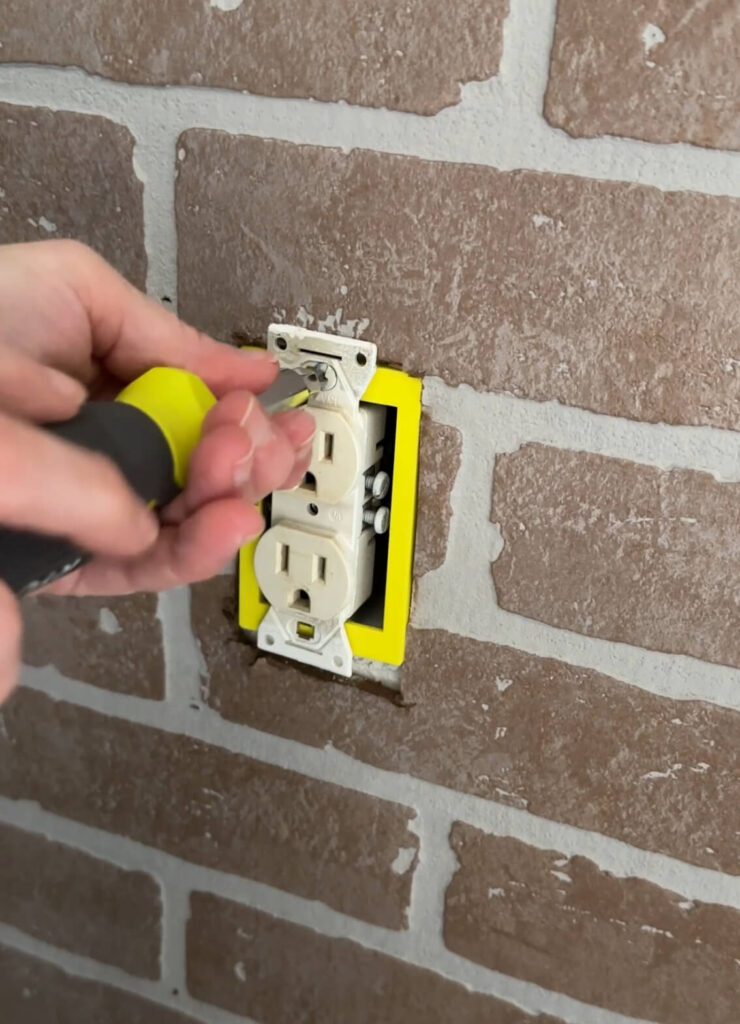
Don’t Forget Safety:
An outlet extender is vital for both safety and aesthetics. Without the extender, the outlet won’t be flush with the wall, creating a safety hazard. I recommend using an outlet extender, such as this one from Home Depot.
The Secret to Realistic Texture: Sanded Grout
This step might make you pull your hair out, but hang in there – the results are worth it! Sanded grout allows you to create a texture that mimics real brick and mortar. I recommend Simple Grout sanded grout in Platinum.
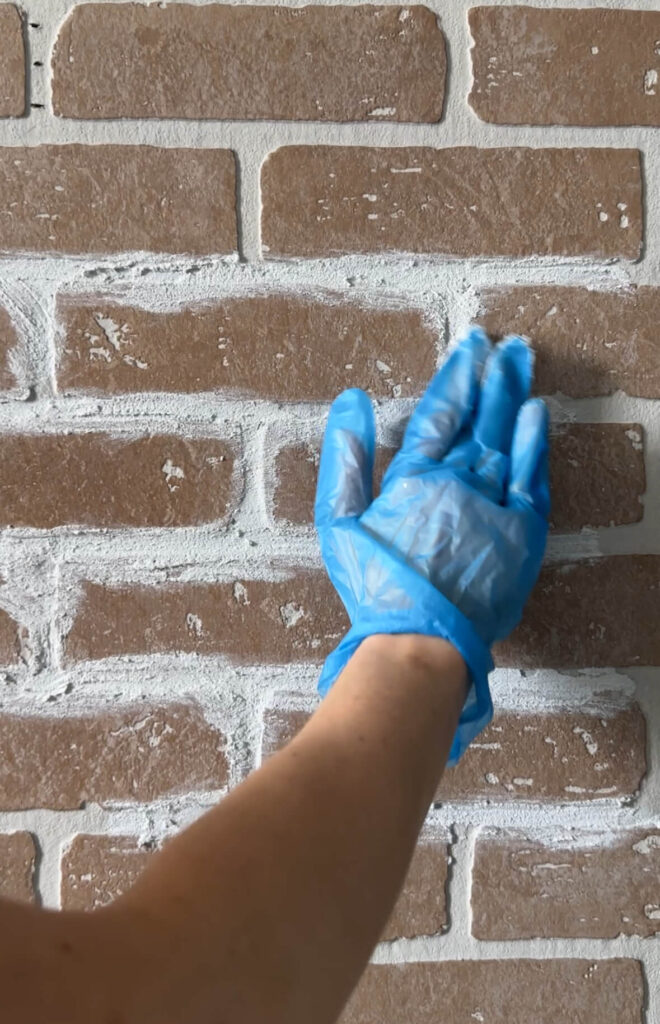
First, decide on your desired level of detail – a messier look or a cleaner finish. For a messier effect, apply the grout and smooth it out immediately. For a cleaner look, apply the grout and wait five minutes before smoothing it out. Whichever method you choose, the finished product will be a stunning and realistic faux brick wall.
If you learn best by watching, check out this Instagram reel showcasing the grouting process:
View this post on Instagram
The Final Touches

With these simple steps and a dedicated afternoon, you can achieve the faux brick wall you’ve always envisioned! In my case, I created this accent wall for my son’s gamer bedroom, and the results were phenomenal. DIY projects like this add a personal touch that transforms a house into a home.
I’m passionate about sharing DIY tips and inspiration, especially for those who might be hesitant about using power tools. You can see some of my best posts to get you started HERE. Trust me, with the right approach, DIY projects are within your reach!
Ready to Take Your Space to the Next Level?
If you’re eager to tackle DIY projects and elevate your living space, follow me on Instagram for more inspiration.