Jump to Supply List
Fall is almost in full swing, which means it’s time to get a few things done around the house before it gets too cold to work outside! I have a few favorite seasonal DIYs that I’ve completed over the years, and one of my favorite fall projects was creating this modern DIY firewood rack. It’s a quick and easy DIY that’s not only practical but more affordable than similar firewood storage available online or in-store!

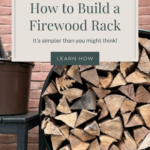
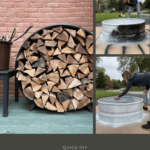
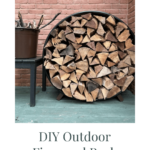
DIY Firewood Rack
Adequate firewood storage is important to ensure that your firewood remains dry and protected during wetter seasons for more efficient burning. Firewood is best stored in an elevated rack that is covered but still allows for adequate airflow. If you’ve been searching for firewood racks, you might have noticed that there is a wide range of styles, and prices can be well over $100 for even a basic rack!
While on the hunt to purchase a firewood rack, I quickly realized I could easily create a DIY outdoor firewood rack that would be functional and more aesthetically pleasing (for way less money!).
After looking at a few different designs, I gravitated toward the hoop-style outdoor firewood rack. I wanted a rack that was off the ground, covered, and custom-designed to my tastes and a circular firewood rack that was perfect for my needs.
I ended up coming up with the perfect idea for building my DIY Firewood Rack, and the end result was definitely worth it! So if you’re looking for a budget-friendly way to store your firewood, here’s a step-by-step tutorial on how to build a firewood rack for less than $75!
How to Build a Firewood Rack
If you’re looking for an easy beginner project, this DIY firewood rack is for you! It’s easier than you might think, and it requires very little tools and supplies! Here’s how to build a firewood rack in 5 easy steps.
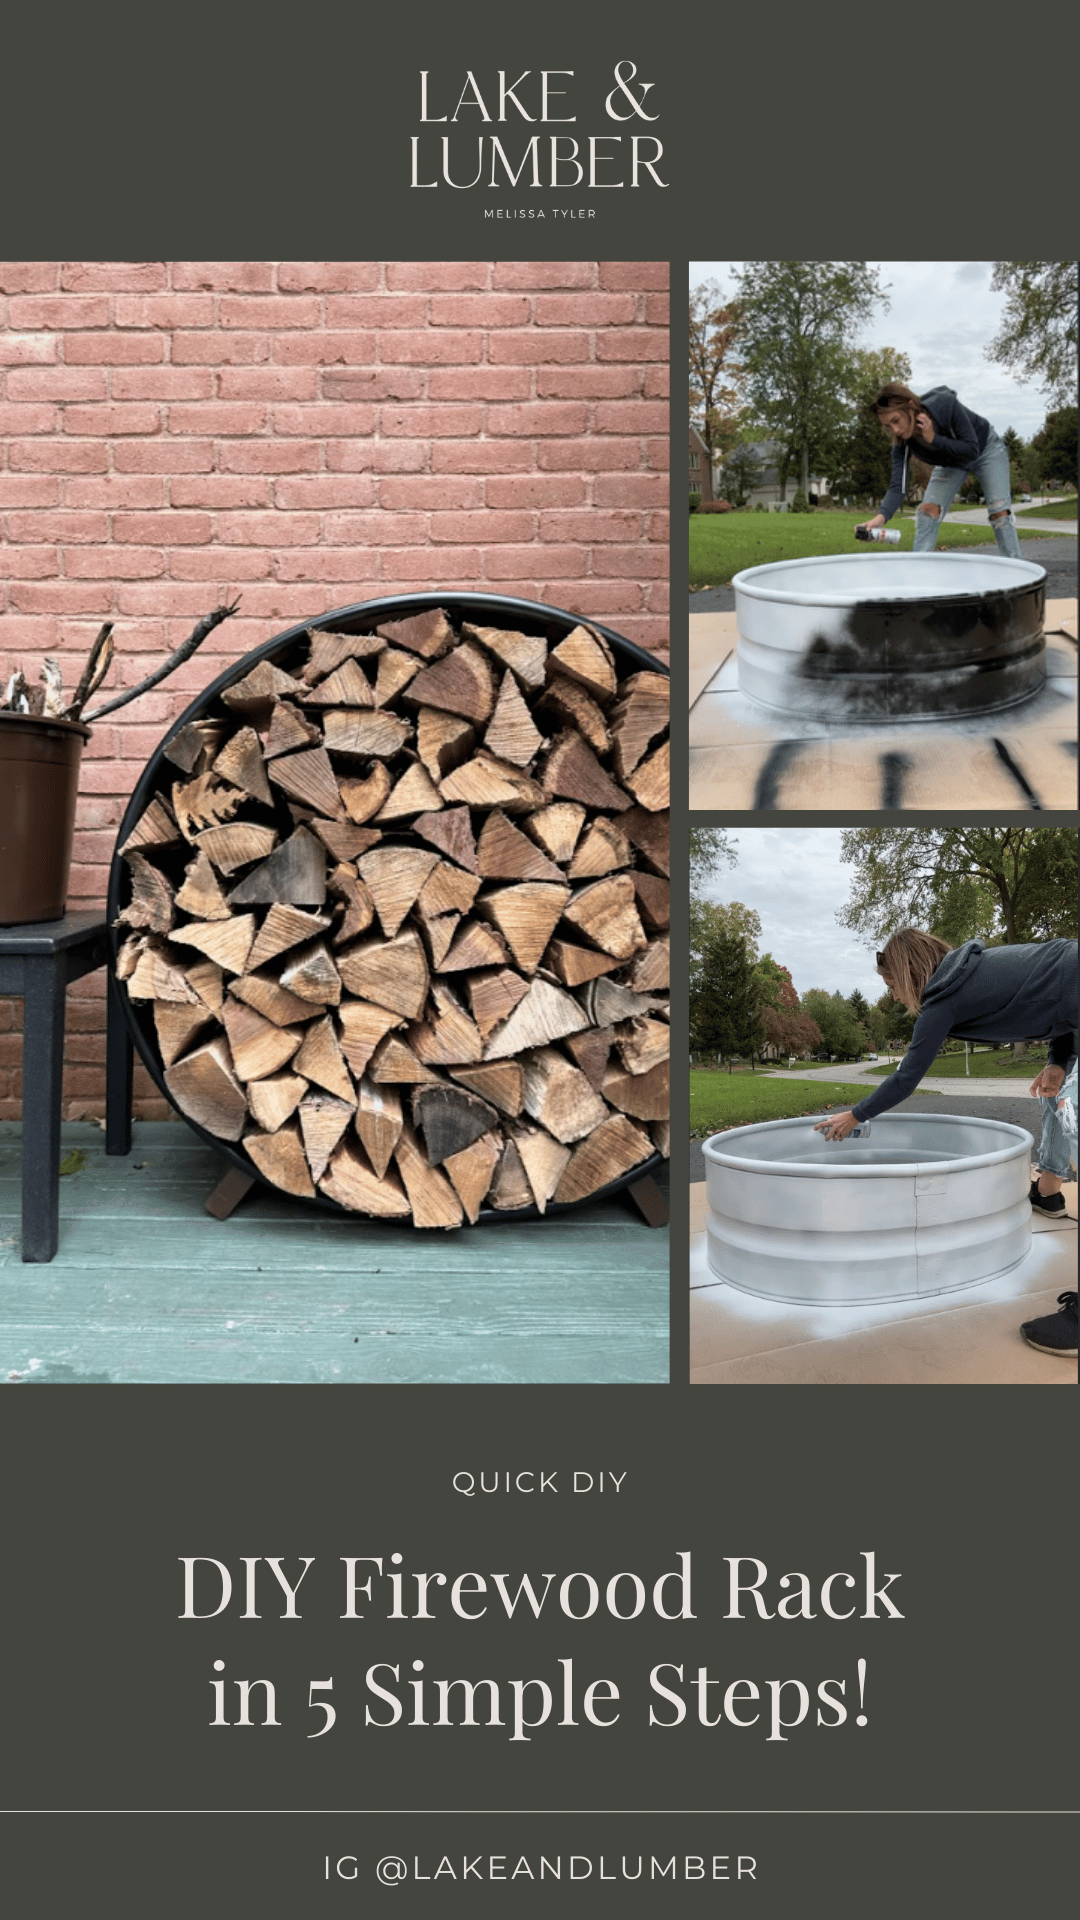
1. Purchase a Metal Fire Pit Ring
To start this DIY, you need to grab a metal fire pit ring. There are many different places to purchase a fire pit ring, including at most home improvement stores. I purchased this metal fire ring, and it was under $100!
Fire pit rings come in a variety of sizes. The ring I purchased was 36 inches, which allowed plenty of space to store my firewood. Feel free to purchase whatever size you need depending on how much wood you want your firewood rack to store.
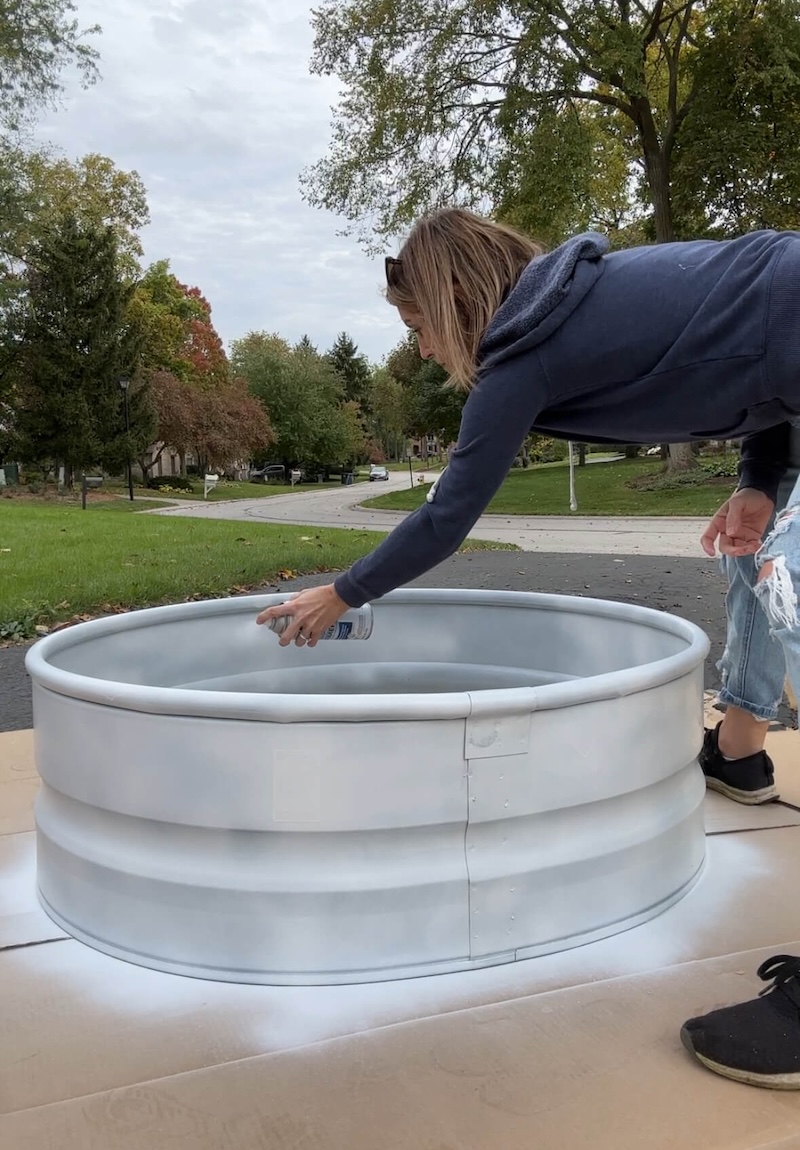
2. Prime the Metal Fire Ring
Before painting the metal fire ring, apply a coat of primer. Rust-Oleum Stops Rust Primer is a spray paint primer that’s a great choice to prevent uneven coating and unwanted rust. It also helps the paint stick to the metal better.
Apply an even coat of the primer to the metal fire ring and allow it to dry before moving on to paint.
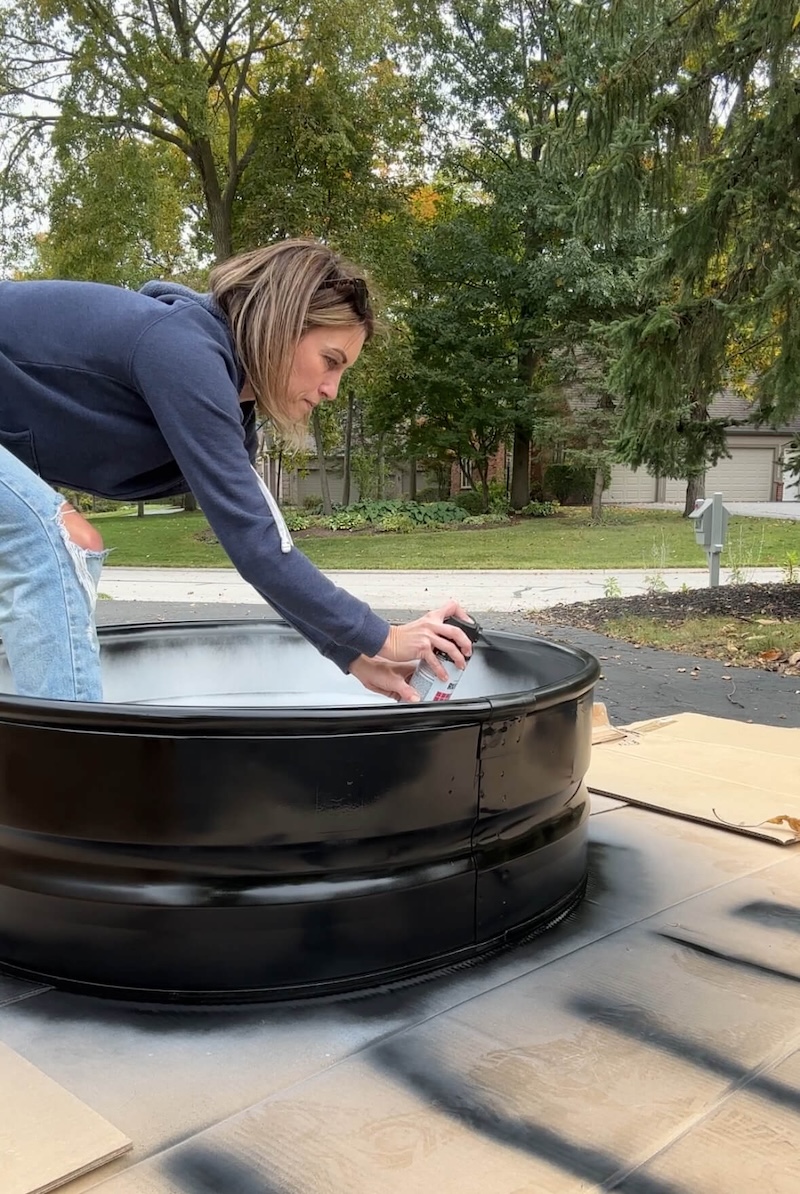
3. Paint the Metal Fire Ring
After priming your firewood rack, spray it with the paint color of your choice. I chose to paint my metal fire ring with Rust-Oleum Stops Rust in Satin Black. Rust-Oleum’s 5-in-1 spray paint is great for painting many different projects because it has 5 different spray patterns to choose from that help prevent drips, over-spraying, and uneven coats.
The Rust-oleum Stops Rust Custom Spray 5-in-1 has five modes of spray. These include high output, standard, low output, vertical fan, and horizontal fan.
I liked the “vertical fan” mode for fast, even coverage, and the “low-output” mode for those hard-to-get nooks and crannies that could be easily overcoated.
I recommend purchasing a few cans of spray (more if you’ve chosen a larger metal fire ring!), and following the instructions on the spray can to get the best results.
Once your paint has fully dried, you can start working on the legs for this DIY firewood rack.
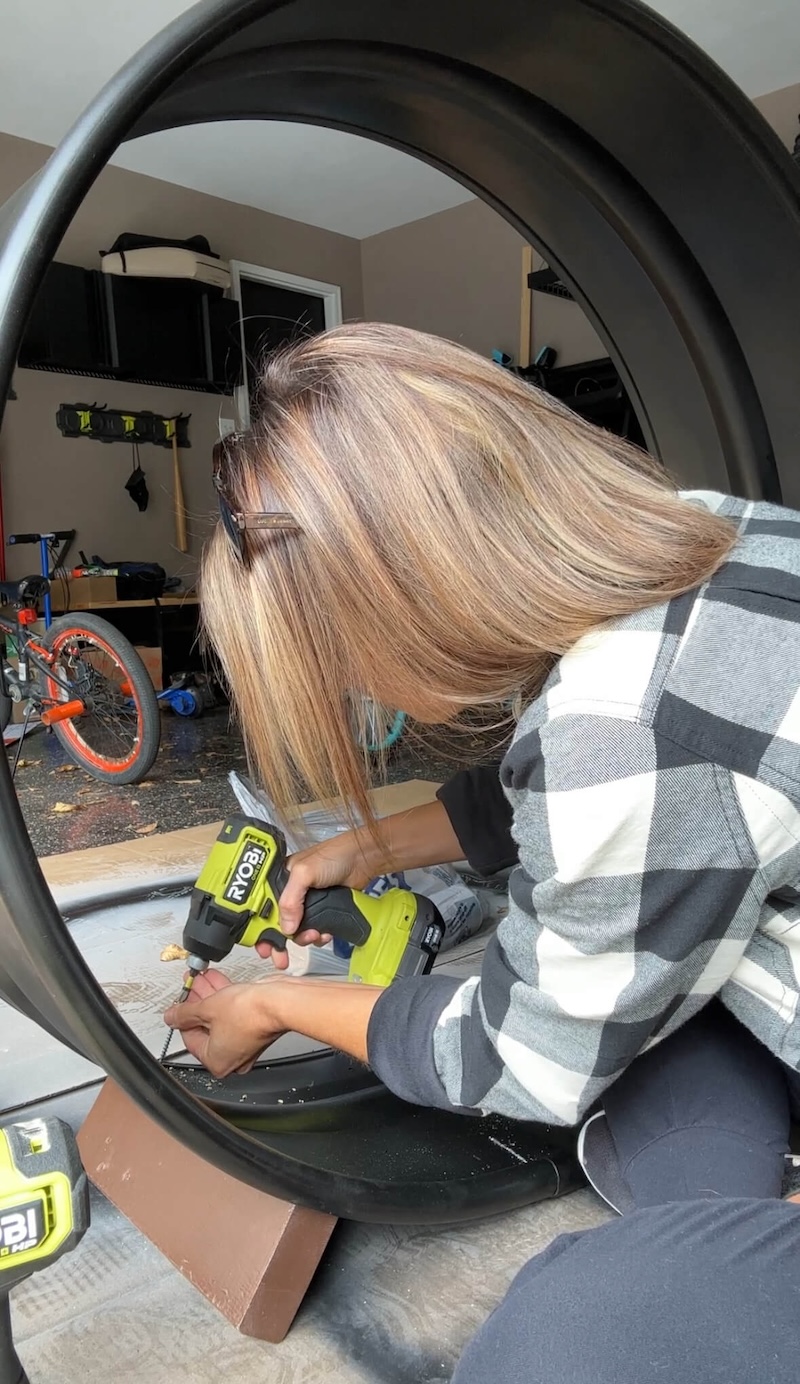
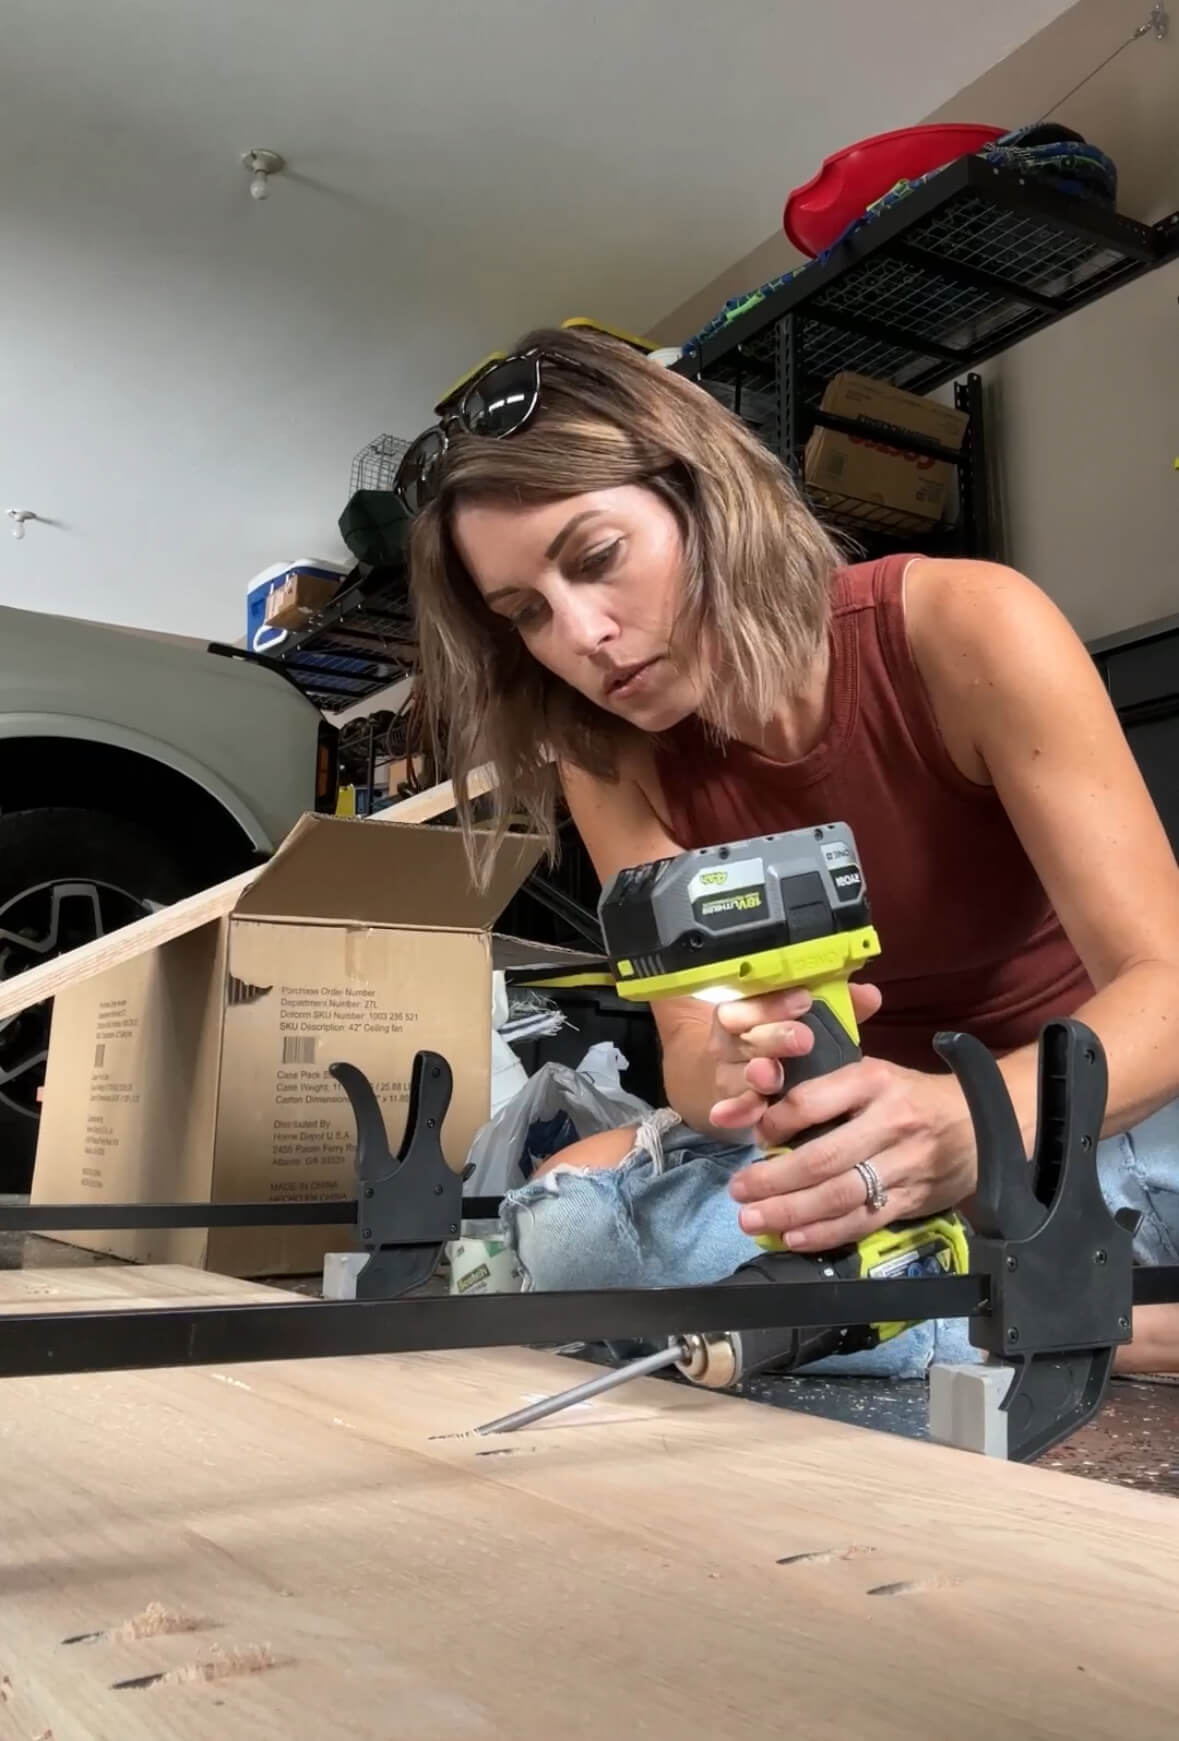
4. Build Legs for Your Firewood Rack
Legs are important to add to your DIY outdoor firewood rack because they will keep the rack elevated and give your wood access to increased airflow. This helps keep your wood dry and prevents moisture buildup.
For the legs, I used some scrap 2x4s cut into equal sizes and drilled them into the bottom of the Firewood Rack lengthwise and on the side using my Ryobi Drill.
Before drilling the legs to the bottom of the fire ring, I painted them with Rust-Oleum Stops Rust in Dark Brown Satin. The color was absolutely perfect!
5. Drill Drainage Holes
Throughout the cold months (and summer months as well!), condensation can easily gather on the inside of the ring, causing rust. To help avoid issues with rust or water ruining your wood, make sure to drill drainage holes in the bottom of your firewood rack, so the condensation can escape and your wood can properly dry.
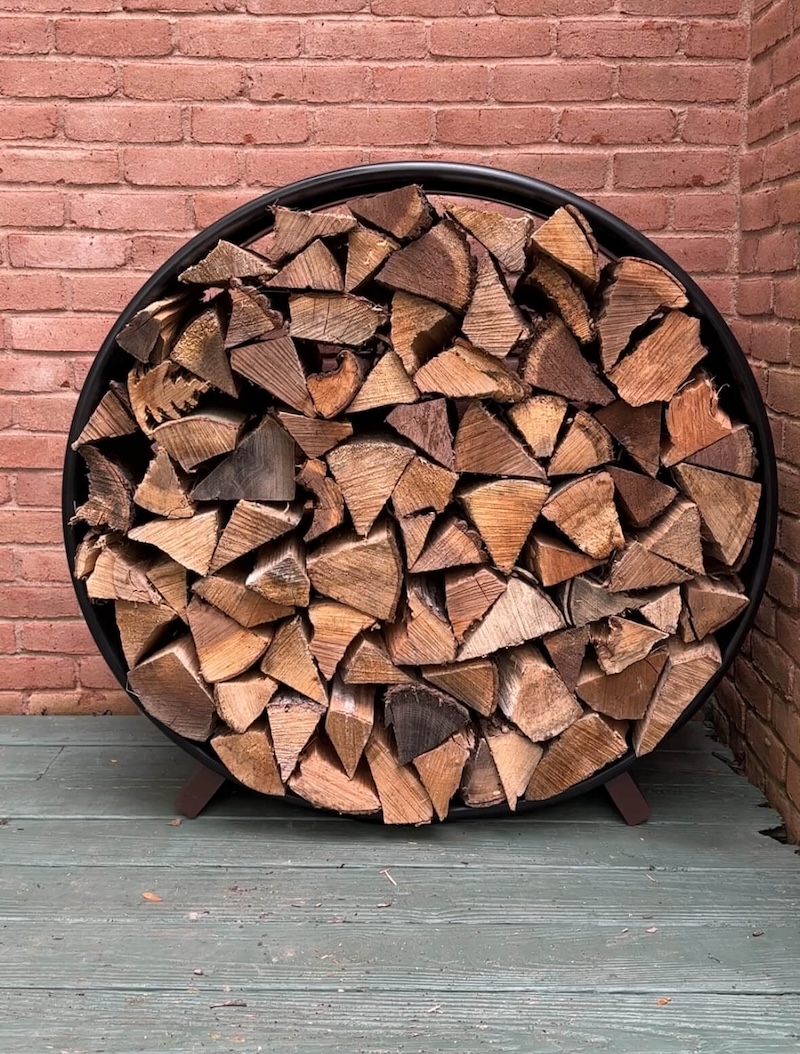
After drilling the drainage holes, the project is done, and you’re ready to load your DIY firewood rack with your firewood!
Where to Place Your DIY Firewood Rack?
Now that your DIY firewood rack is done, all you have to do is find a good place to put it!
As a good rule of thumb, remember to store your firewood rack at least five feet away from your home to prevent pests or termites from entering your home. Another consideration when placing your firewood rack DIY is to avoid locations where puddles typically form after a rainstorm.
And there you have it! You’ve built a functional DIY outdoor firewood rack. It’ll keep your firewood protected and dry throughout the winter months.
Products Needed for a DIY Firewood Rack
Are you ready to tackle this fun, Fall DIY project? Here’s what you’ll need for your own custom outdoor firewood storage for under $75:
- Metal fire ring
- Rust-Oleum Stops Rust Primer
- Rust-Oleum Stops Rust in Dark Brown Satin
- Rust-Oleum Stops Rust in Satin Black
- Ryobi drill
- Two 2x4s of equal size
With these few supplies, you’ll have a beautiful, DIY outdoor firewood rack that’s unique and useful to enjoy all season long! Plus, it’s a great starter project for any DIY beginner!
Firewood Rack DIY
Now that you’ve tackled your first DIY project, you’re ready to start tackling other projects in your home! I have so many GREAT projects to choose from for beginner DIYers.
Here are a handful to get you started:
- How to Paint Interior Door Like a Pro
- DIY-Friendly Window Grids for Under $10
- How to Install Wallpaper in 5 Easy Steps
These are great beginner projects because they don’t require too many tools while still having a big impact on your space.
If you’re ready to start making your house a home, and you’re tired of waiting around for someone to do it for you, then follow along on my Instagram and Facebook for all of my latest projects and DIY tips and tricks!!