Part 1: DIY Faux Brick Accent Wall with Ninth and Vine Hampton Brick
We started talking about this “big kid bedroom” makeover about 6 months ago when I saw my friend Amanda, @ComeStayAwhile using Hampton Brick by Ninth and Vine in her basement. I immediately knew that Noah would LOVE the idea of having an exposed brick wall in his bedroom, and my mind was already spinning with all of the industrial touches I could add to the space. We got to work planning and I am so excited to show you how it turned out, but first…Let’s install some “brick!”

My order of Hampton Brick shipped quickly and well packaged and arrived without any damaged boards. This might not seem like a big deal, but take it from someone who has ordered shiplap, pine boards, and flooring through the mail…damaged boards are all too often the norm. When I opened the boxes I was immediately blown away! It is one thing to see the product in photos and have it look like real brick, but this product looks AND feels like stone. It is made from “carved” MDF planks, but the brick facade is so REAL!
Each board has double stick tape on the back, which allows you the options to easily apply with the tape or use a nail gun if you are looking for a less permanent install. Since this is a “big kid” bedroom and Each board has double stick tape on the back, which allows you the option to easily apply with the tape or use a nail gun if you are looking for a less permanent install. Since this is a “big kid” bedroom, and I am confident this wall will be loved for years to come, I choose to use the adhesive.
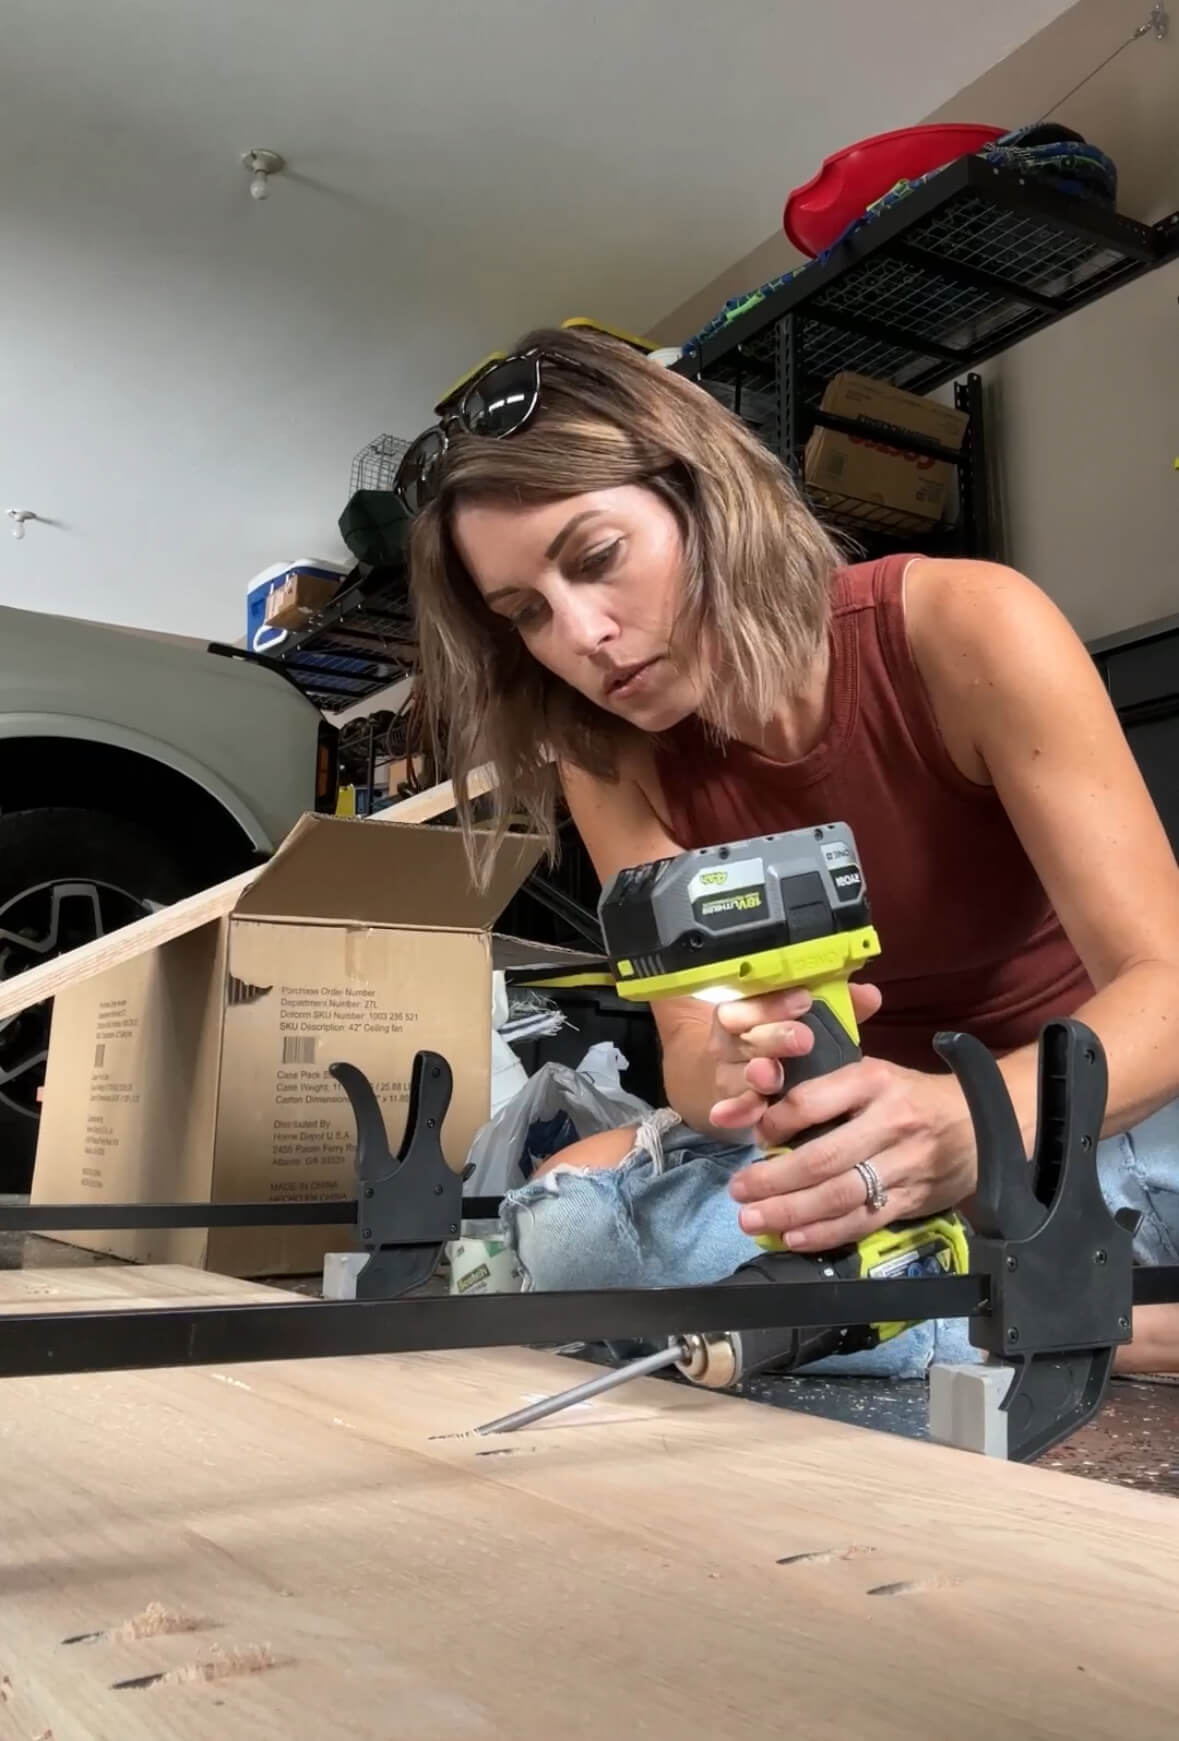
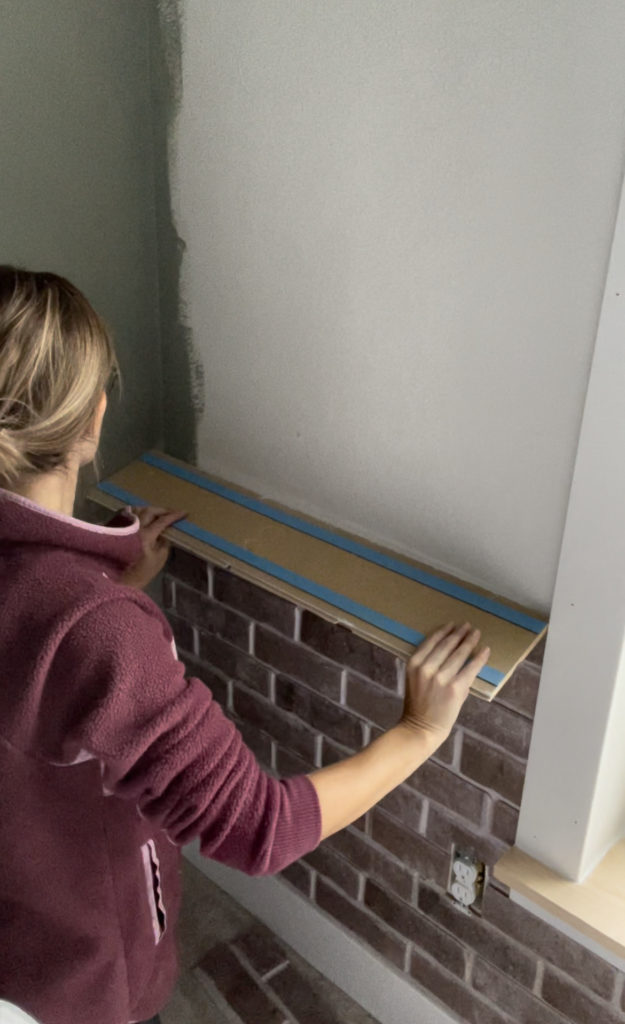
I only used two tools for this brick accent wall install! Most of my cuts were made using my Ryobi 12″ sliding miter saw. I used my Ryobi Jig Saw for any tricky cuts. Planks are installed “grout side down” starting in the bottom left corner of the room. They fit together like Jenga pieces and because there are 4 different patterns, you never have to worry about having a repeating pattern!
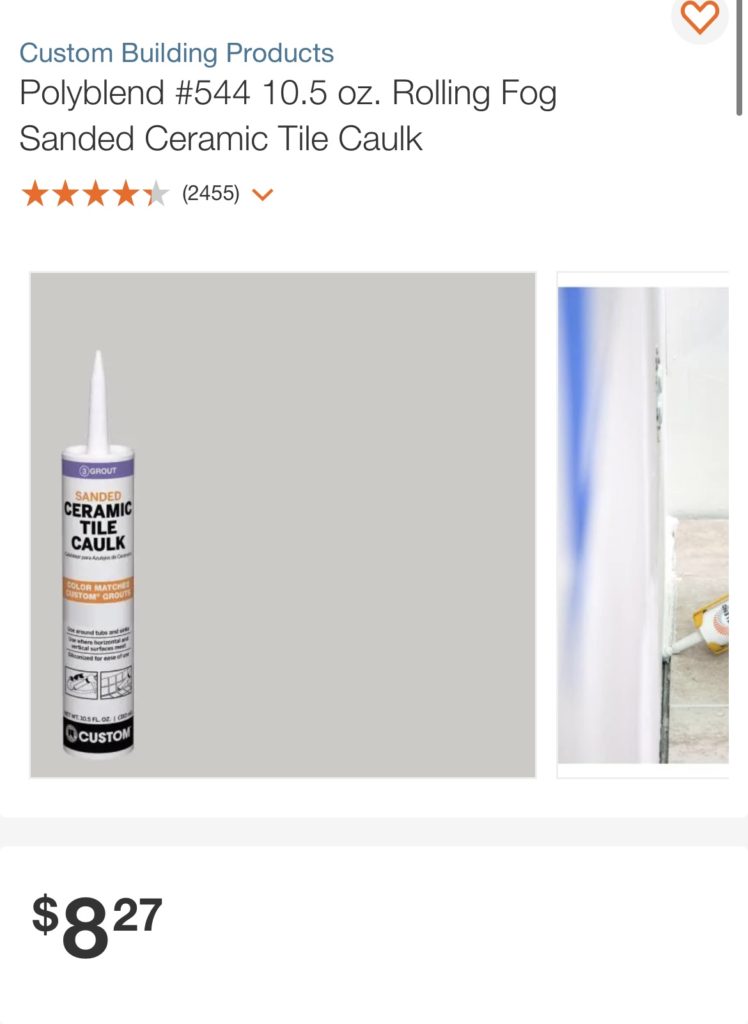
Once your brick is installed, use sanded caulk (matching colors listed on the Ninth and Vine site) to fill in gaps along the side or top of the wall. I didn’t use much of this, but it was a great option to give a finished look.
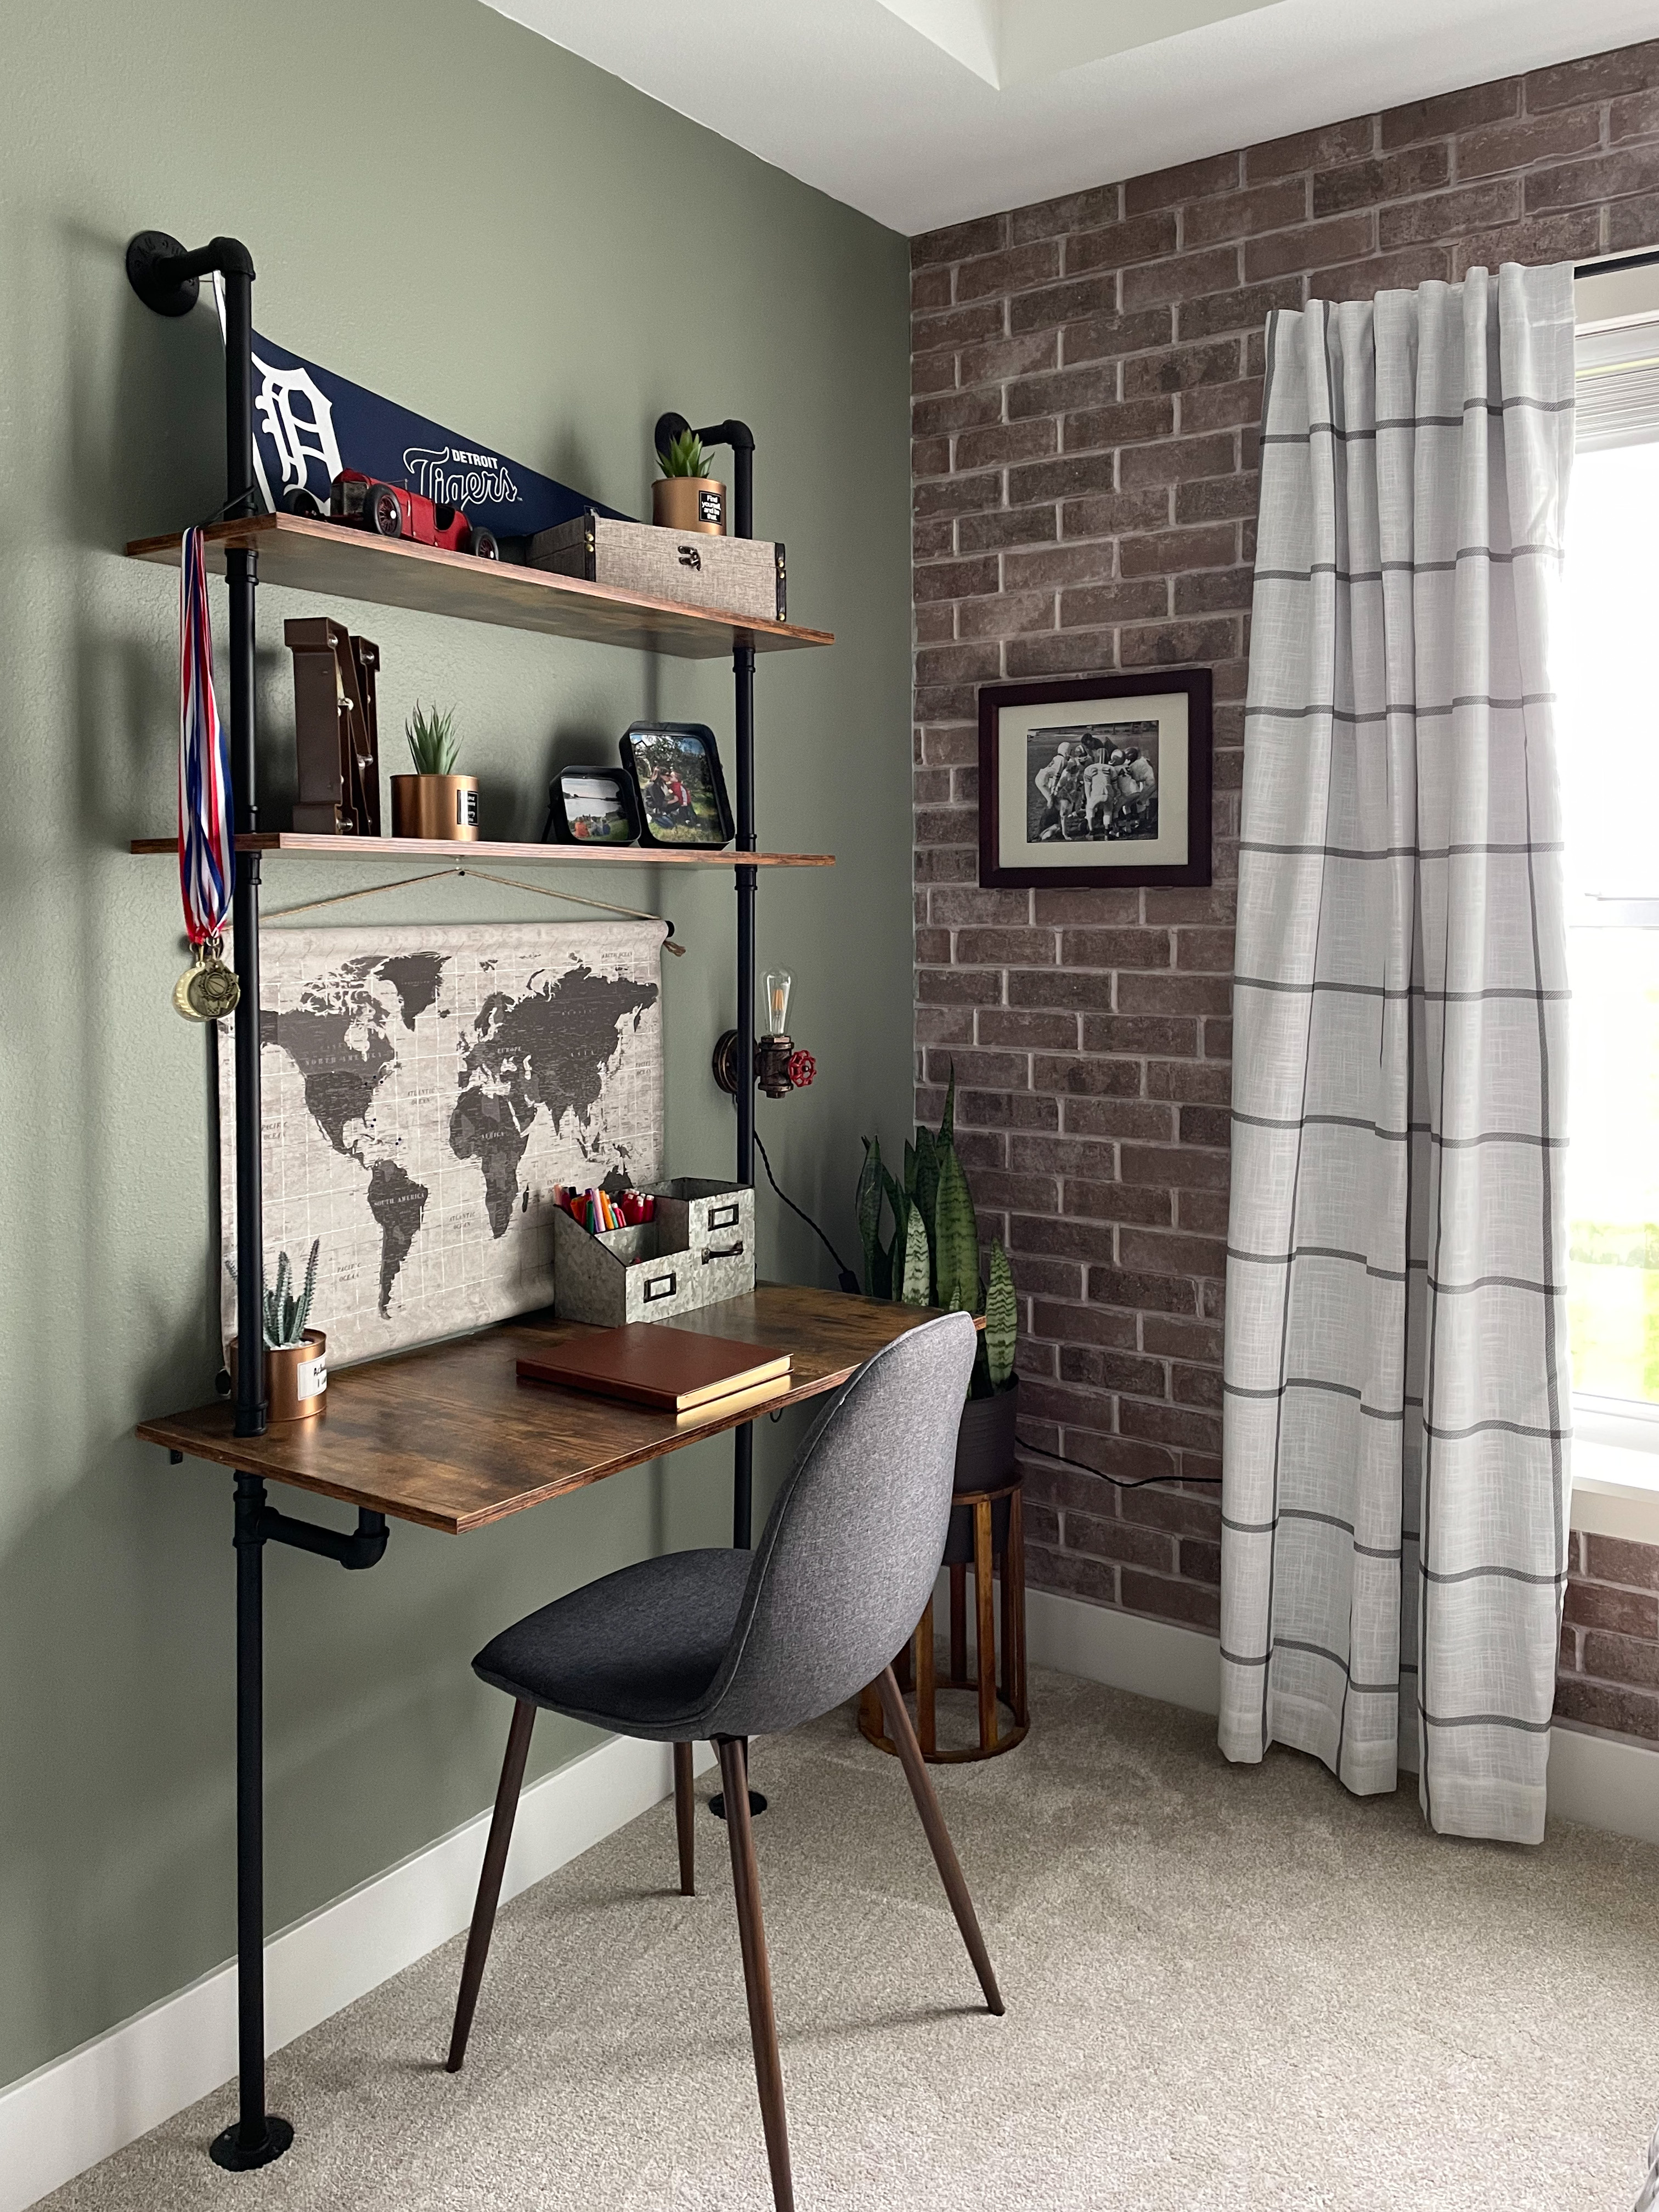
The wall was finished in a day! Would you add a brick accent wall to your own house? Use code LAKEANDLUMBER10 for 10% off your order when you shop at Ninth and Vine.