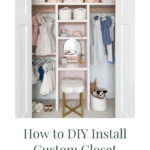
Jump to Supply List
Designing and installing a custom DIY closet is a great way to add value to your home. Since builder-grade closets tend to lack smart design and utility, building your own closet can ensure you end up with a design that works best for you and your needs. So if you’re ready to make your closet both beautiful and functional, check out my complete tutorial on how to build a beginner-friendly custom DIY closet below!

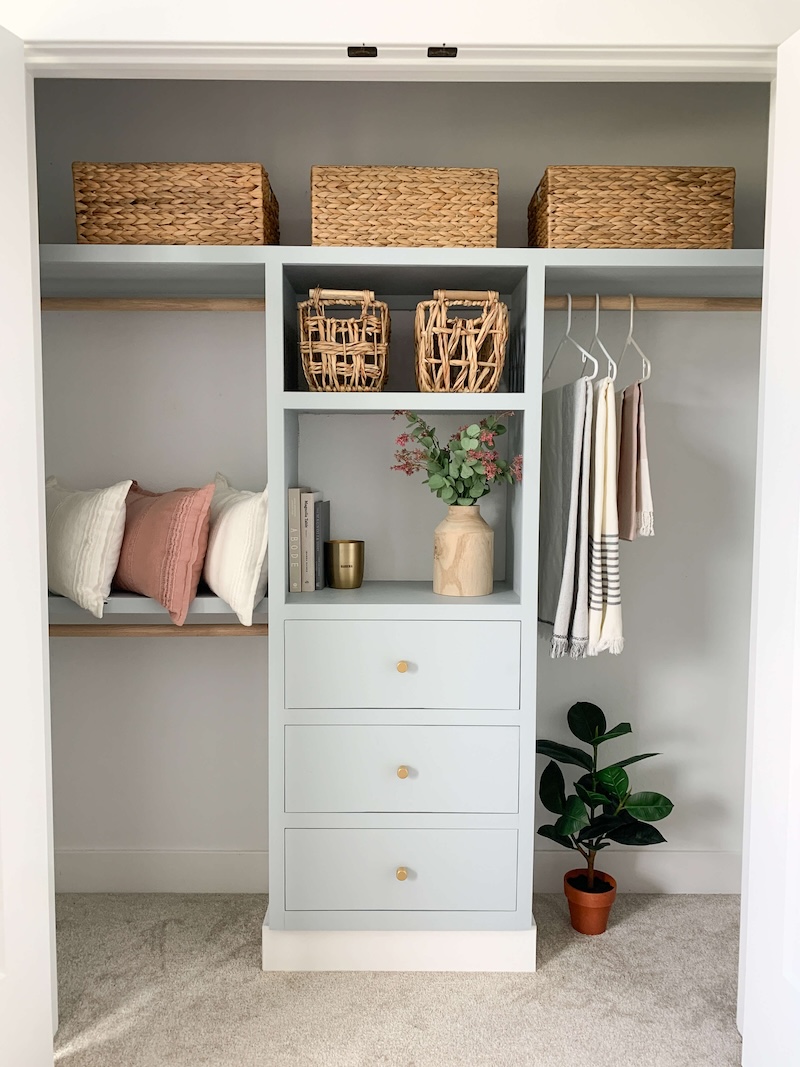
Custom DIY Closet
Completing a custom DIY closet is a big project, and there’s a lot to consider when making the perfect closet for you and your needs. But don’t let this deter you from taking on this DIY! Even though designing and building a custom closet takes time, having one is a complete game-changer in your home.
Plus, building your own DIY closet is extremely rewarding! It results in a personalized, fully functional closet space for all your clothes, shoes, and accessories.
Designing a DIY Closet
Before you dive into the process of measuring your closet, buying wood, and beginning the DIY, I recommend spending plenty of time deciding exactly what you need from your custom closet.
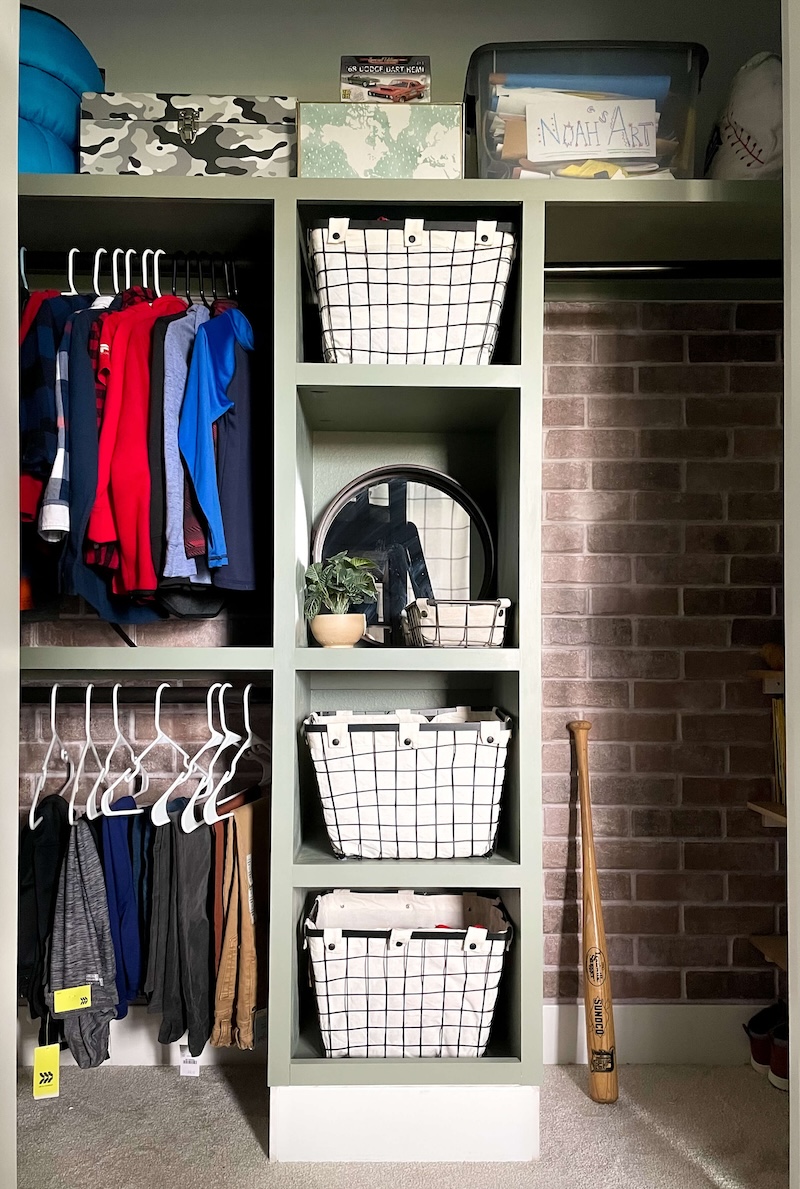
In general, most custom closets consist of the same main elements – drawers, shelves, smaller shoe/hat-sized shelves, and rods for hanging clothes. So as you go about planning your closet, consider exactly how you’ll be using it and how to organize all your items within it.
When beginning to design your DIY closet, spend some time searching for inspiration to help you narrow down what you want your completed closet to look like. Pinterest or even my Instagram page are great places to search for closet inspo. I’ve done several beginner-friendly custom closet designs that can be found saved in my highlights for easy reference.
Taping Out the Closet Design
Once you have a general idea of what you want your closet to look like, measure the space and sketch out a design. From there, snag some painter’s tape and tape off where the shelves, drawers, and hanging rods will go. This will help cement your vision and allow you to double-check the height of your shelves and drawers.
Quick tip! When centering your closet design, make sure that you measure it in multiple ways. Most closets aren’t an even length on both sides of the door, so don’t just measure equal distances from the outer edge, and assume that’s the center. If you do, you’ll end up with a poorly placed closet tower that’ll drive you crazy after installation!
After double-checking the measurements and feeling content with your final design, you’re ready to head to your favorite lumber store to purchase your supplies.
Wood Needed for Building a DIY Closet
DIY closets are best built with the following 2 types of wood:
- Birch Plywood (¾ inch, sanded)
- Select Pine (2×4’s & 1×2’s)
For the main build-out of this closet, you’ll also need two large sheets of plywood (or more depending on the size of the closet). Plywood can be quite expensive, and this will most likely be the largest cost of the entire project.
Next, you’ll want to grab select pine for the face-framing and some 1x2s to drill into the studs for stability for the shelves and the tower (or dresser) portion of the closet.
If you’re not feeling confident about selecting the best wood for this project, no fear! Picking out the right wood for any project can be difficult especially if you’re new to DIY. I wrote this quick project wood run-down to help you pick the right pieces of wood every time!
How to Build a Closet DIY
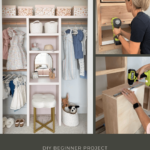
Building a DIY custom closet is going to be different for each closet, but there are some basic steps to every DIY closet build. After building several custom closets, I’ve nailed down everything you need to know to successfully tackle this project!
1. Remove the Baseboards
Before you start building your dream closet, you might have to do a bit of a demo. Remove all of the unwanted shelves, and then remove the baseboards where your tower is going to be.
2. Cut the Plywood
Next up, it’s time to cut the plywood. Mark and measure all your boards, then use a Kreg Rip-Cut and Circular Saw or a table saw to cut your plywood to the correct size.
I found using the Kreg Rip-Cut super easy and really useful for the giant pieces of plywood. Whenever I use the Kreg Rip-Cut, people often ask what I have underneath it to stop it from hitting the cement in my garage. The answer? An inexpensive piece of insulation! If you keep your cut depth settings accurate, then the insulation board will last a long time, and it’s a really affordable and simple solution that’s easy to move around!
Also, I highly recommend wearing ear protection and eye protection when using the Kreg Rip-Cut. It’s a useful tool, but it’s definitely loud.
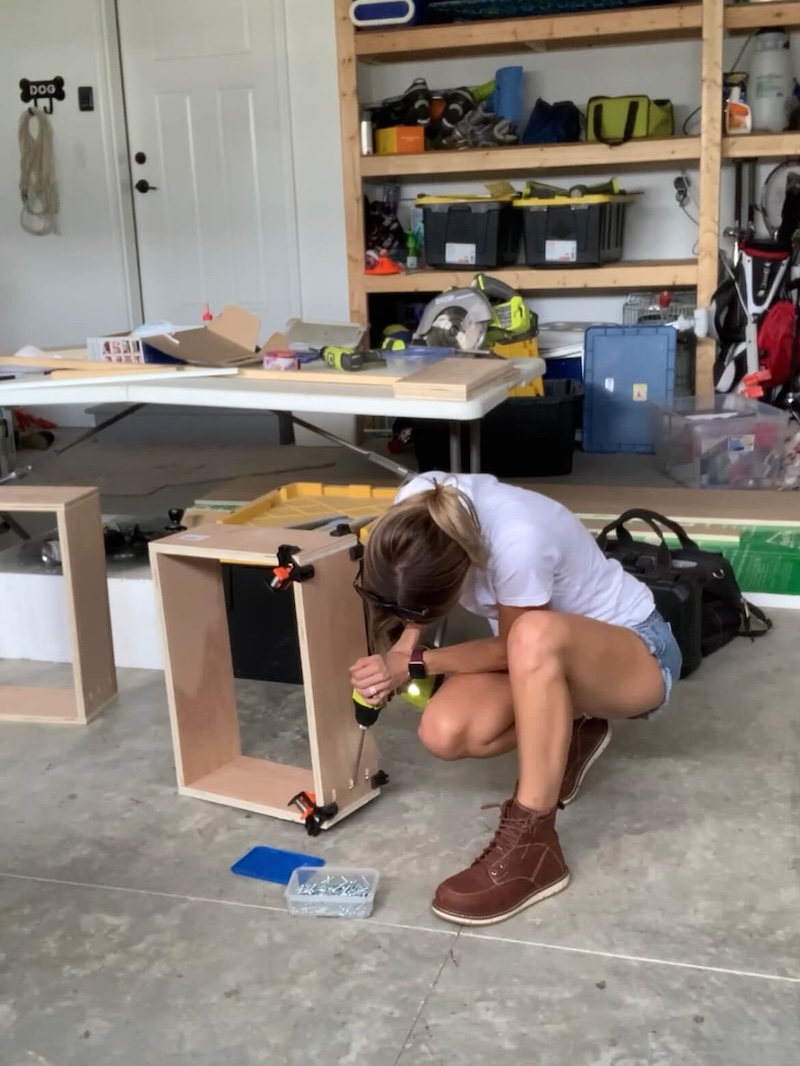
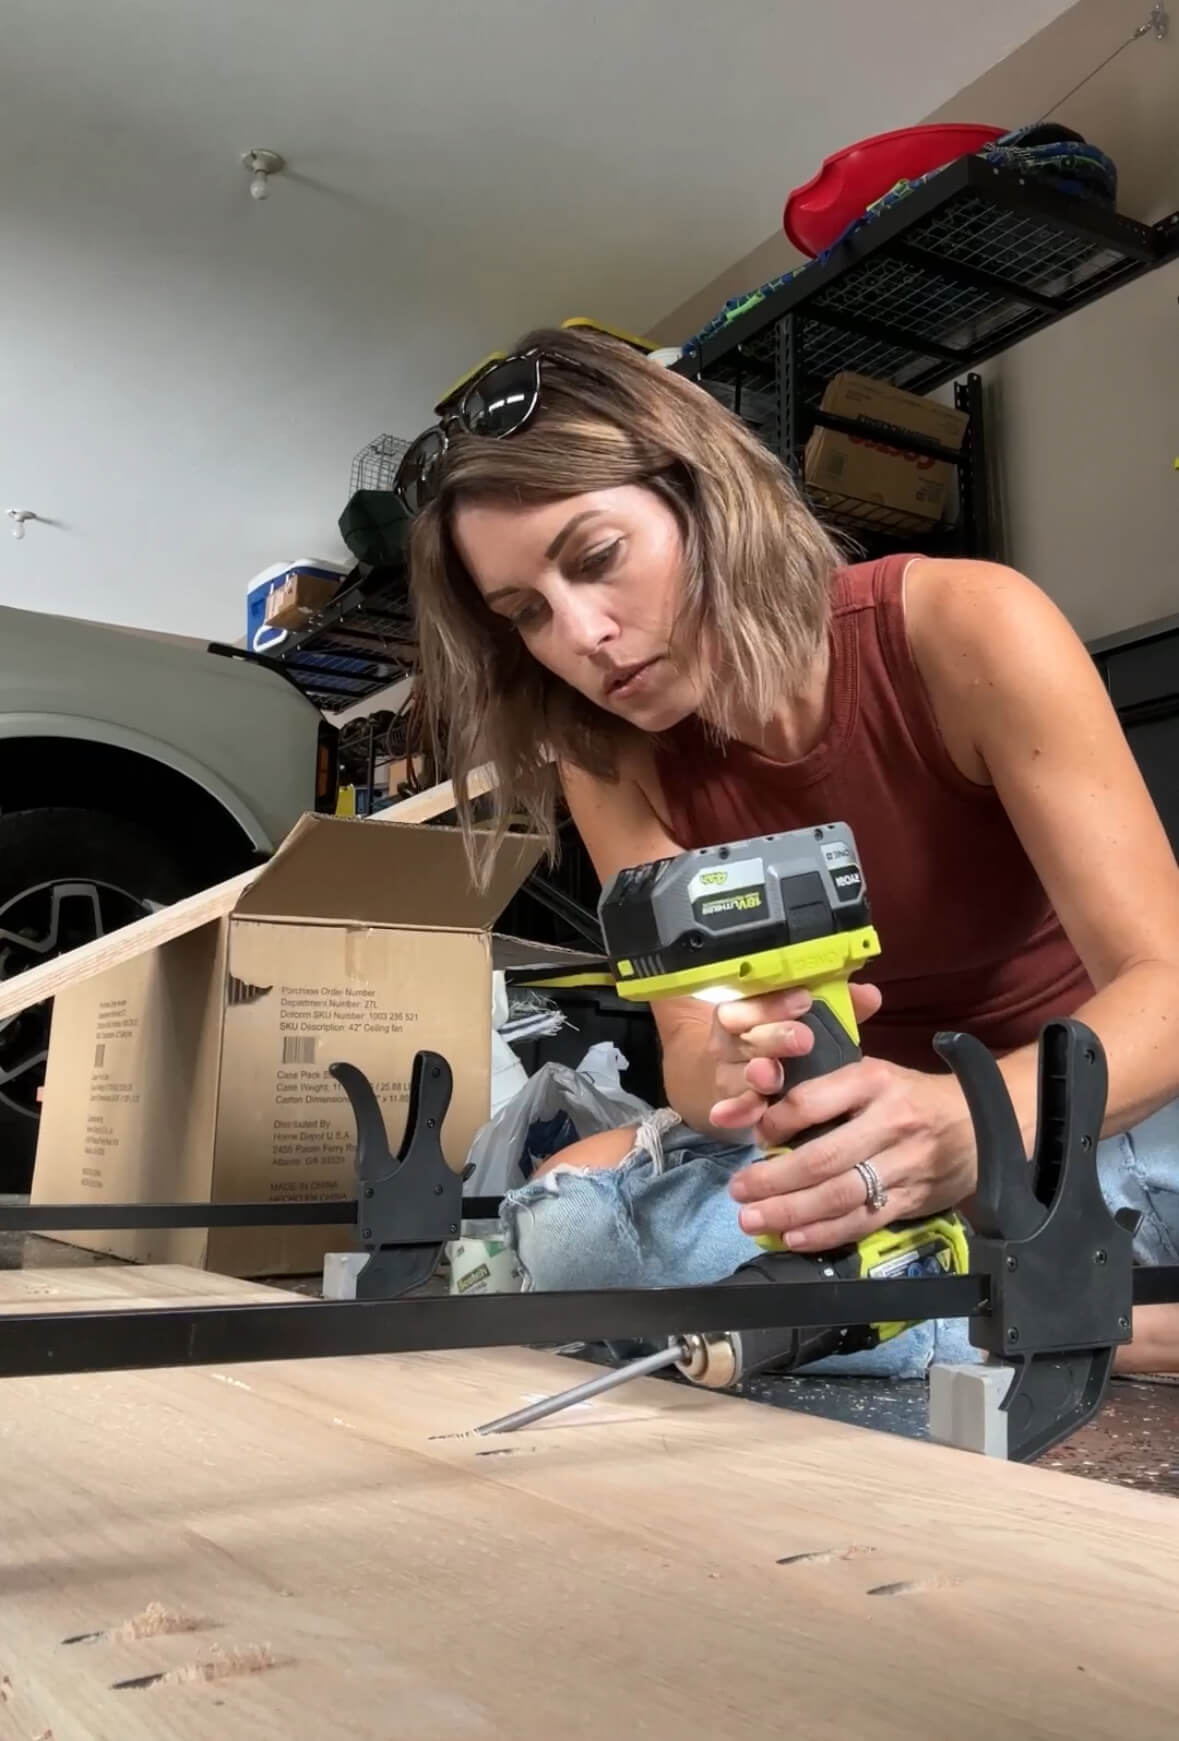
3. Put the Pieces Together & Build the Tower and Shelves
After making all of your cuts for your towers and shelves, putting the DIY custom closet towers together is like putting together a puzzle. Make pocket holes using your Kreg Pocket Hole Jig, then drill the screws in the pocket holes for the most secure and discreet joints. By using the kreg jig, you’ll get a much tighter and straighter seam than just using a nail gun and wood glue. Don’t forget to read the instructions on how to use your kreg jig and follow this Kreg Jig tutorial for more information!
When putting your tower pieces together, use regular clamps and these corner clamps come in handy to keep things straight. It’s easier (and safer) than using your legs to stabilize the boards.
While building your tower, you’ll also need to build the tower shelves at the same time. Follow the same steps as above to yield higher-quality shelves. One tip while clamping the shelves in place, is to measure how far you want your shelf to go down, and then use a speed square to help you line up the clamps to keep things straight and level.
4. Build the Base for the Tower & Install the Tower
Start by creating the base for the DIY closet tower to sit on. The base is a rectangle made of 2×4’s. Connected using 3” screws and wood glue, it should be the same size as your DIY custom closet tower with a vertical brace in the middle. This base will also act like a toe kick underneath your shelves and drawers while stabilizing your closet tower.
After creating your base, you can install the tower that you created earlier.
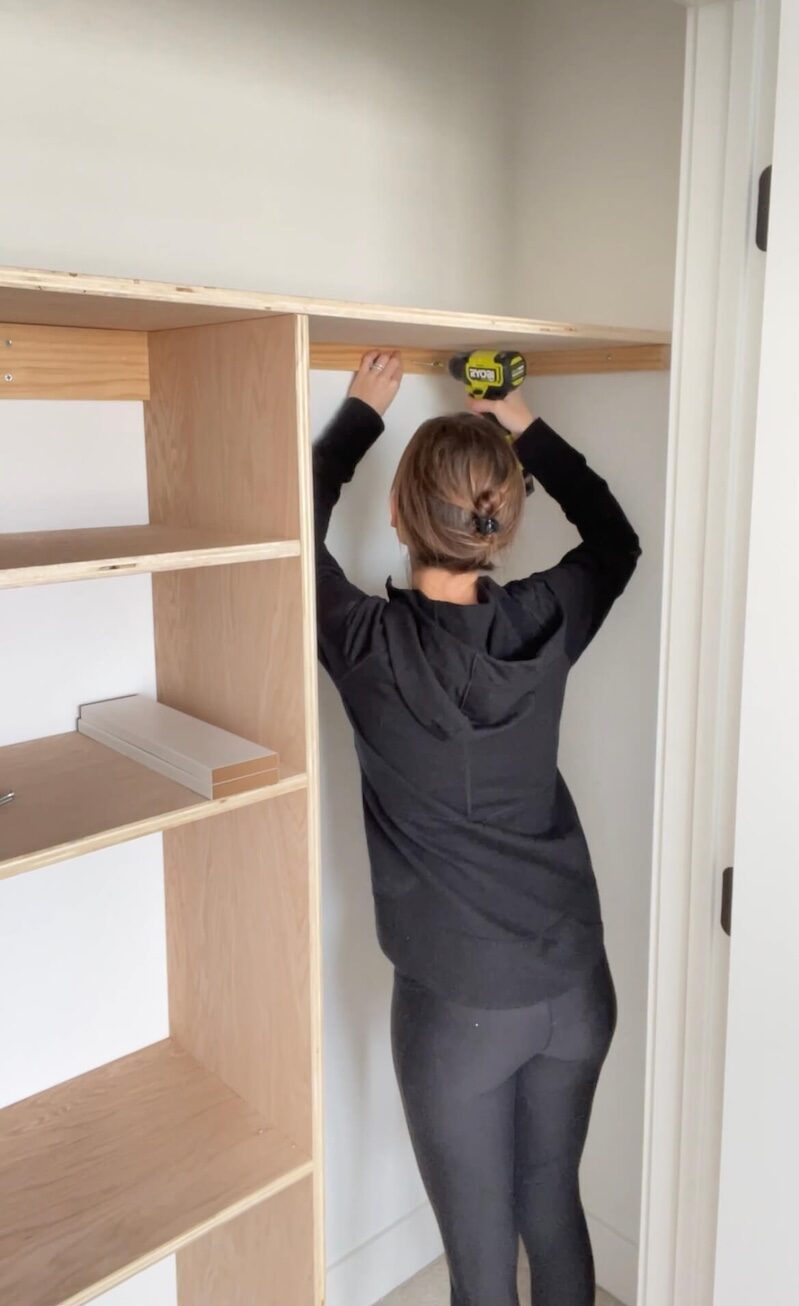
To secure the tower, use your drill to attach some 1x2s on the back of the tower on the top and the middle using pocket holes. Then, drill the 1x2s into the studs on the wall.
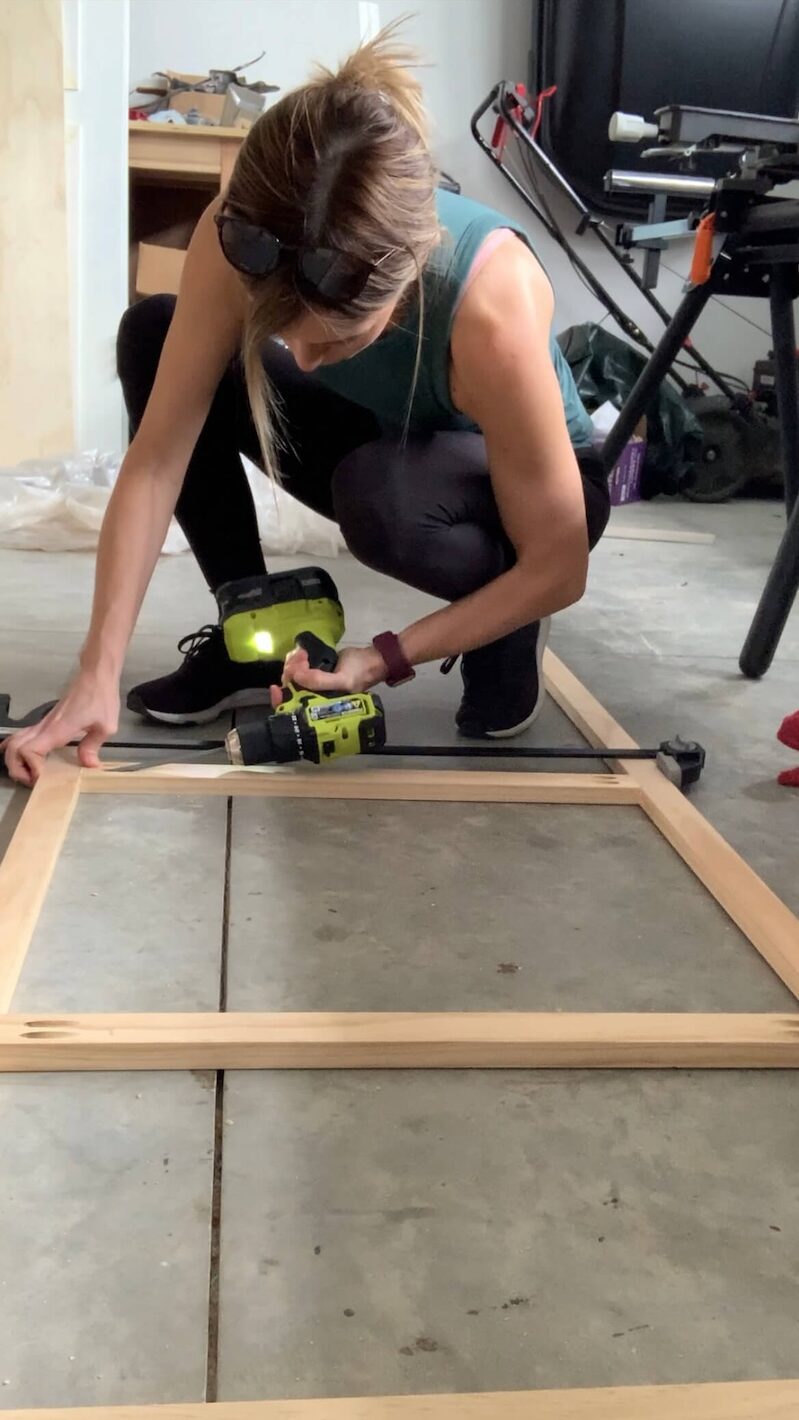
5. Install the Face Frame
Using your Select Pine, install a face frame to the project. Simply cut the select pine to size using your Ryobi Miter Saw and then use your Kreg Pocket Hole Jig to drill pocket holes and fit the pieces of the face frame together. Then nail and wood glue the select pine flat to the outside of your tower frame and tower shelves. This will create a finished, polished look.
You can also repeat this same process for your extra shelves outside of the tower.
6. Add Slide-Out Drawers in the Tower
After installing the face frame, it’s time to add the drawers. Installing drawers is the most intimidating part of any custom closet install, but I promise that it’s easier than you think!
Think of it this way: drawers are just boxes and when creating a drawer you are just creating a box. To begin, cut your boards to size including a bottom piece. You should have 5 pieces altogether to create the drawer frame. For the bottom piece, I used a ¼” piece of plywood since I knew I wasn’t going to be storing anything super heavy in these drawers. If you are planning to store weights or something super heavy, I would use 1/2″.
An additional piece will be needed for the face of the drawer after it’s been installed. This will be screwed into the front from inside the drawer.
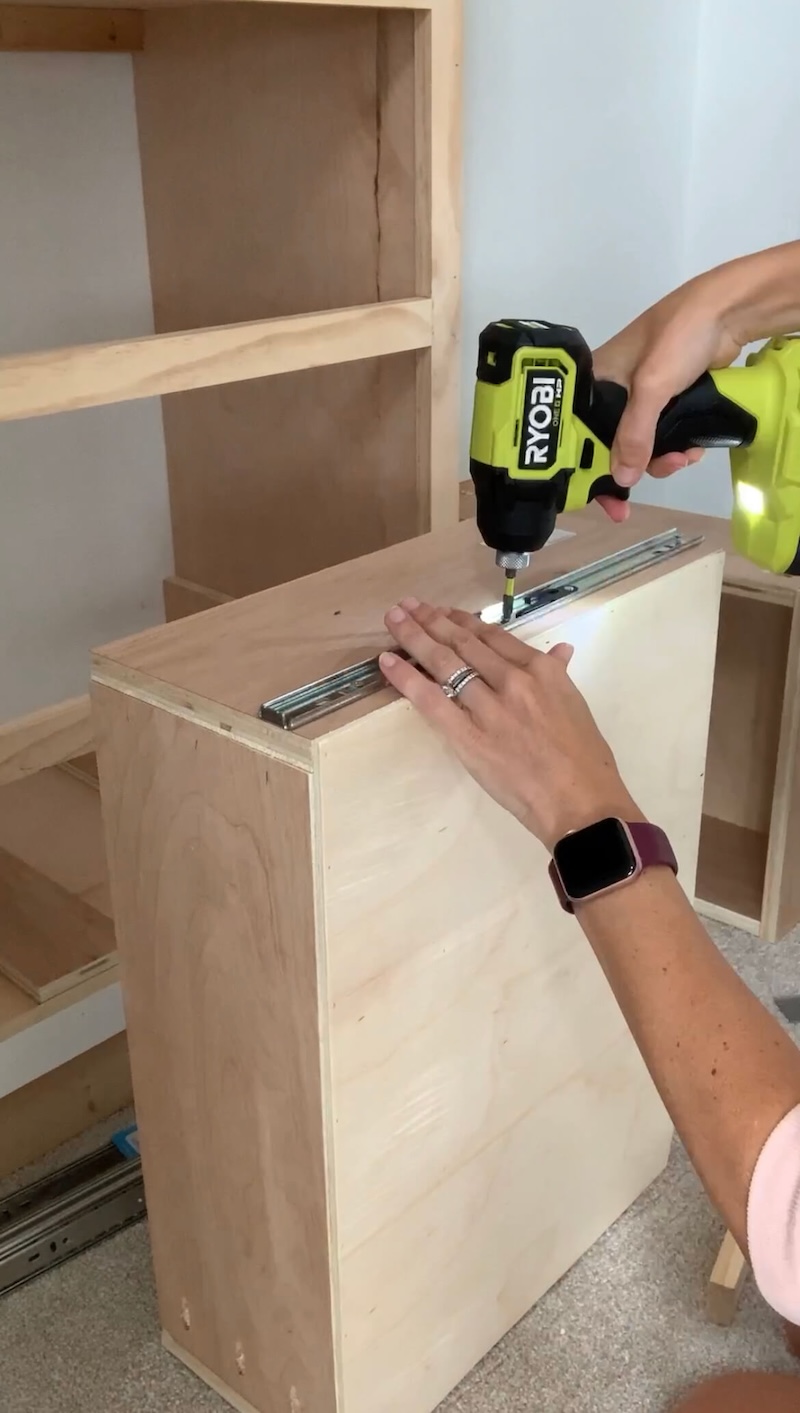
After cutting your necessary pieces, follow the same process you used to build the tower. Drill pocket holes, and assemble the box using wood glue and screws. To install the bottom, use wood glue and your nail gun to attach it to the box. Then add your drawer slides!
There are several different types of drawer slides, so make sure to follow the instructions on the drawer slides you purchased, and don’t forget to add spacers if you purchased the space frame-style drawer slides!
After assembling the drawers and putting them in the tower, you are ready to install the fronts. I used playing cards and slipped them into the slots all around the face of the drawer to ensure even spacing. Then, I used 1-2 nails to hold it in place while I slid the drawer out and drilled screws to keep it secure.
7. Install Hanging Rods
Installing the closet rods is super simple! Get two closet rod brackets, and drill them where either end of the rod is supposed to go into the studs. If you have a hard time finding studs, make sure to use a StudBuddy!
Next, insert the rod. And that’s it! You finished installing your DIY closet.
Painting the Shelves and Towers
After installing the tower, drawers, shelves, and rods, you’re ready to start priming and painting! To prep for painting, fill all the seams with caulk and fill all of your nail holes with wood filler. This is a step that many people want to skip, but it’s a finishing touch that really makes your DIY closet look well-made.
Next, apply a coat of primer, and then your coat of paint. I recommend using cabinet paint. It’s more expensive, but worth the investment. It goes on so well and is much more durable than other wall paints.
Cabinet paint does have a longer “cure time,” so be sure to read the instructions on the can and wait the allotted amount of time (usually 4 days to a week) before setting anything on your shelves!
Once the paint has dried, you are ready to move all your clothes, shoes, and accessories back into your gorgeous new closet and begin to enjoy your amazing DIY closet!
Products Needed for a DIY Closet
Are you feeling ready to complete your own DIY closet? I’ve linked all the products you’ll need for this fantastic project below.
- Birch ¾-inch sanded plywood
- Closet rod
- Closet rod brackets
- Corner clamps
- Clamps
- Drawer slides
- Drill
- Ear protection
- Eye protection
- Inexpensive piece of insulation (optional)
- Kreg Jig Rip-Cut and circular saw or table saw
- Kreg Pocket Hole Jig
- Level
- Ryobi 18 Gauge Brad Nailer
- Painter’s tape
- Ryobi Multi-tool
- Select pine 1×2’s & 2×4’s
- Set of hand tools
- Stud Buddy
- Wood Glue
For painting the closet you’ll need the following:
- All-purpose drop cloth
- Caulk
- Cabinet paint & primer
- Wooster 6 1.2-inch foam roller
- Wooster roller frame
- Wood filler
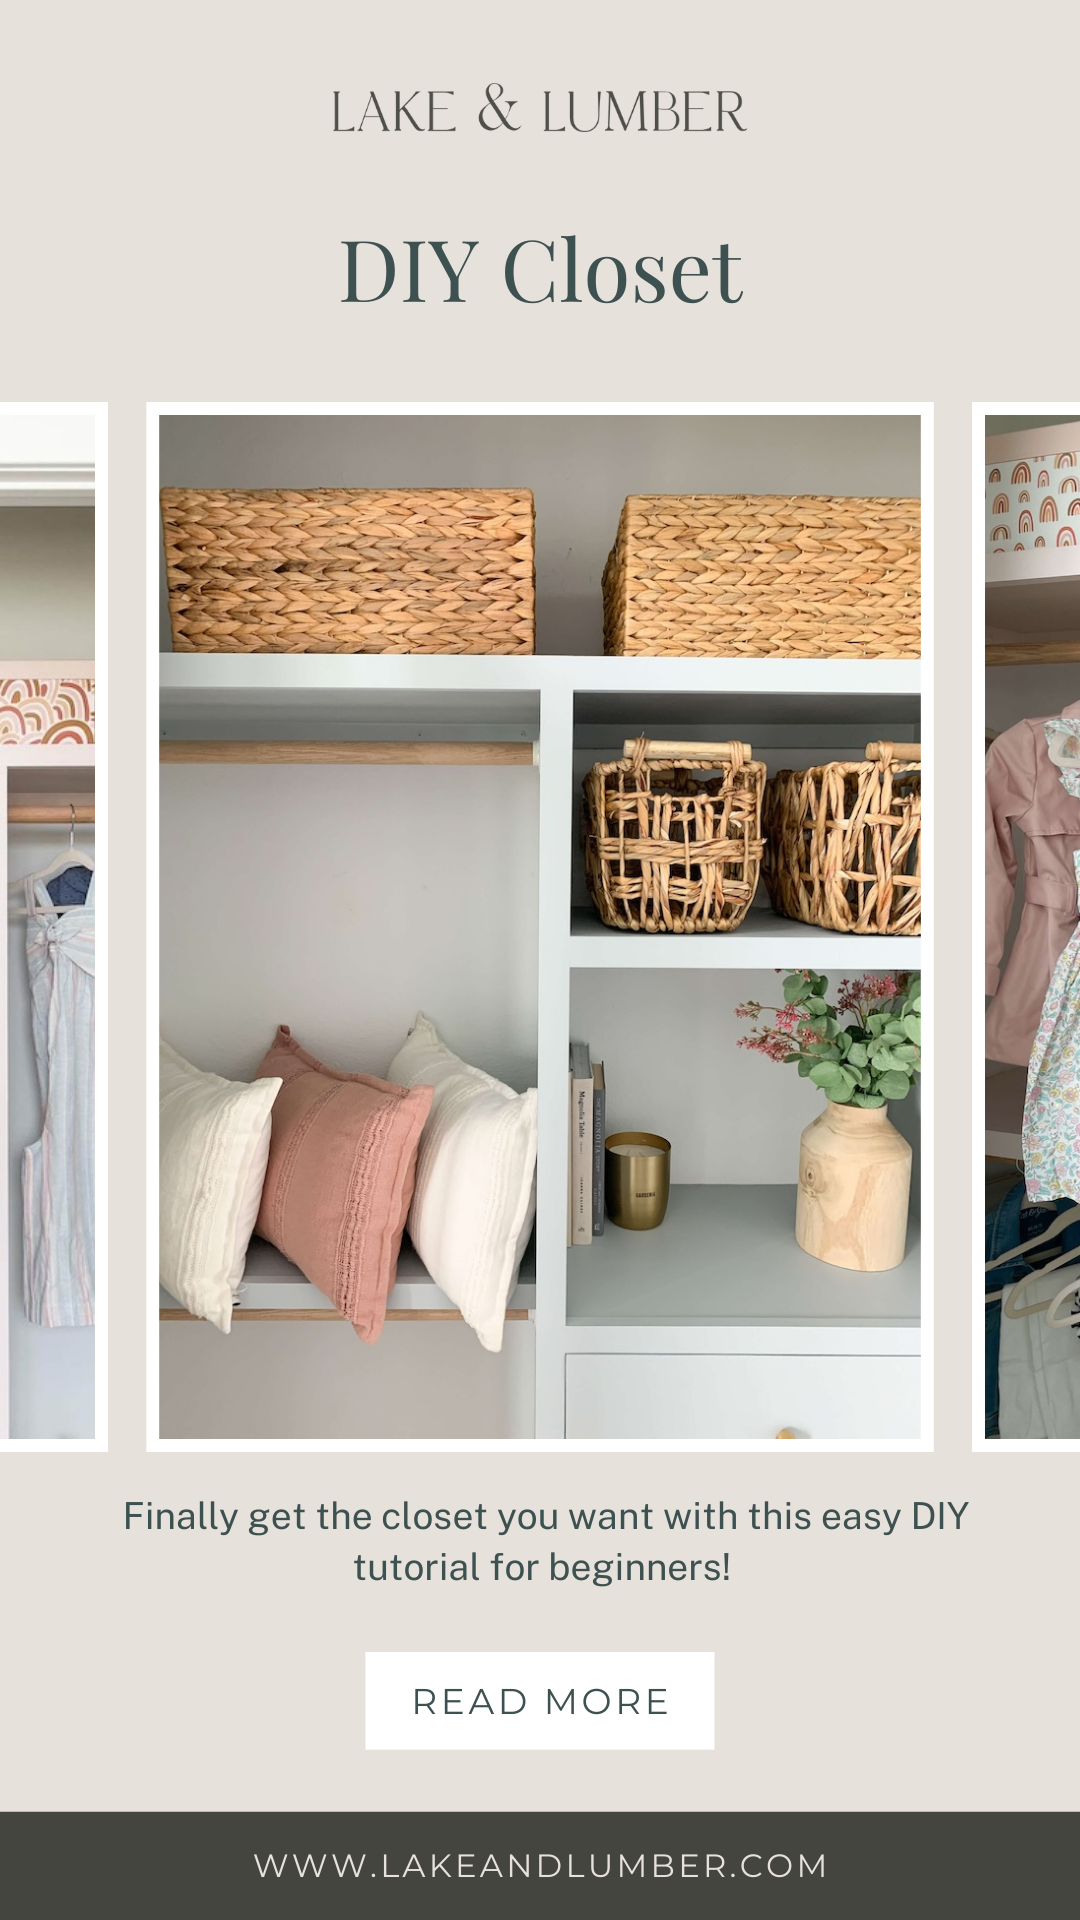
DIY Custom Closet
Building a DIY custom closet takes time, but it is completely worth it! You’ll love having a customized closet that’s built to fit your exact needs.
If you’re ready to start tackling DIY projects and make your house feel more like a home (or you just need some inspiration), make sure to follow me on Instagram and Facebook! It’s where I share all of my favorite and recent DIY projects that are fun to try and beginner-friendly.
For more in-depth DIY tutorials (like how I tiled and waterproofed my entire bathroom shower), check out my blog!
Here are a few of my favorites to start with:
- DIY Boy’s Bedroom Makeover
- Three Beginner-Friendly DIY Projects to Build Confidence
- How to Use a Kreg Jig for a Profesional Finish
So grab your tools, and get started on your next DIY project! I can’t wait to see what you build!