Exterior renovation update!
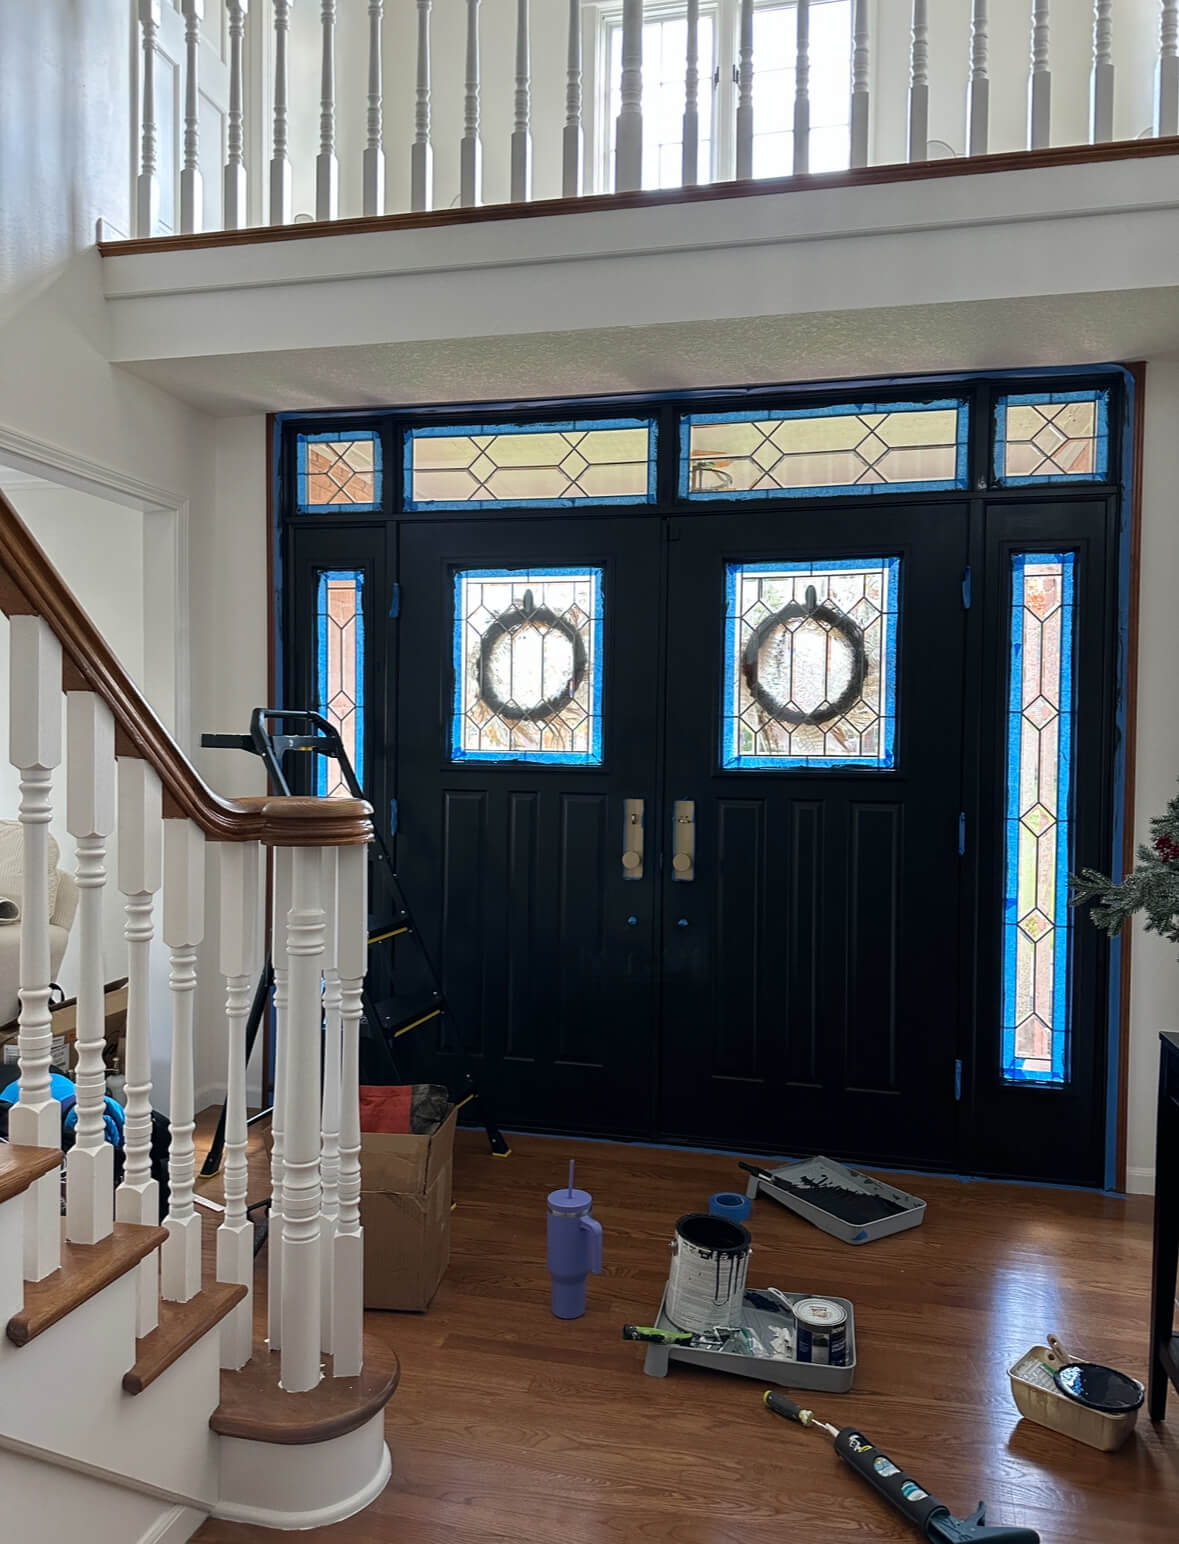
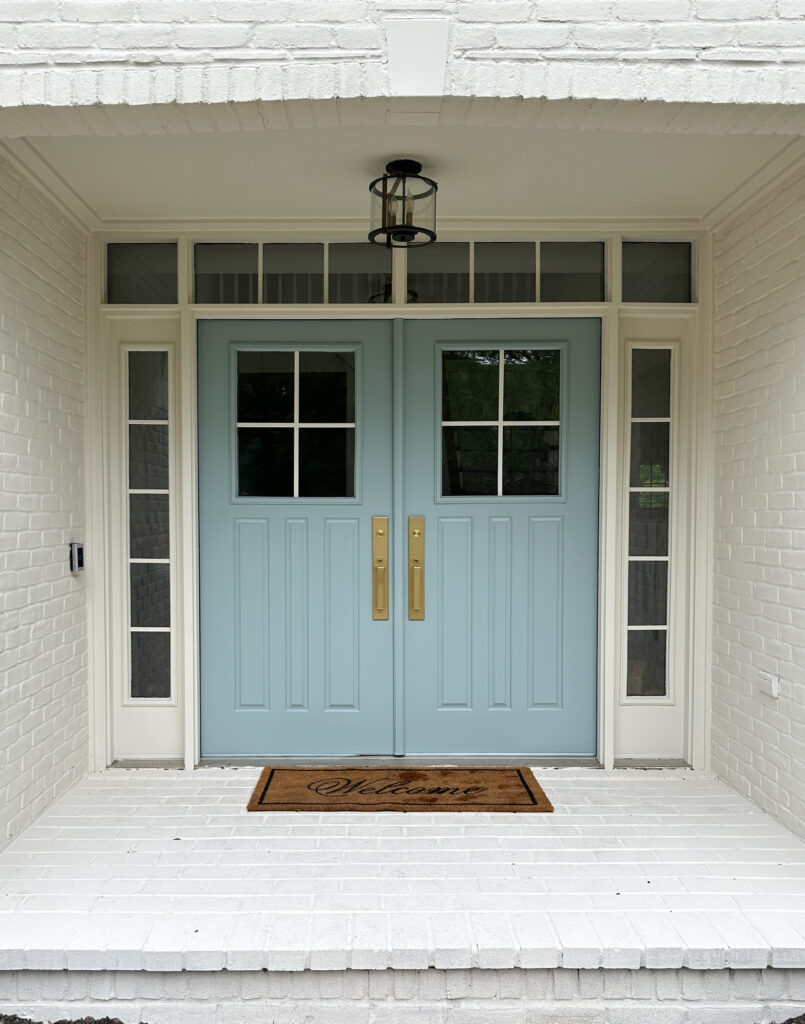
As part of our home’s exterior renovation, I’ve been working diligently on updating our front door. With fresh paint and new lighting on the way, the challenge was making our window grids stand out. Currently black and inside the glass, they needed a makeover to match the house. Here’s how I transformed them with an affordable DIY window grid makeover!
Say goodbye to the electrical tape window grids!
Remember the black electrical tape window grids that flooded Instagram in 2021? While I didn’t adopt that style, I know many of you did. In this post, I’ll reveal an affordable, high-end solution to create custom window grids in any color you like!
Supplies You’ll Need
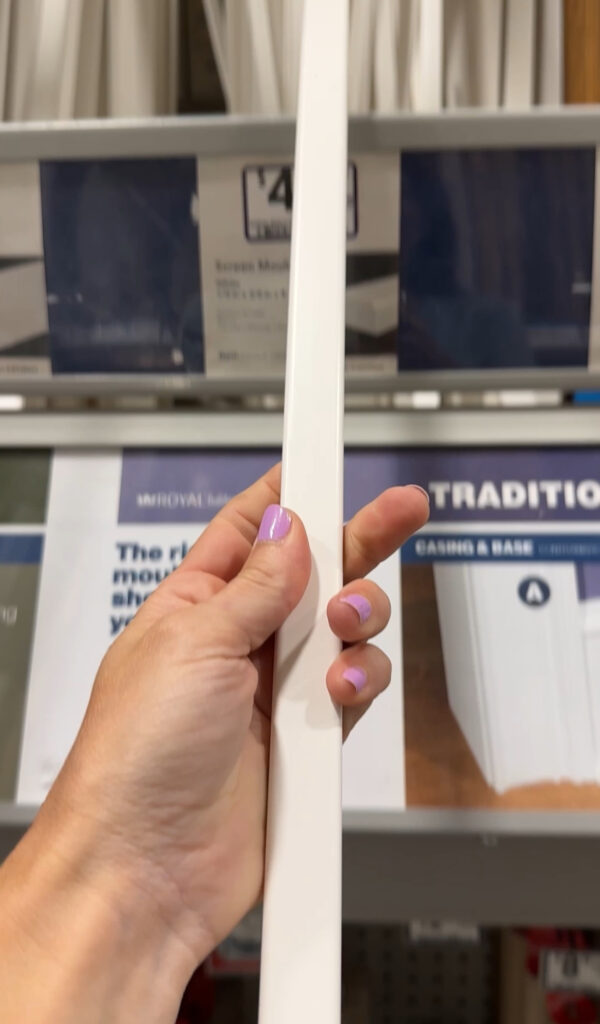
- Screen Mould PVC Trim: Head to your local hardware store (I found mine at Lowe’s) and grab an 8ft piece for just $4. This trim is perfect for window grids.
- Double-Sided Tape: Look for tape with super glue-like strength. It’s the secret to securing the trim.
- Miter Snips: These will help you cut the trim to size.
I took a quick trip to Lowes where I was able to find this $4 screen mould PVC trim. This trim is identical to what you will see being used for window grids! Each piece is 8ft long, so depending on the style and size of your windows, you may be able to get 2+ windows done with each piece.
“But how will I attach it to the windows?!” you ask. I searched high and low until I found this double sided tape that is the perfect width and has the strength of super glue! The only “tool” you will need for this project is a pair of miter snips, which you can get here for around $25.
Installation Steps:
Once you have all of your supplies, decide if you want to start with your horizontals or verticals and start measuring! I started with the vertical pieces on the doors and it worked well. You will caulk all of your seams, so once you are finished, you won’t be able to see them anyway!
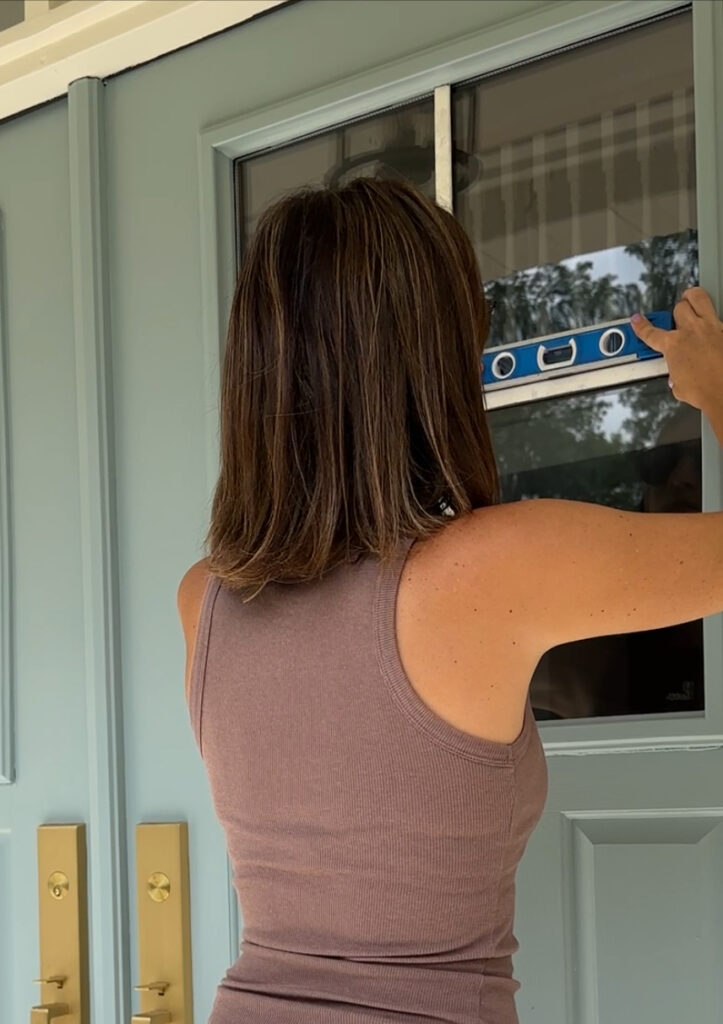
Before you start adhering the PVC pieces to your glass you want to make sure to clean it very well using Windex or another window cleaner. Once your pieces are cut, peel back the double sided tape on one side and adhear it to the flat side of the trim. Peel back the backing and line your trim piece up on the window. I used a small level to make sure I wasn’t sticking things on crooked. Press and repeat! Do this for all of your grids before moving on to the next step.
Time for the finishing touches!
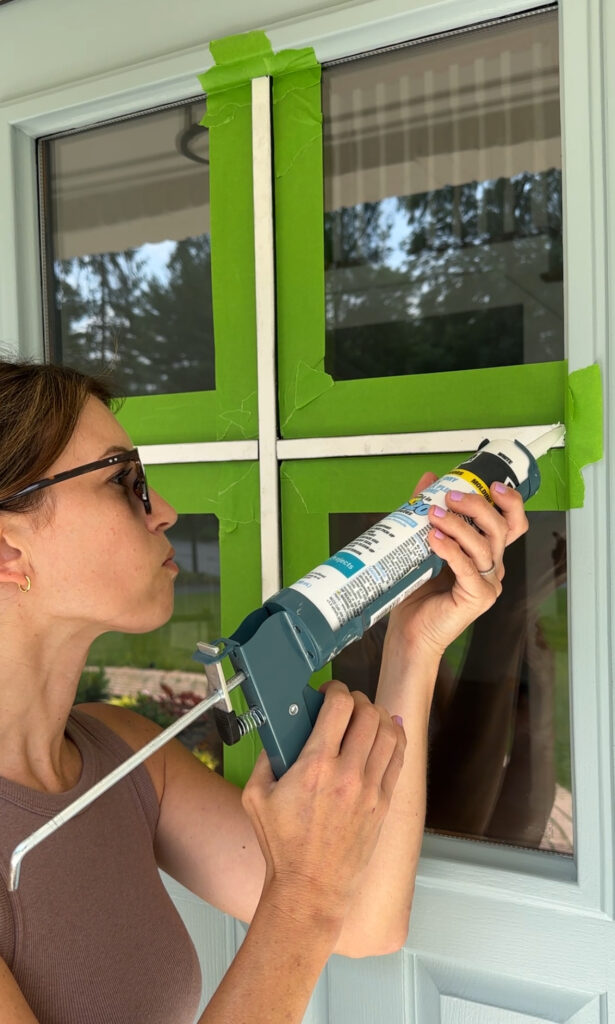
Now that you have all of your grids attached it is time to caulk all of your seams! This is my go-to caulk, so that is what I used here as well. We are NOT caulking where the trim touches the window…only where the trim touches another piece of trim OR the window frame.
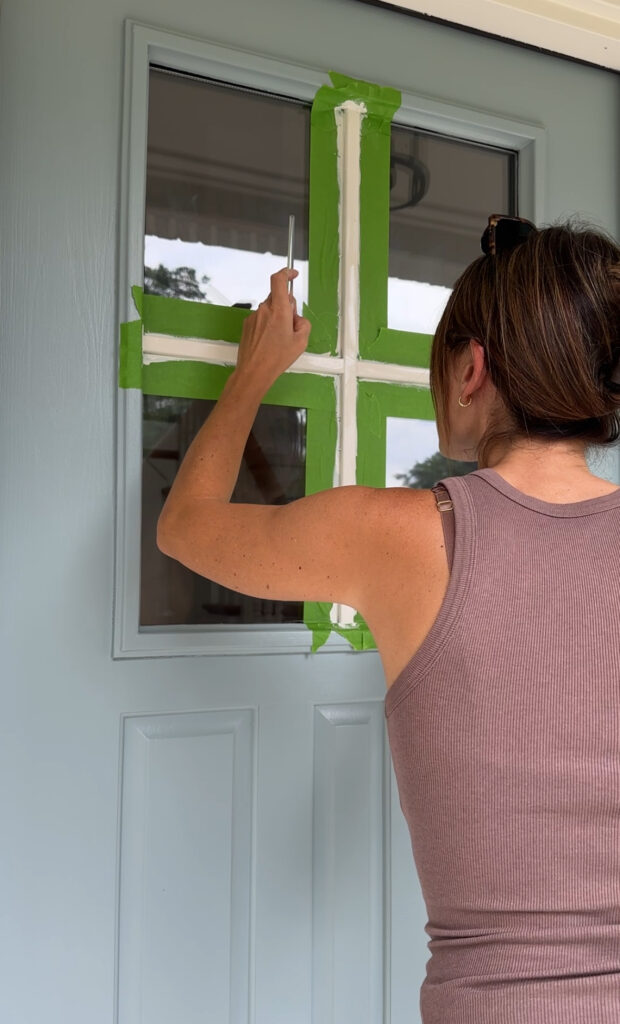
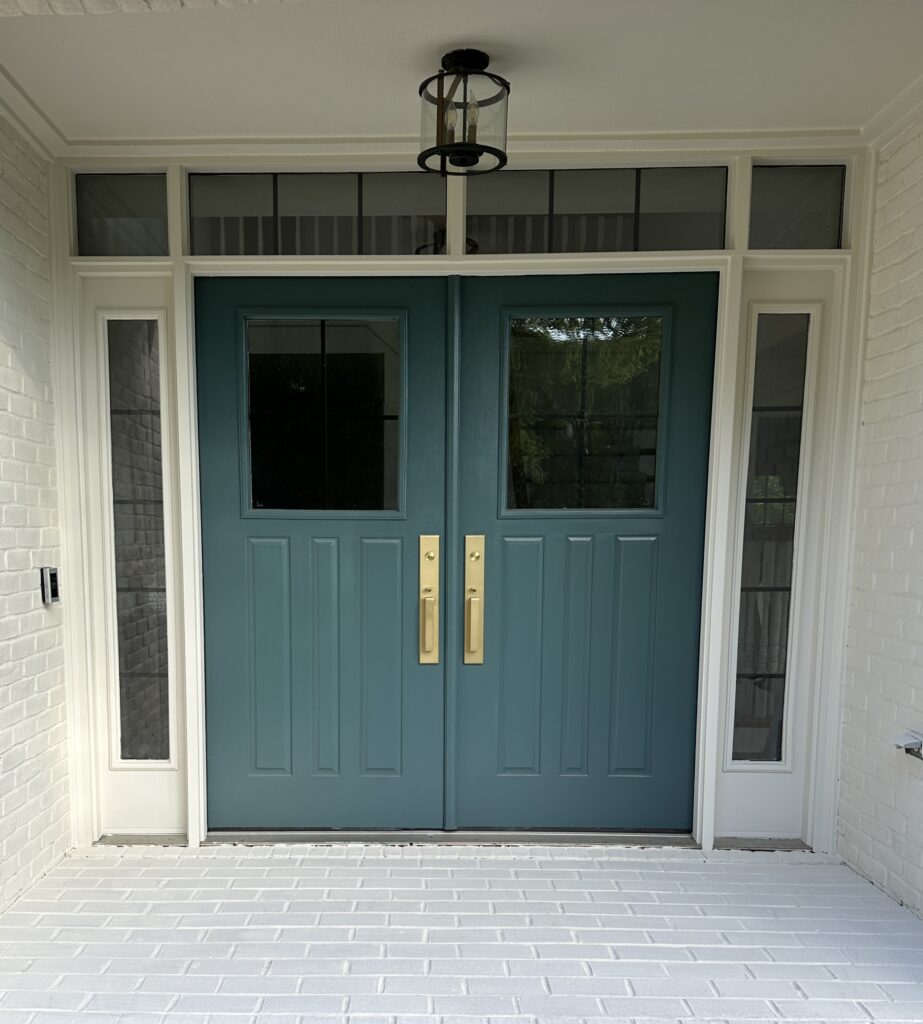
Once the caulk has dried you can choose your paint and finish up! Whether you like the tape before painting or you are more of a “freehand and scrape after” type of person, you can easily tackle this project in one day and you are going to be blown away by the results!
Upgrade your window grids with this simple DIY project. It’s cost-effective, and the impact is stunning. Get creative and enjoy your beautifully transformed windows!
Head to Instagram for easy-to-follow stories about this affordable DIY window grid makeover and videos of all of my DIY projects!