Jump to Supply List
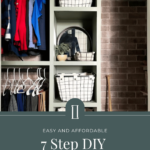
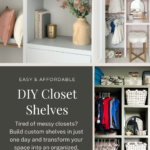
Are you ready to jump into a simple DIY but don’t know where to start? Building closet shelves is a great DIY starter project because it can be done with just a few power tools and in a short amount of time. Ready to get started? Follow along and I’ll show you how to easily build closet shelves in a day!

Power Tools Needed to Build Closet Shelves
Building shelves for a closet is a fairly easy DIY project, and it only requires you to have a few power tools on hand. And since this project only needs a few power tools, it’s the perfect project for beginning DIYers who are still building up their tool collection!
To get you started, I recommend investing in the following for this project:
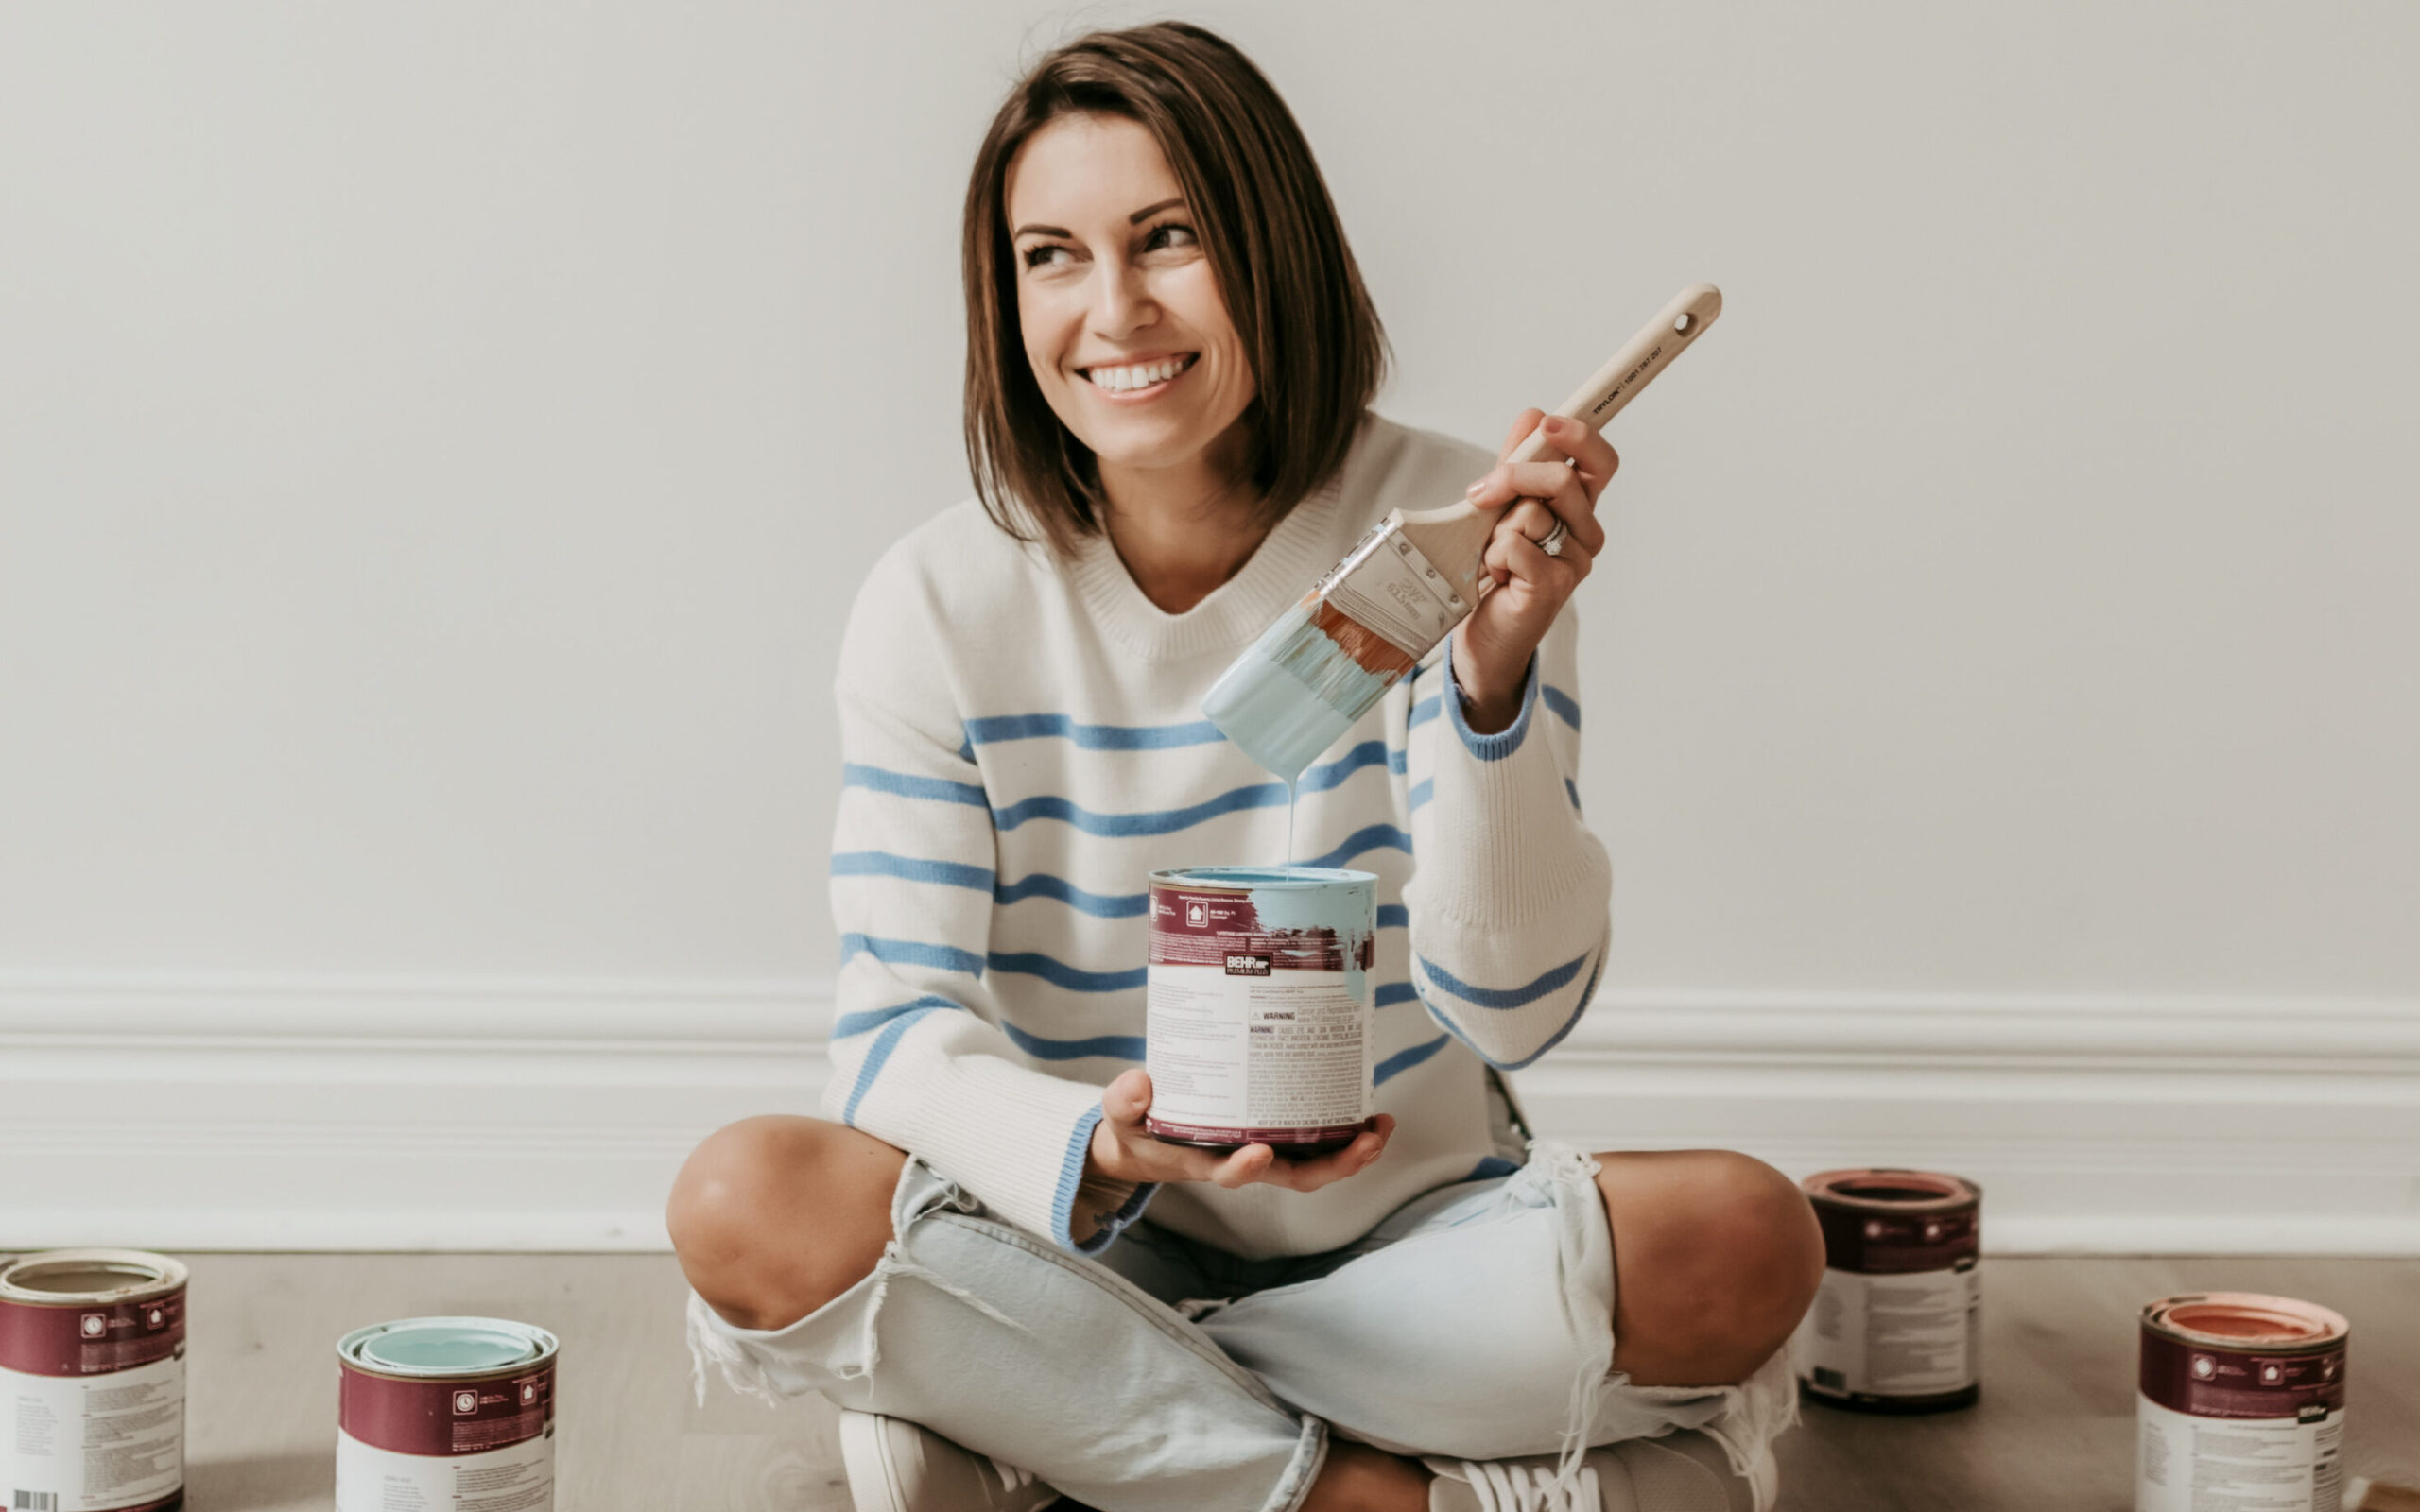
When buying power tools, it’s easy to get stuck on the upfront costs because it can feel like too much at first. But they’re such a great investment and a necessity for anyone wanting to update their space. In the long run, you’ll save more money by doing house projects yourself (versus hiring out for them), and those tools will pay for themselves!
If you’re ready to start building up your tool collection, then here is a list of a few of my ride-or-die tools for DIY beginners. Fun fact: I got my first power tool as a Valentine’s Day gift from my husband, Cody!
After getting the power tools you need, you can head to your local lumber store to pick out the right project wood for your custom closet shelves!
Choosing Wood for Your Closet Shelves
Picking out the right pieces of wood can be difficult for new DIYers, so to lessen the anxiety, I highly recommend checking out my post about How to Choose the Best Project Wood for your DIY. This post will help teach you about the different types of wood and what projects they are best suited for.
Equipped with the knowledge of what to look for when selecting your lumber, here’s what you’ll need for most DIY closet shelves:
- Birch sanded plywood. While a 4×8 sheet of sanded plywood isn’t cheap, it should be enough for more than one project.
- Select pine 1×2 boards. You’ll want this to be used for the braces and as the finishing face frame.
After picking out the right kind of wood, it’s time to build those shelves!
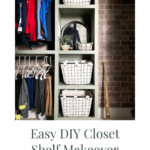
How to Build Closet Shelves
Even at a beginner’s pace, building a closet shelf DIY can be done in just one day. Here’s a simple step-by-step review of the overall process:
- Measure the closet and find the studs
- Drill the 1x2s into the wall studs to create a brace for the shelf
- Place the shelf on top of the braces and secure it
- Add the face frame
- Seal the seams with silicone
- Prime and paint the shelves
Now that you have an overview of the process, let’s take a deeper look at the details of how to build closet shelves for the best results every single time.
1. Measure the Closet and Find the Studs
To determine the length of your shelves, pull out your measuring tape from your standard set of hand tools, and measure the length and depth of the closet. Remember, you’ll want to leave some space between the front of the shelf and the front of the closet so that you can add the face frame with
your brad nailer on the front.
Whenever you do a DIY project where something is mounted to the wall, the first step will almost always be to find the studs in the wall. Studs are the vertical boards in the framing of the house that are used to support the home.
Finding studs takes practice, but there are tools that can help. Most people like the battery-powered stud finders, but they’ve never worked that well for me. Instead, I always reach for the StudBuddy. It’s not electronic, and instead, uses magnets to locate the stud in the wall. This is the perfect DIY tool to keep on hand especially if you want to create accent walls in your home or install beadboard to your bathroom.
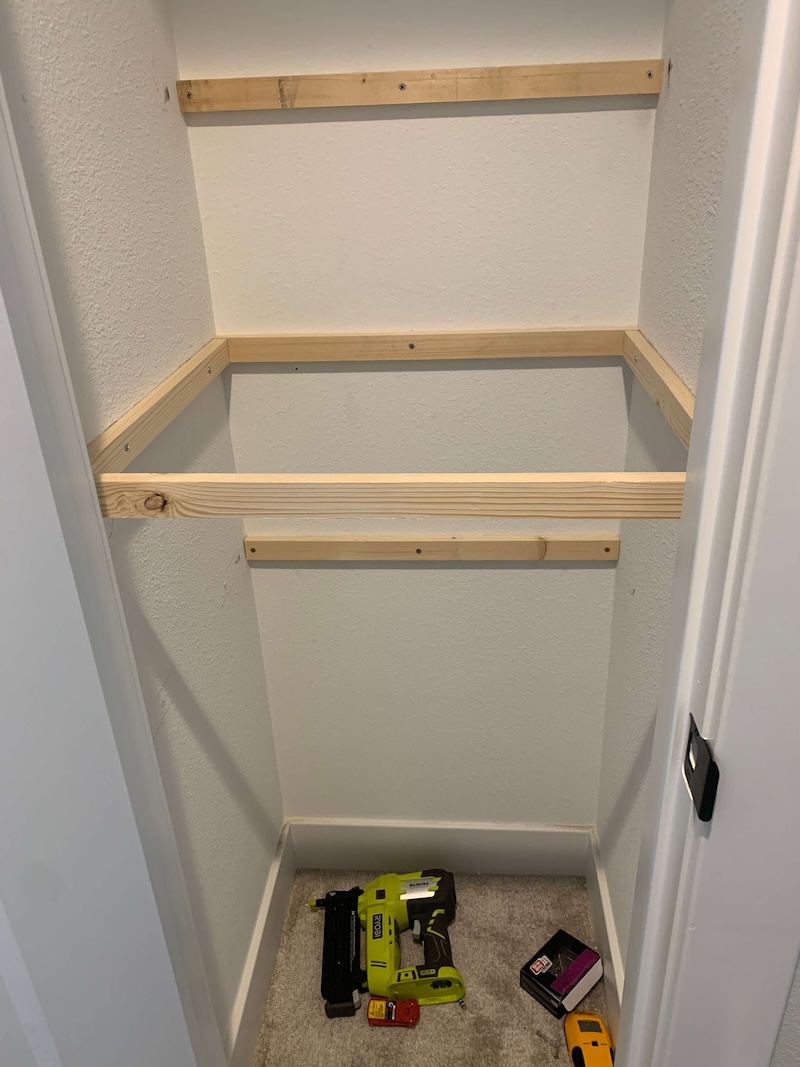
2. Create Braces
Once you’ve measured the closet, and located and marked the studs, it’s time to cut and install the braces!
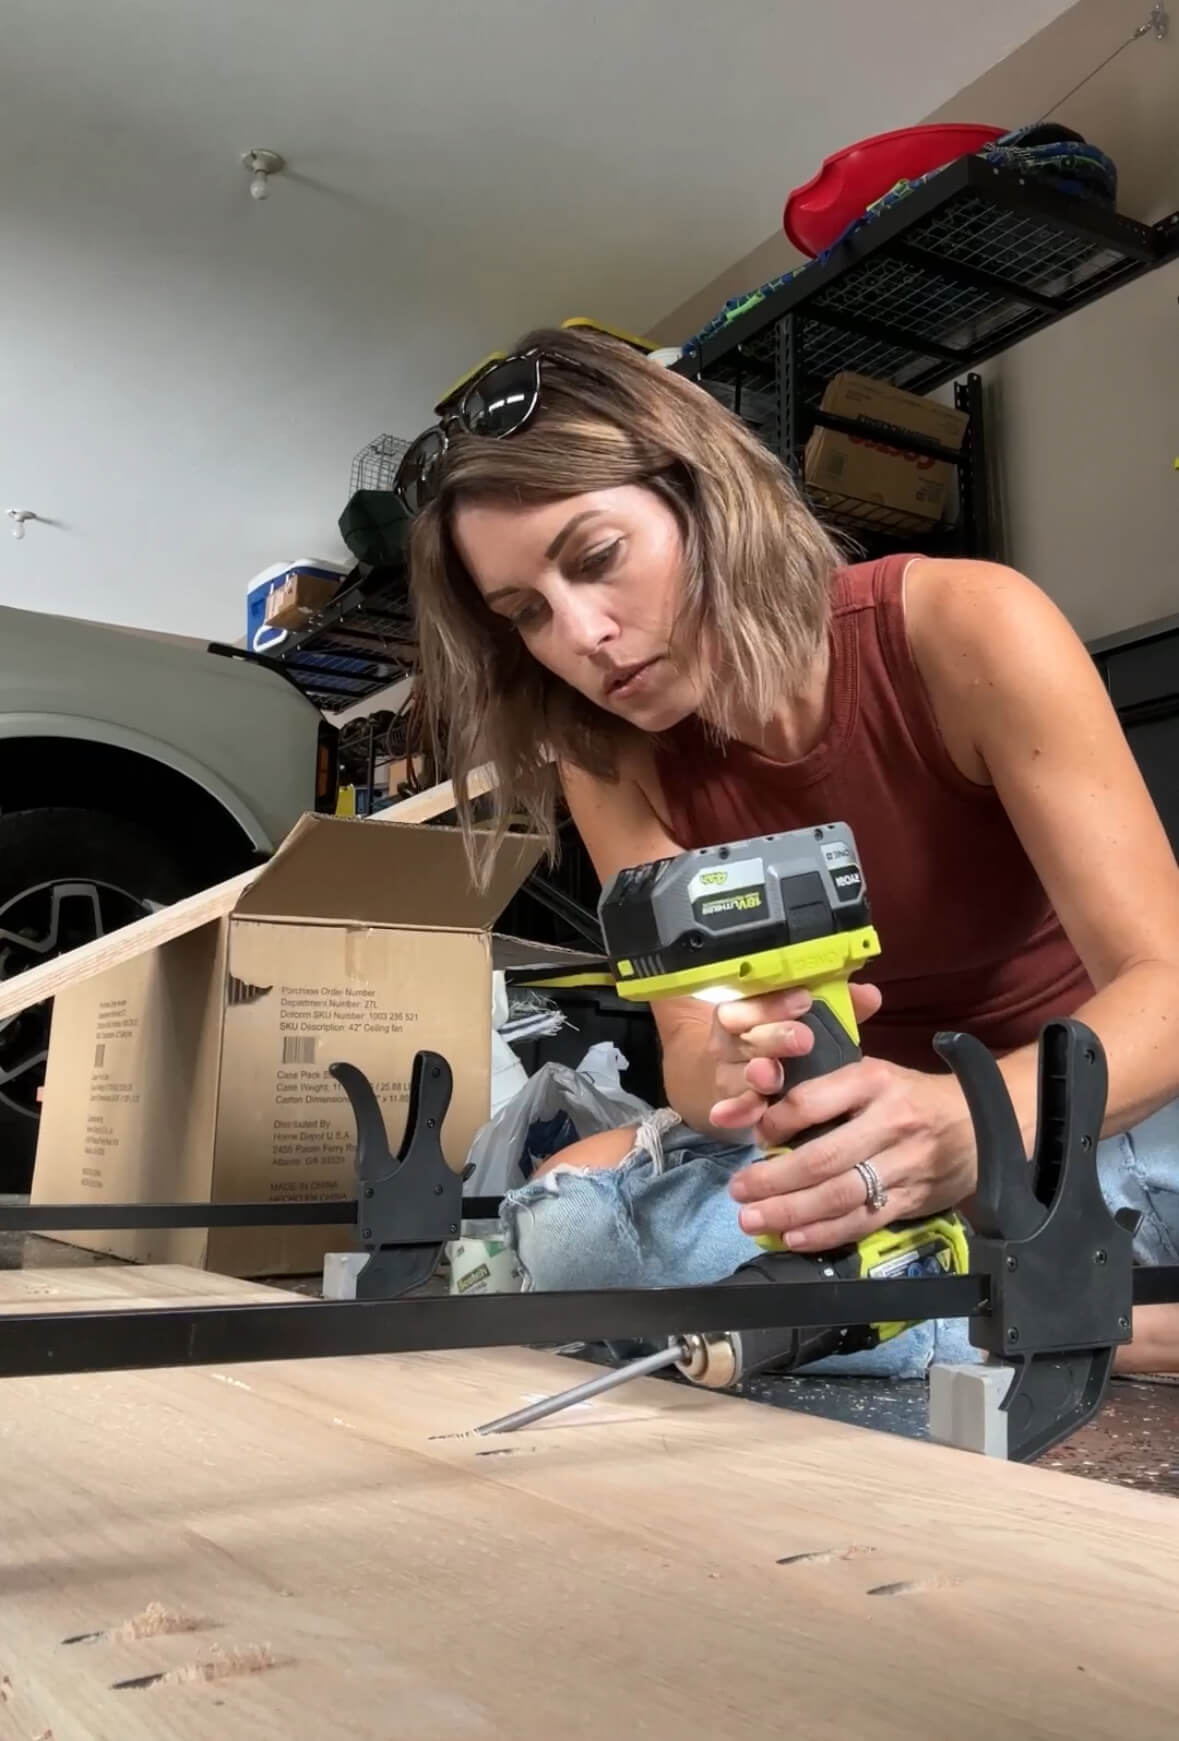
To brace the shelf, you’ll need to grab your select pine 1x2s, a level, and a drill. Measure and cut your 1x2s so that you have 3 pieces. One piece will be the length of your shelf, and the other two will be the same length as the depth of your shelf.
Mark where the studs line up on the braces, and drill pilot holes (a small hole that’s predrilled), before installing the shelves to the studs in the wall. The pilot holes will prevent the splitting of the wood when you attach them to the wall. After you’re done installing the braces, it’ll look like a framed rectangle that’s missing the one long side closest to you.

3. Install the Shelf
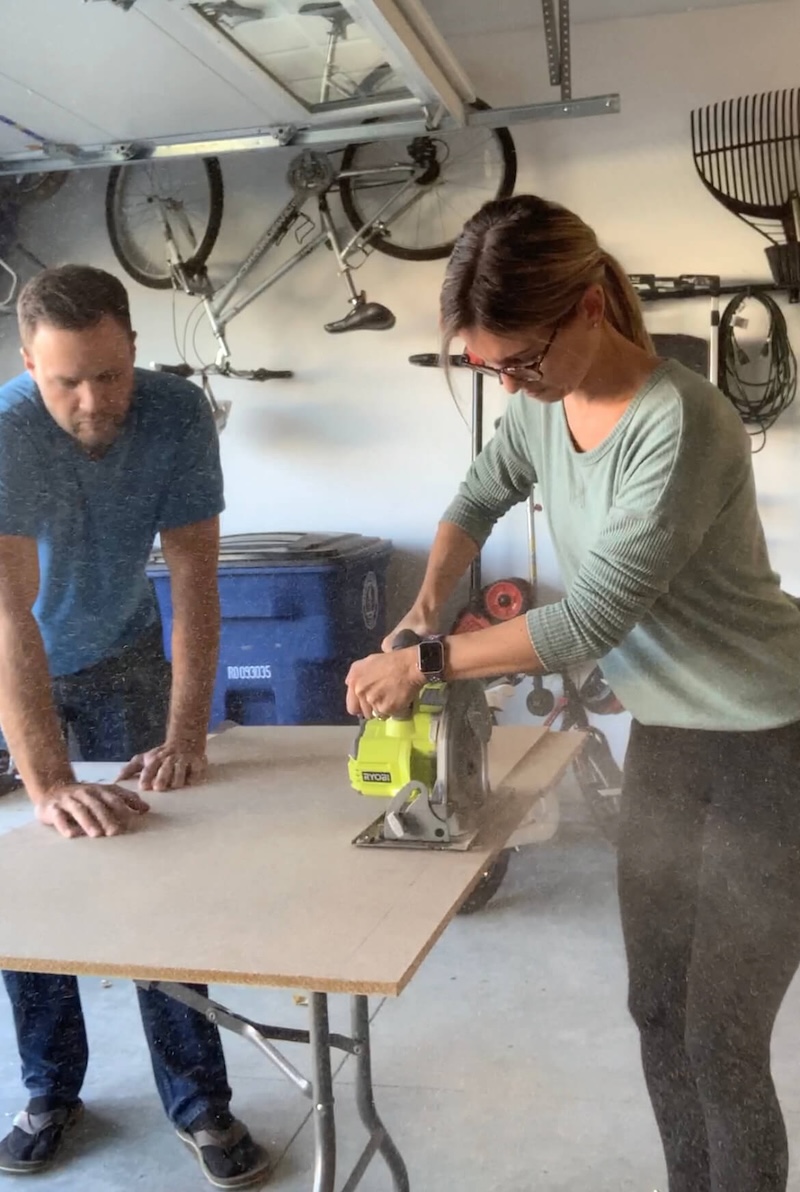
After adding the braces, you can install the shelf piece on this whole closet puzzle! Use your circular saw to cut the plywood board to size. When I built my custom shelves for my entire custom DIY closet, I used the Kreg Rip-Cut. I opted for the Rip-Cut because it makes it easier to cut down large pieces of plywood.
With the plywood cut to size, set it on top of the sturdy braces from step 2. Then, use your brad nailer to secure the shelf to the braces plywood shelf into the braces. Now you’ve got a well-made shelf that just needs some finishing touches!
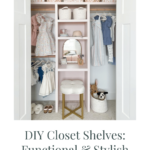
4. Add the Face Frame
Adding a face frame makes your project more cohesive and professional-looking. It also adds extra strength and durability to your shelf.
To add a face frame to your DIY closet shelves, cut one piece of 1×2 the size of the length of your shelf. Next, use your brad nailer to attach it to the front of your shelf. This will create fewer gaps and help the shelf feel and look complete.
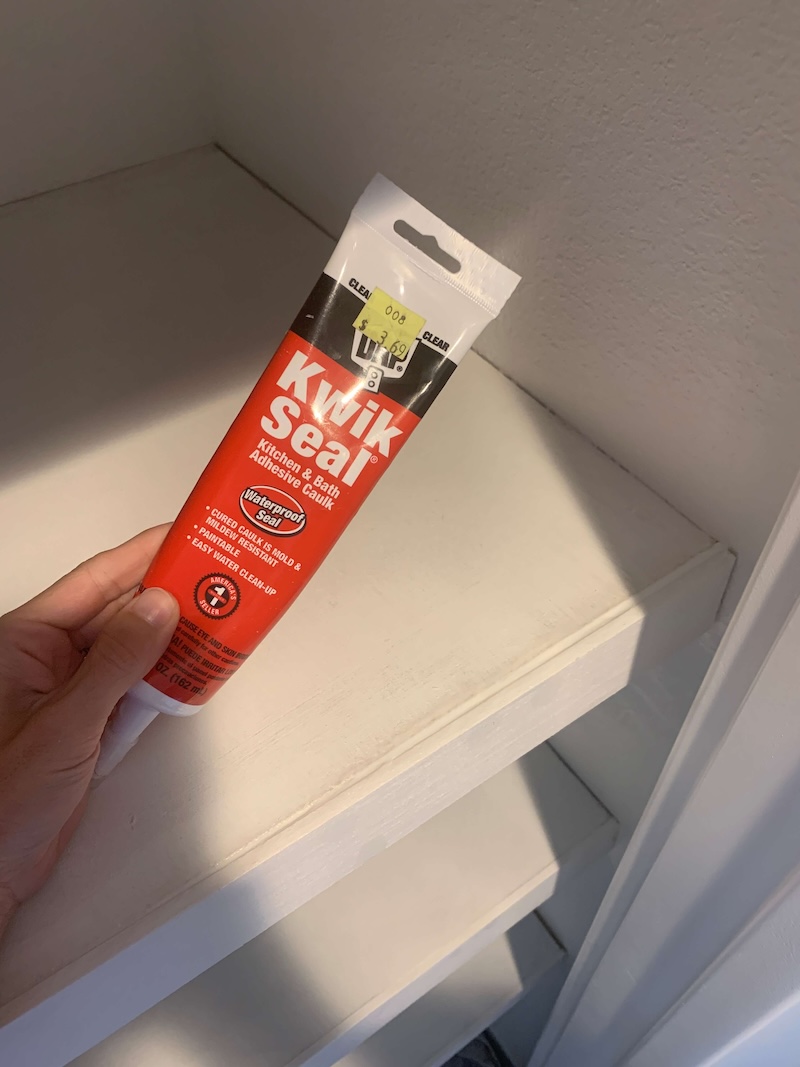
5. Seal the Seams
Once the face frame has been added to the closet shelves, you want to seal all the seams. Snag some silicone and fill in all the seams of the shelves in preparation for priming and painting.
After filling in the seams, you’re ready to paint your closet shelves!
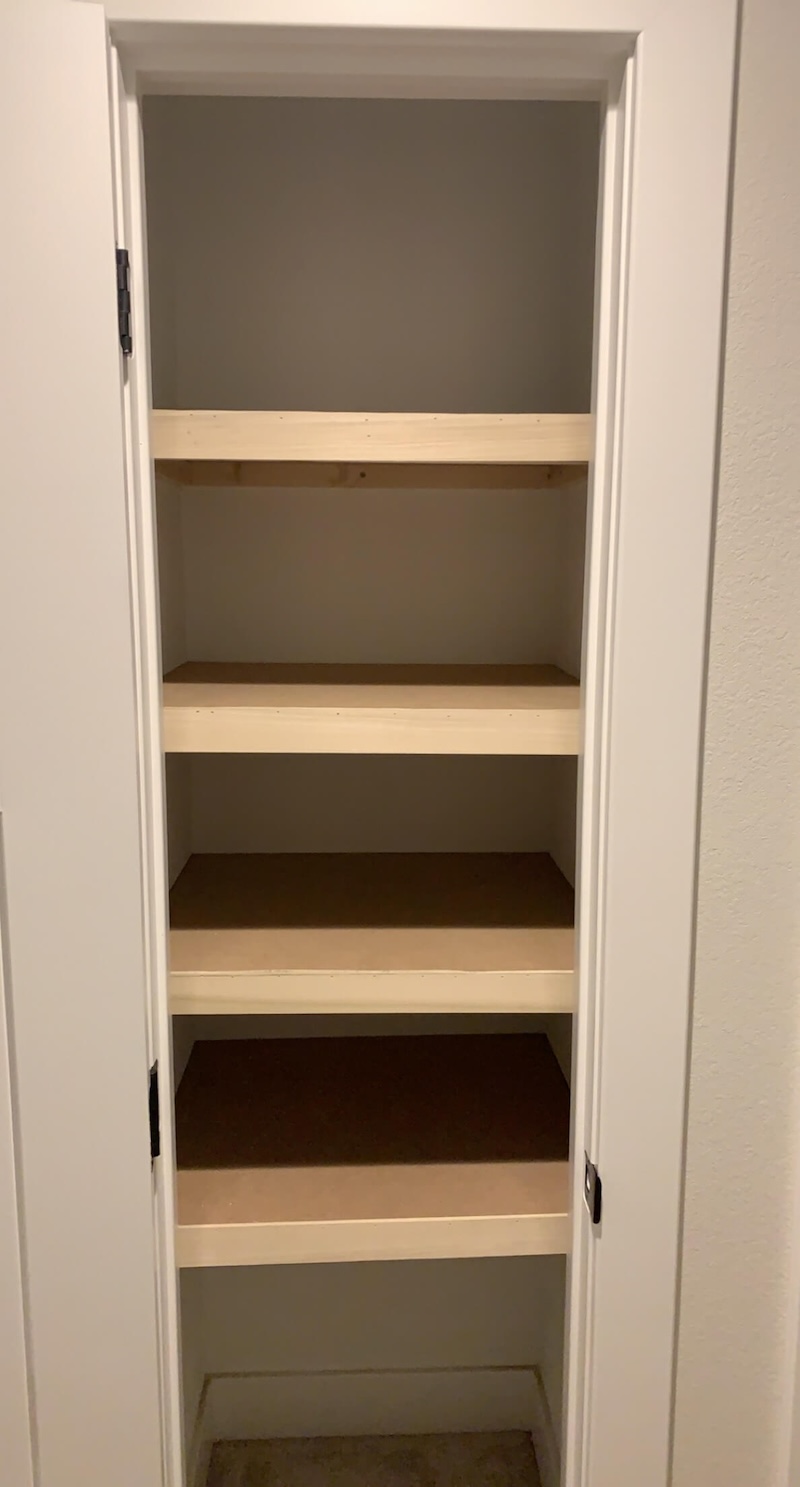
6. Prime and Paint
The last step in this closet shelf DIY is to prime and paint the shelves. I highly recommend using cabinet paint for these closet shelves. If you’re painting something that sees a lot of daily use or wear and tear, you’ll benefit from using cabinet paint. Additionally, using a primer prior to painting will help the paint adhere better. Cabinet paint is going to be slightly more expensive than your everyday wall paint, but it is a worthwhile investment. It’s much more durable and it also self-levels.
The one downside to cabinet paint is that it’s very thin, so you’ll have to paint a few coats to get the desired result. Just remember if the first coat doesn’t look great, you just need to add 1-2 more coats for a high-quality finish.
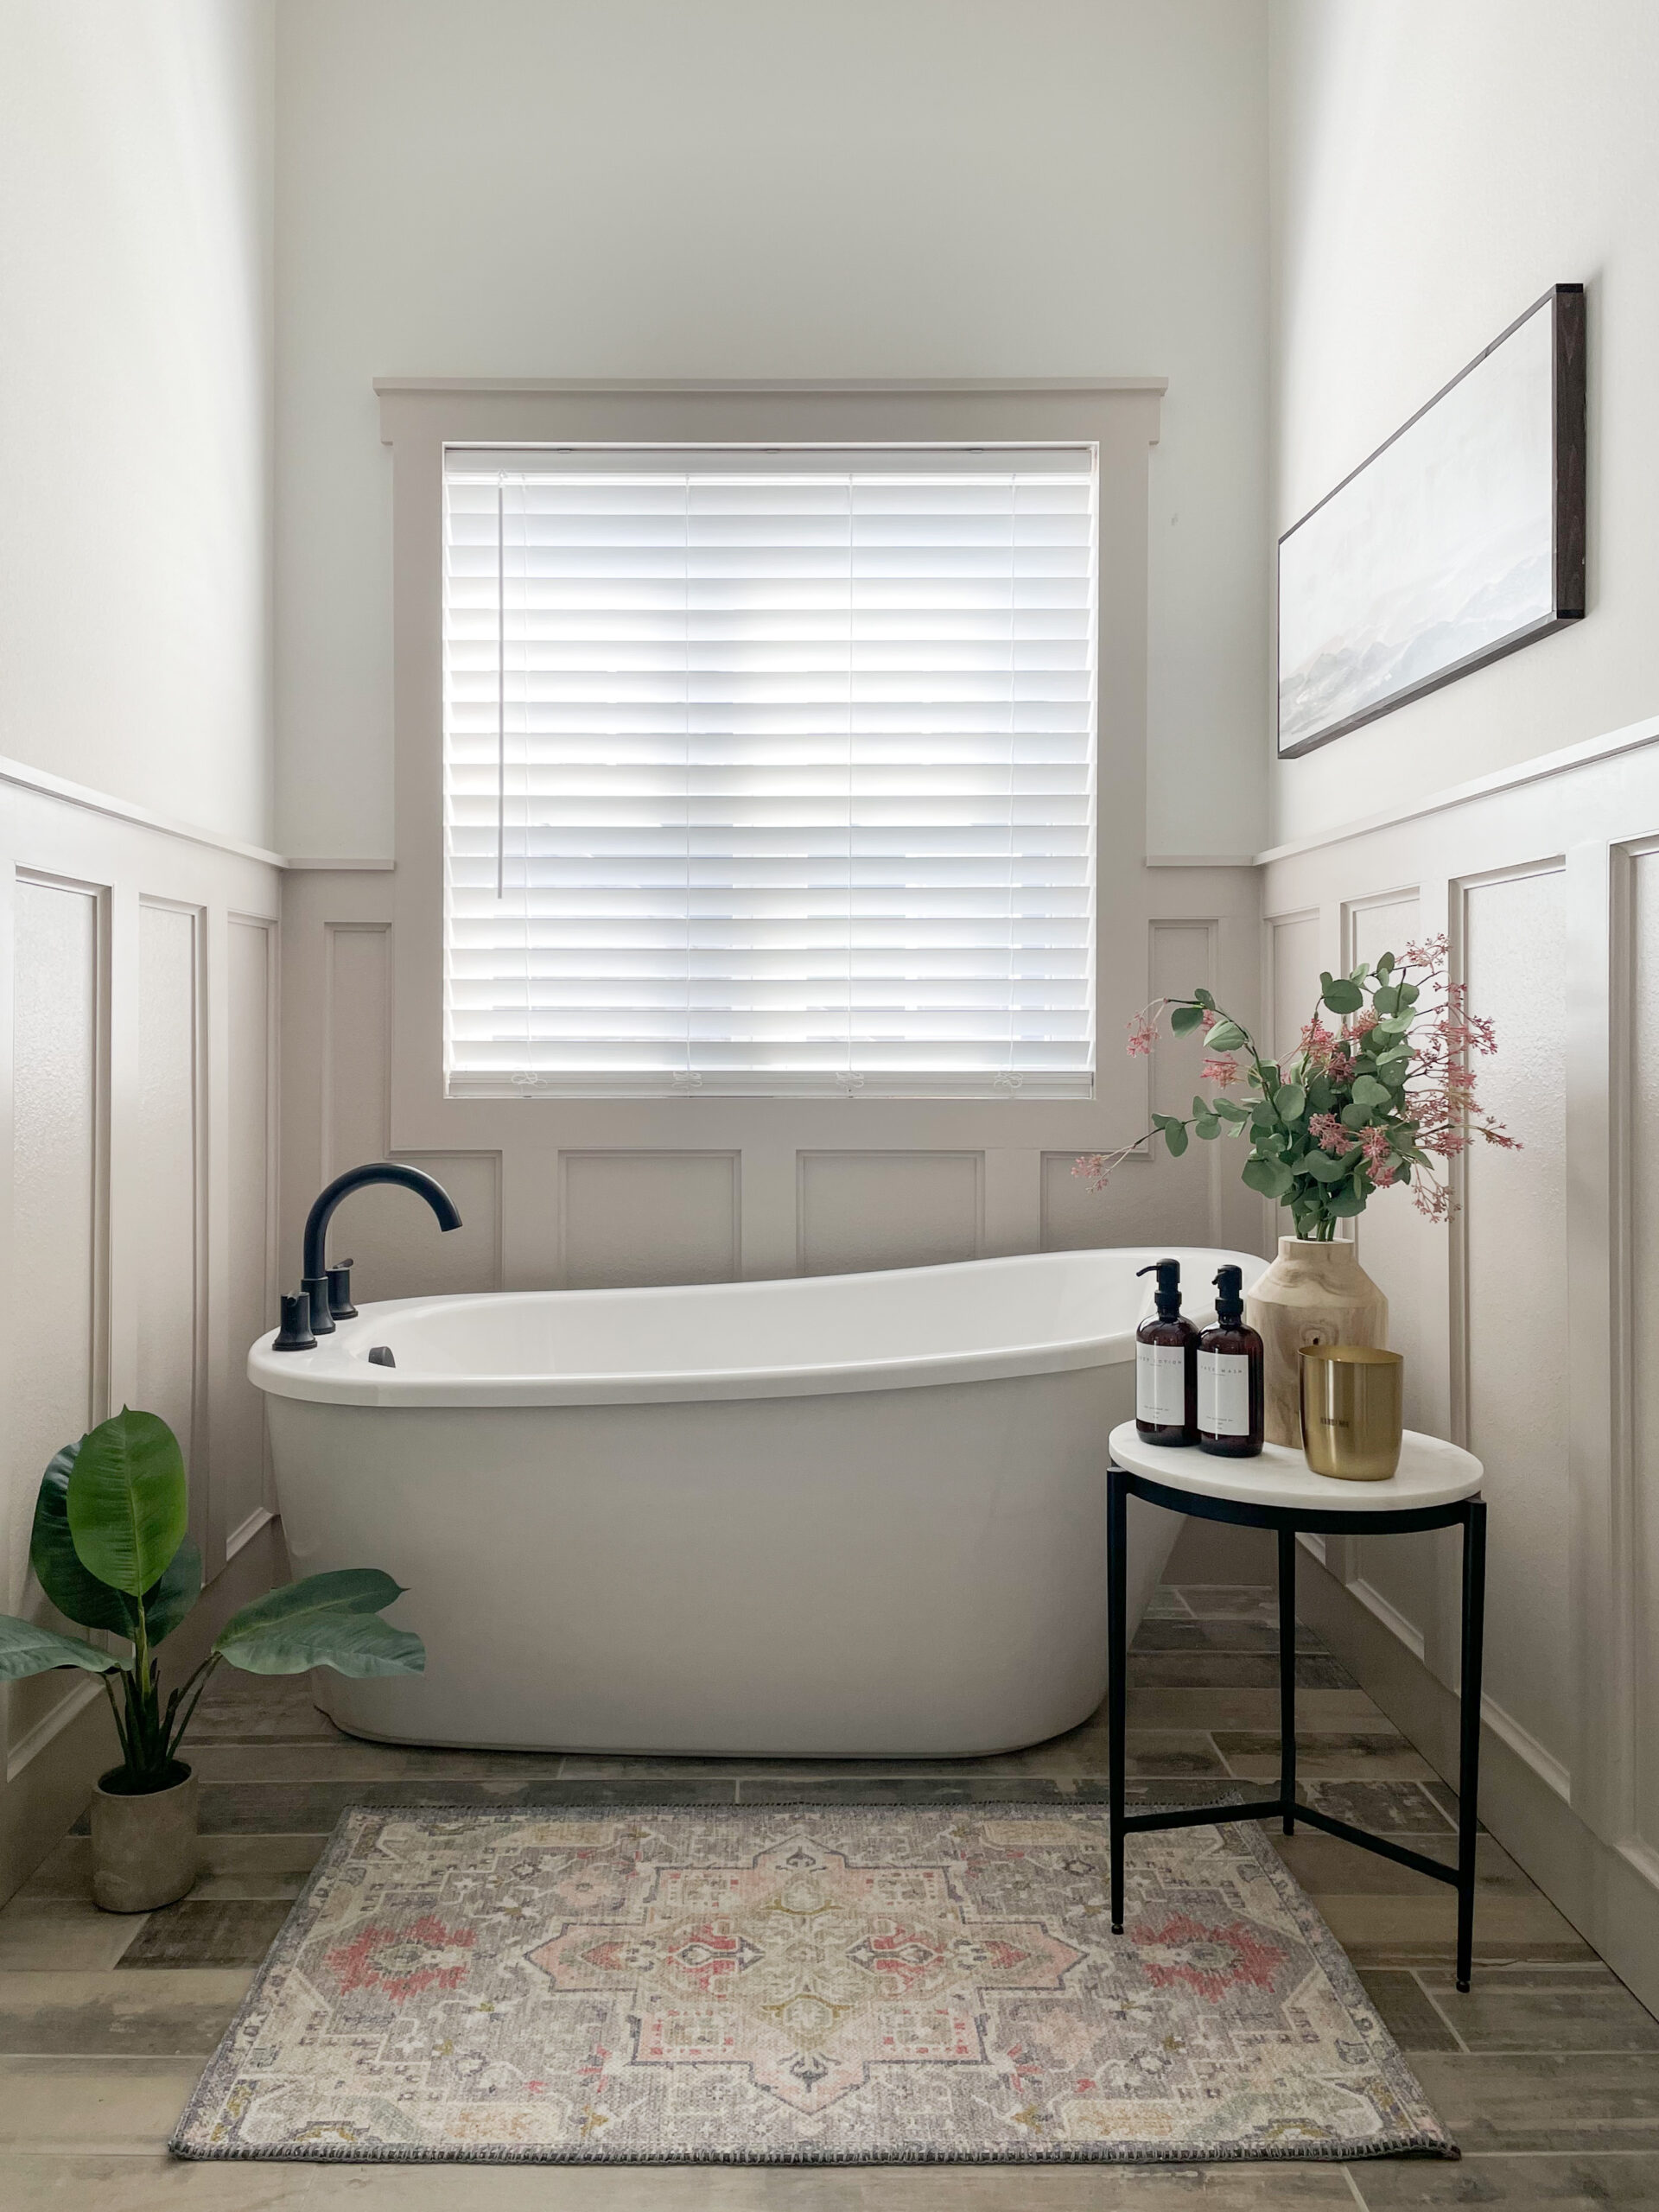
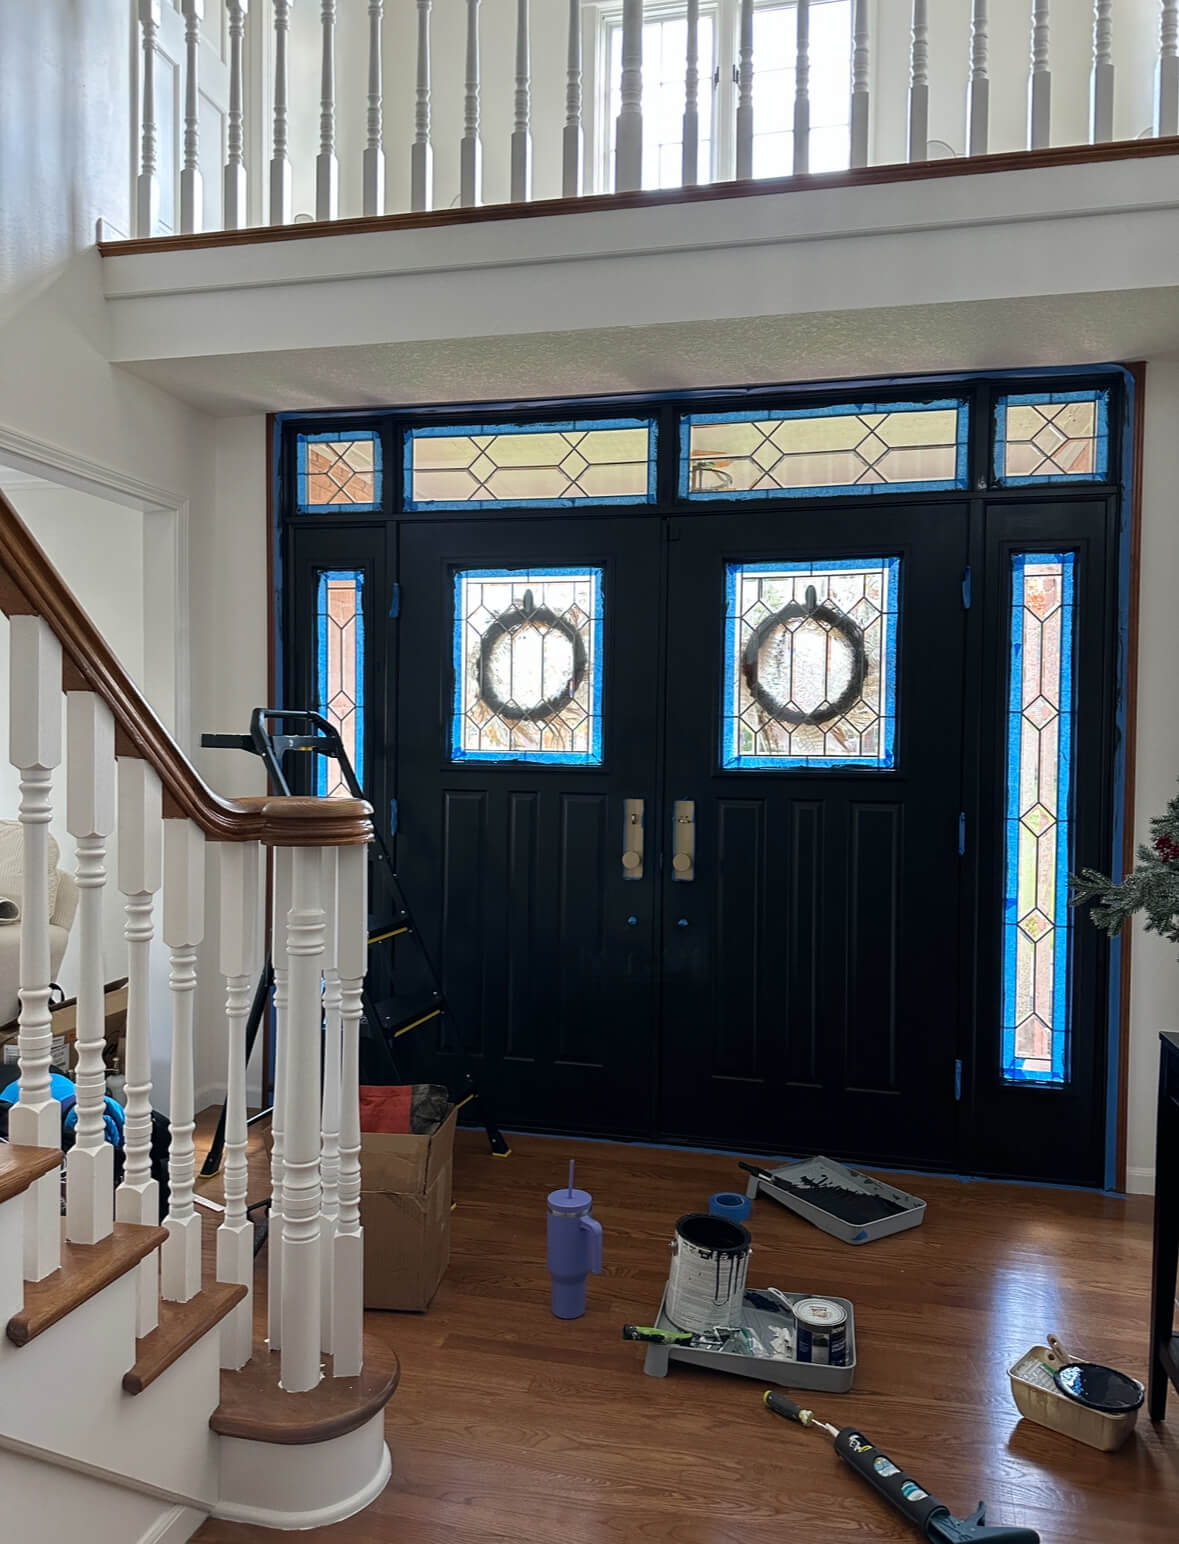
I also used cabinet paint when I painted my interior doors, and it turned out great!
Products Needed to Build Closet Shelves
You won’t need very many products to build these closet shelves! Here’s everything you’ll need to take on this quick and easy DIY project.
- Cabinet paint and water-based primer
- Foam roller and Brush roller frame
- Kreg Rip-Cut
- Level
- Measuring tape
- Sanded ¾ inch plywood
- Set of Hand Tools
- Select Pine 1x2s
- Caulk with silicone
- StudBuddy
- Ryobi 18-gauge brad nailer
- Ryobi circular saw
- Ryobi Cordless drill
Almost all of my power tools are Ryobi. That’s because when I’m doing a project, I love being able to easily switch out the batteries without having to worry about keeping several different battery packs on hand. Ryobi is a budget-friendly option that is great for beginners and experienced DIYers alike, but feel free to use whatever brand of power tools you love best.
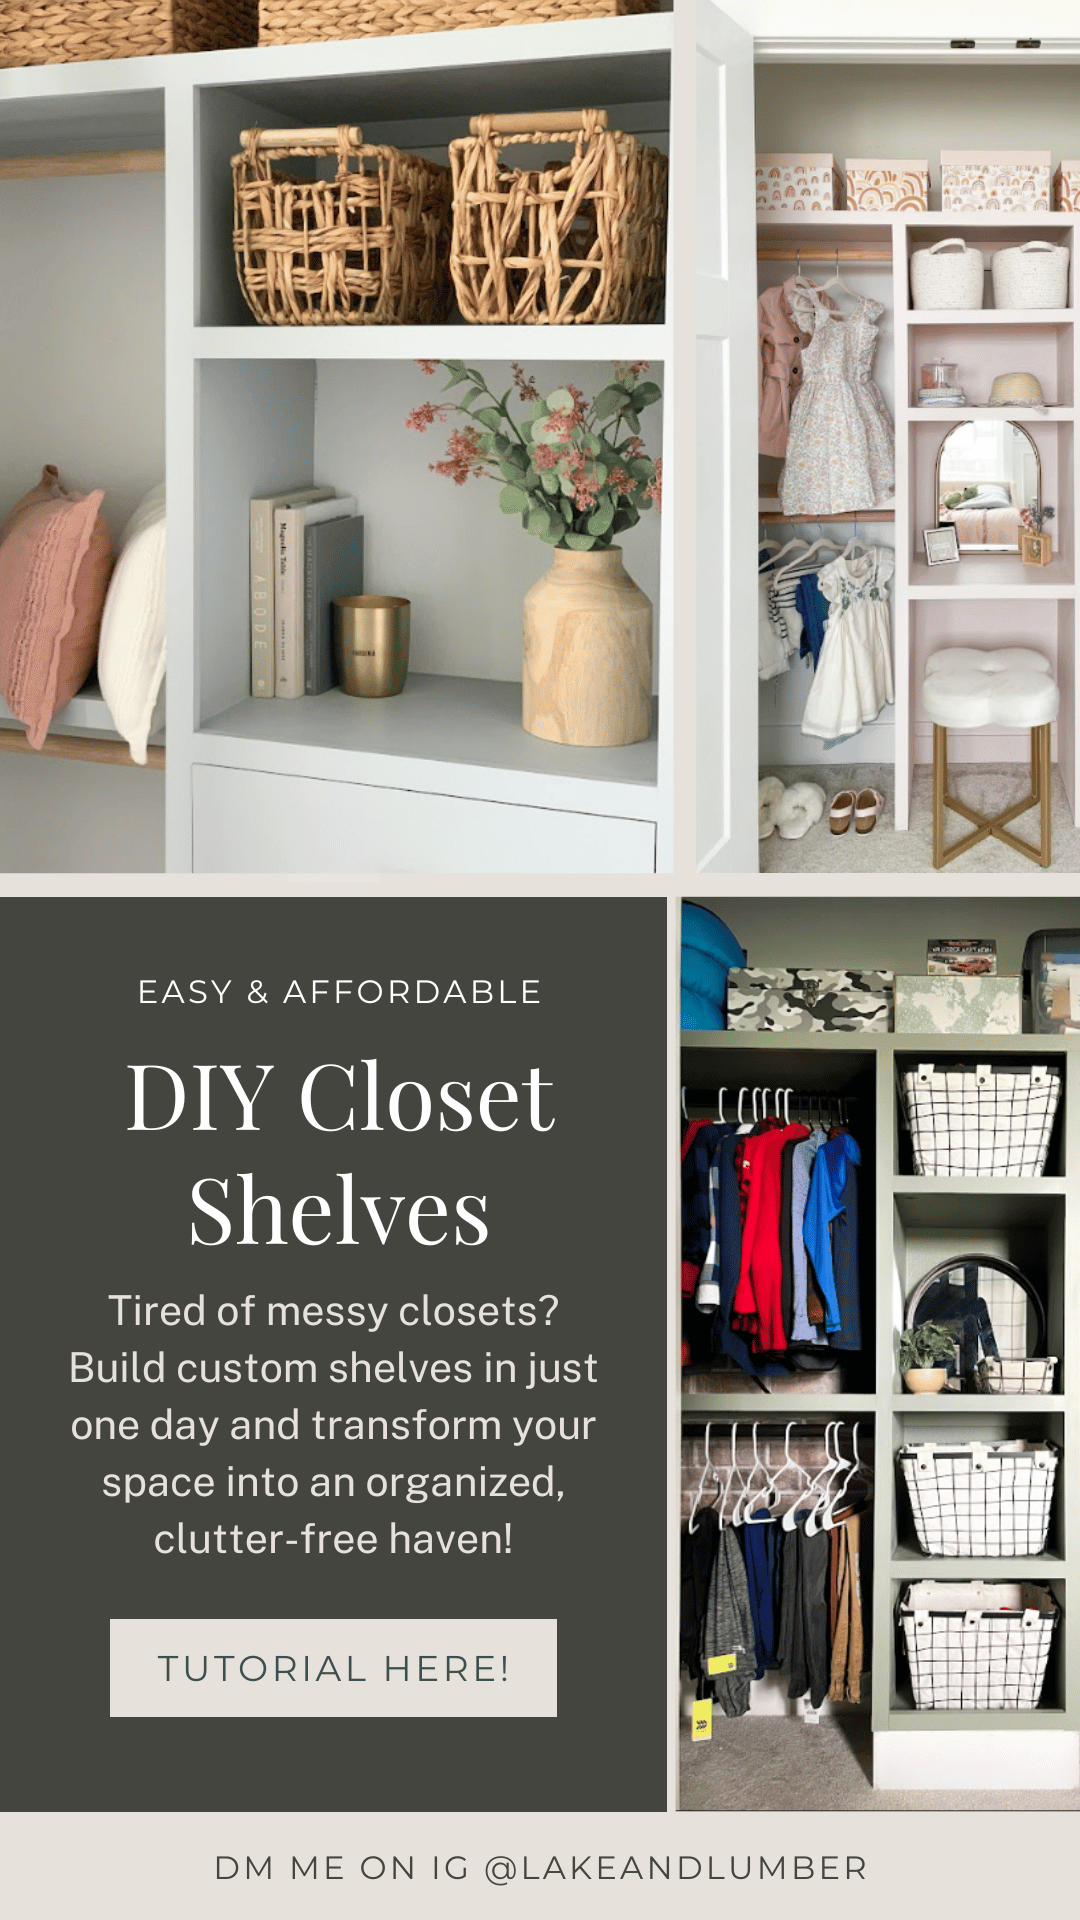
Closet Shelf DIY
Completing this closet shelf DIY is a great way to upgrade your home with minimal tools in a beginner-friendly way!
Building shelves for a closet is a great beginner project to update your home, and if you’re feeling ready to tackle more awesome DIYs, I have lots on my blog!
Check out these other great DIYs:
I love sharing my new and upcoming DIY projects on Instagram. Recently, I’ve been going through my home and making everything light and bright, but I love to change things around! Come check out the latest progress!