Jump to Supply List
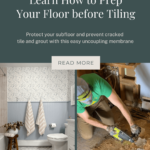
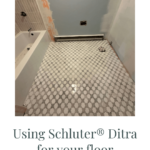
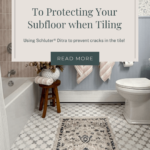
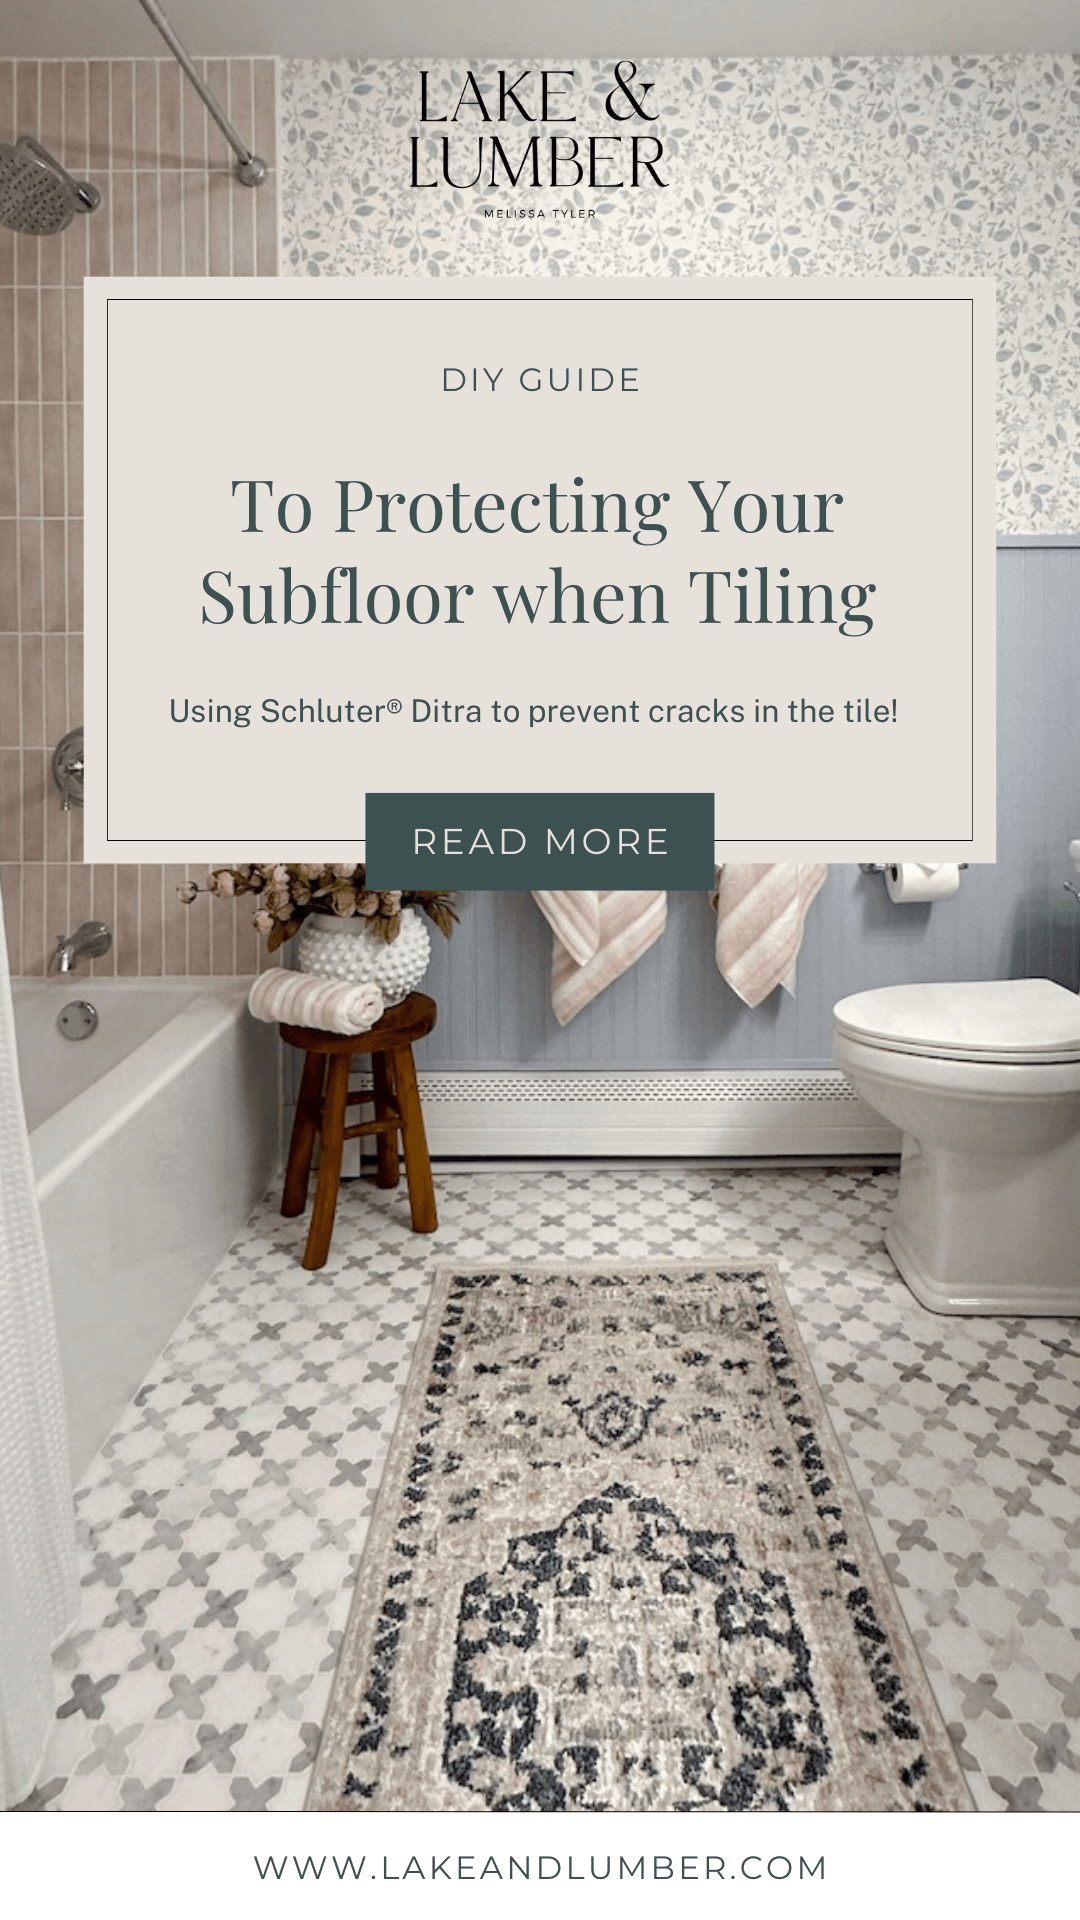
If you’re tackling a tile installation in your bathroom, you need to ensure your flooring is prepped with the right materials. This will help protect your subfloor and prevent cracked tile and grout. Typically, folks reach for cement backers, but when we redid our bathroom at our lake house, we went with the Schluter Ditra system.

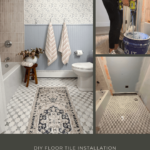
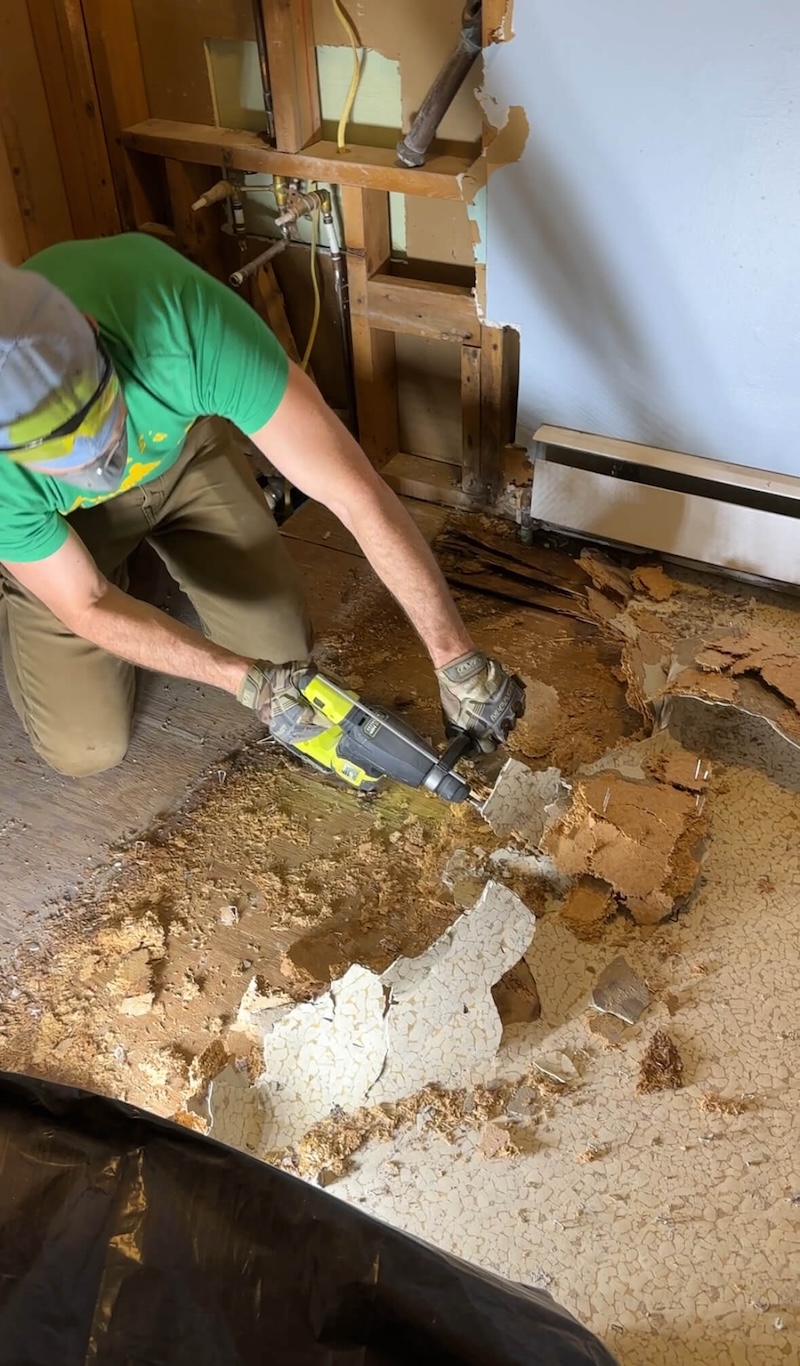
When we started removing the tile during our bathroom renovation, we realized there were too many layers of linoleum to remove. We ended up removing the entire subfloor and replacing it altogether. With that in mind, I needed an underlayment that provided reliable waterproofing that was also easy to install.
Schluter Ditra was the perfect choice for our bathroom tile. Not only is it specifically designed for ceramic and stone tile installations, but it’s super lightweight and easy to install. If you’re renovating your bathroom solo, then you’ll love using the Schluter Ditra system for your next bathroom reno!
What is Schluter Ditra?
Schluter Ditra is an underlayment made of polyethylene. It acts as a protective barrier between your subfloor and your tile. If you lay your tile directly on the plywood or cement subfloor, then the tile will crack. Unfortunately, both plywood and cement are not stable enough to support the integrity of stone and ceramic tile.
While cement backers are a popular choice for the layer between tile and subfloors, there are many benefits to choosing Schluter Ditra instead.
Benefits of Using Schluter Ditra
As I mentioned earlier, the Schluter Ditra system is super easy to use because it’s lightweight, which makes it easy to install as a one-person DIY.
And not only is it easy to lift, but it’s also easy to cut! Instead of having to use a knife or a saw, you can use scissors or a razor blade!
There are many benefits to using Ditra in your next tile installation. I’ve outlined a few below.
Prevents Cracks
The last thing you want to worry about is that your brand-new tile floor is going to crack!
By using an uncoupling membrane, like Schluter Ditra, you can prevent stress on the tile. Schluter Ditra’s unique open rib structure allows the subfloor to contract without affecting the movement of the tile.
The tile can move independently from the subfloor, which creates less stress and movement on the tile, which means fewer cracks!
Thin and Lightweight
Unlike other options on the market. Schluter Ditra is made to be very thin. This feature appeals to people with multiple flooring types throughout their homes.
By using Schluter Ditra, you can have an even installation of all types of flooring around your home. There won’t be big drop-offs between your carpet and tile. The thinness of the material also makes it easy to roll out and cut, which can be useful when doing a DIY install.
There are many more benefits to using Schluter Ditra, including that it’s super DIY and beginner-friendly to install!
How to Install Schluter Ditra
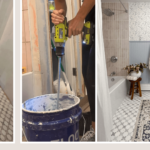
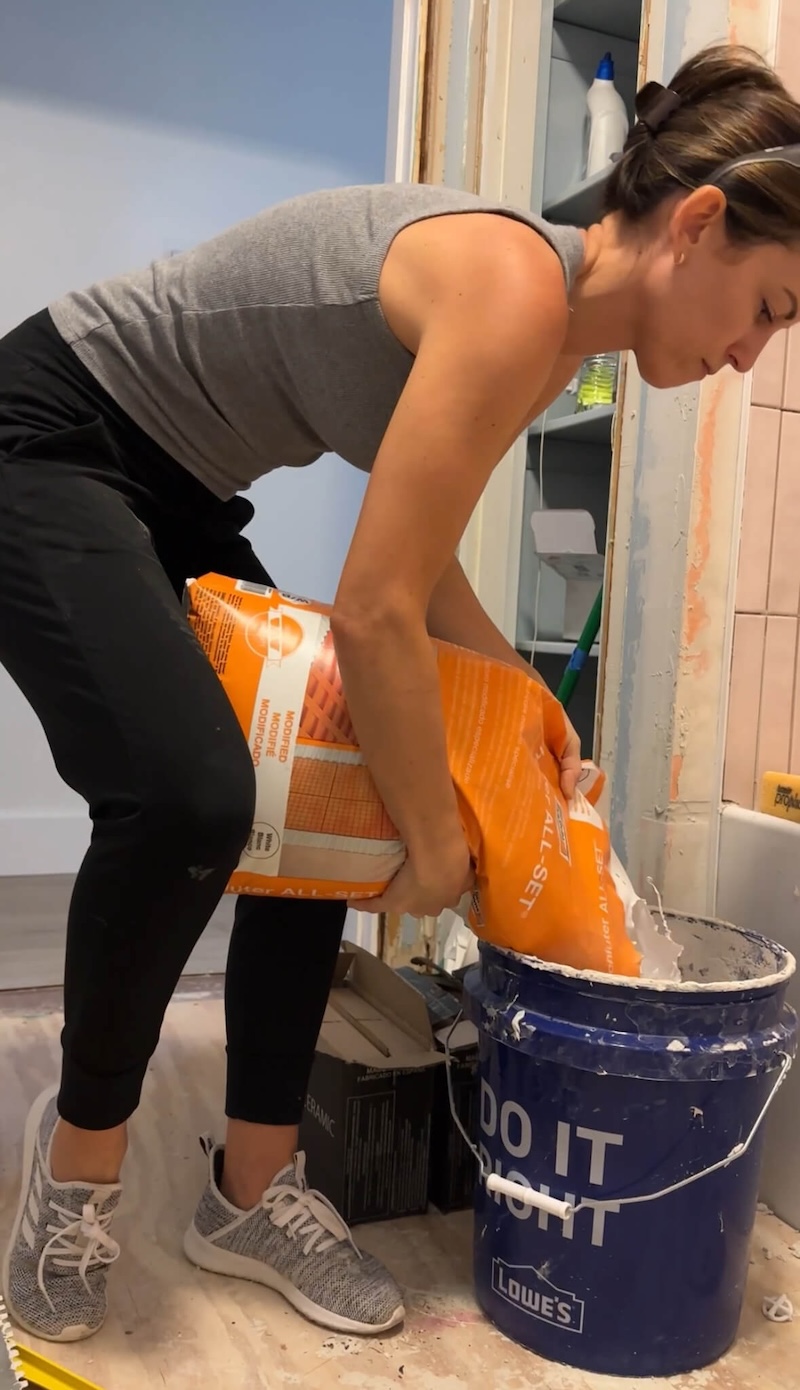
Installing Ditra is relatively easy and straightforward. Simply mix the thinset, spread it onto the plywood subfloor, and lay down the Ditra.
Schluter Ditra can be installed directly on your plywood subfloor. You want to install your Ditra onto a clean floor, so spend a minute vacuuming up any mess on the subfloor before you lay out your Ditra. I like to use this portable wet/dry vac in these situations.
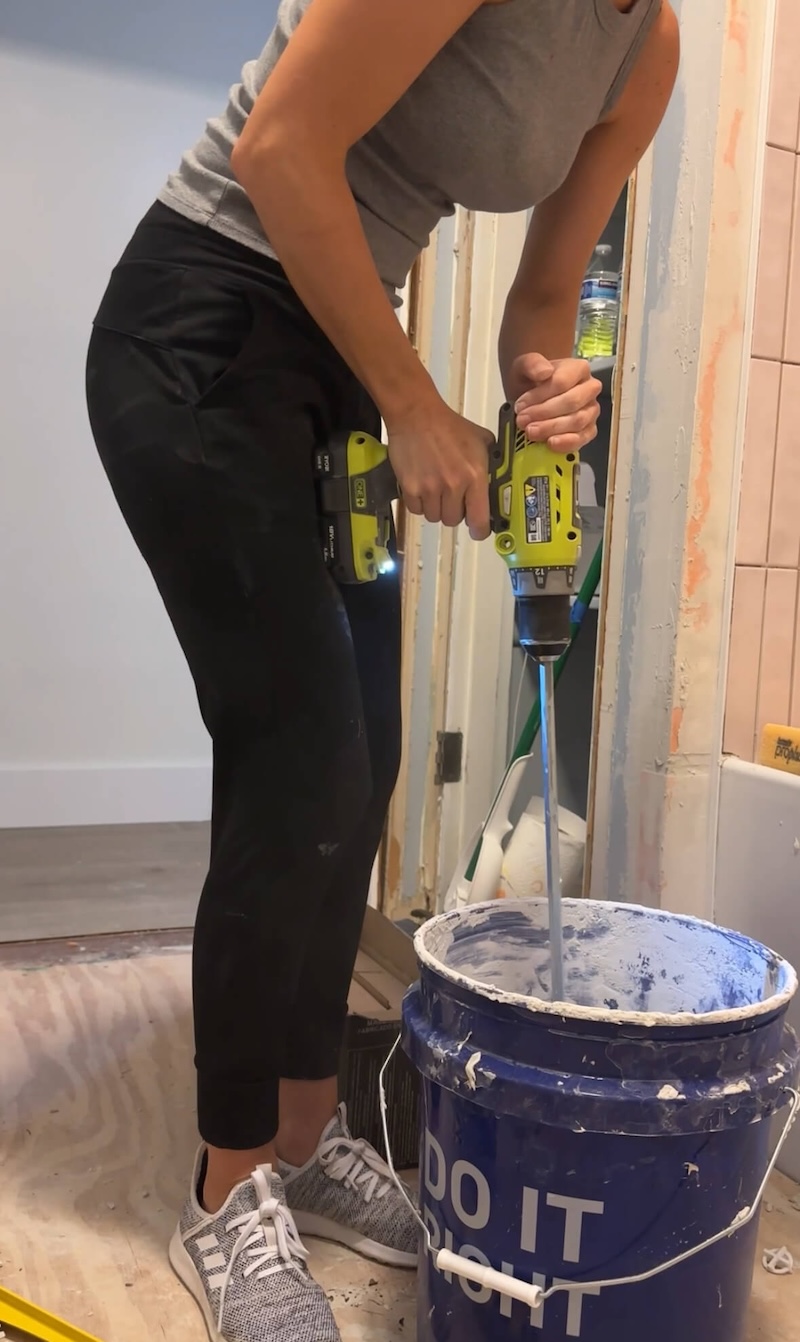
To lay your Ditra, begin by mixing a batch of unmodified thinset in a 5-gallon bucket. I like to use my drill and a mixing paddle to get a pancake batter consistency. Once the thinset is mixed, use a trowel to spread the thinset onto the plywood and notch the thinset to create a bed for the Ditra.
Next, roll out your Ditra and firmly press it into place using a grout float. Make sure to run over the entire surface of the Ditra well to ensure it is properly bonded to the thinset.
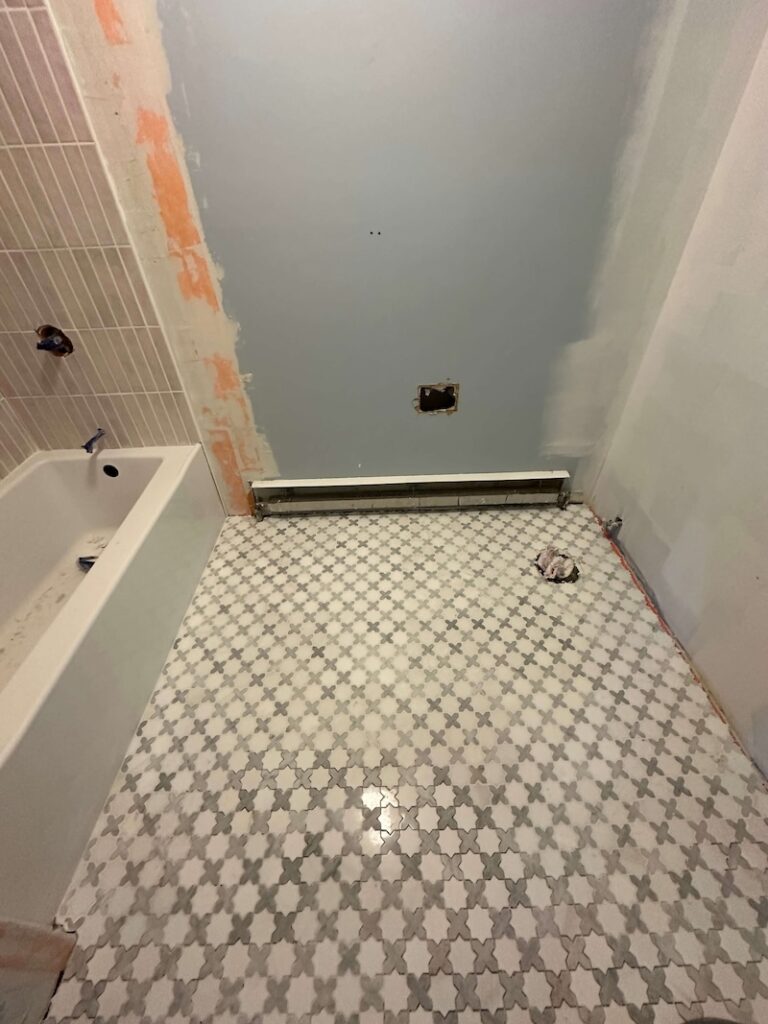
For the size of my bathroom, I only needed one roll of Ditra, but you may need more depending on the size of your space. After applying the Schluter Ditra, I was able to lay my tile right away.
And that’s it – the process is so easy!
Products Needed to Install Schluter Ditra
Here’s what you’ll need to install ditra:
- Schluter Ditra Uncoupling Membrane Roll
- Grout Float
- Unmodified Thinset
- Grout Paddle
- Quarter-Inch Trowel
Installing Ditra is much easier than you think! Once you have all your tools in hand, I’m confident you’ll be ready and able to take on this DIY!
Schluter Ditra System Installation
Now that you know how easy it is to install tile using the Schluter Ditra system, you’re ready to renovate! While the idea of gutting your bathroom can be overwhelming, I’m here to guide you through the process and help you build the skill and confidence you need to tackle the job yourself!
Not quite ready to renovate a bathroom just yet? If you’re just getting started in DIY, I’ve got you! Here are some of the beginner-friendly DIY tutorials that can be done in just one day:
And be sure to head over to my Instagram page for more DIY tips, trends, and inspiration.
If you want to stay completely up-to-date on everything DIY, scroll below to sign up for my newsletter so you never miss out on my latest DIY project reveals!