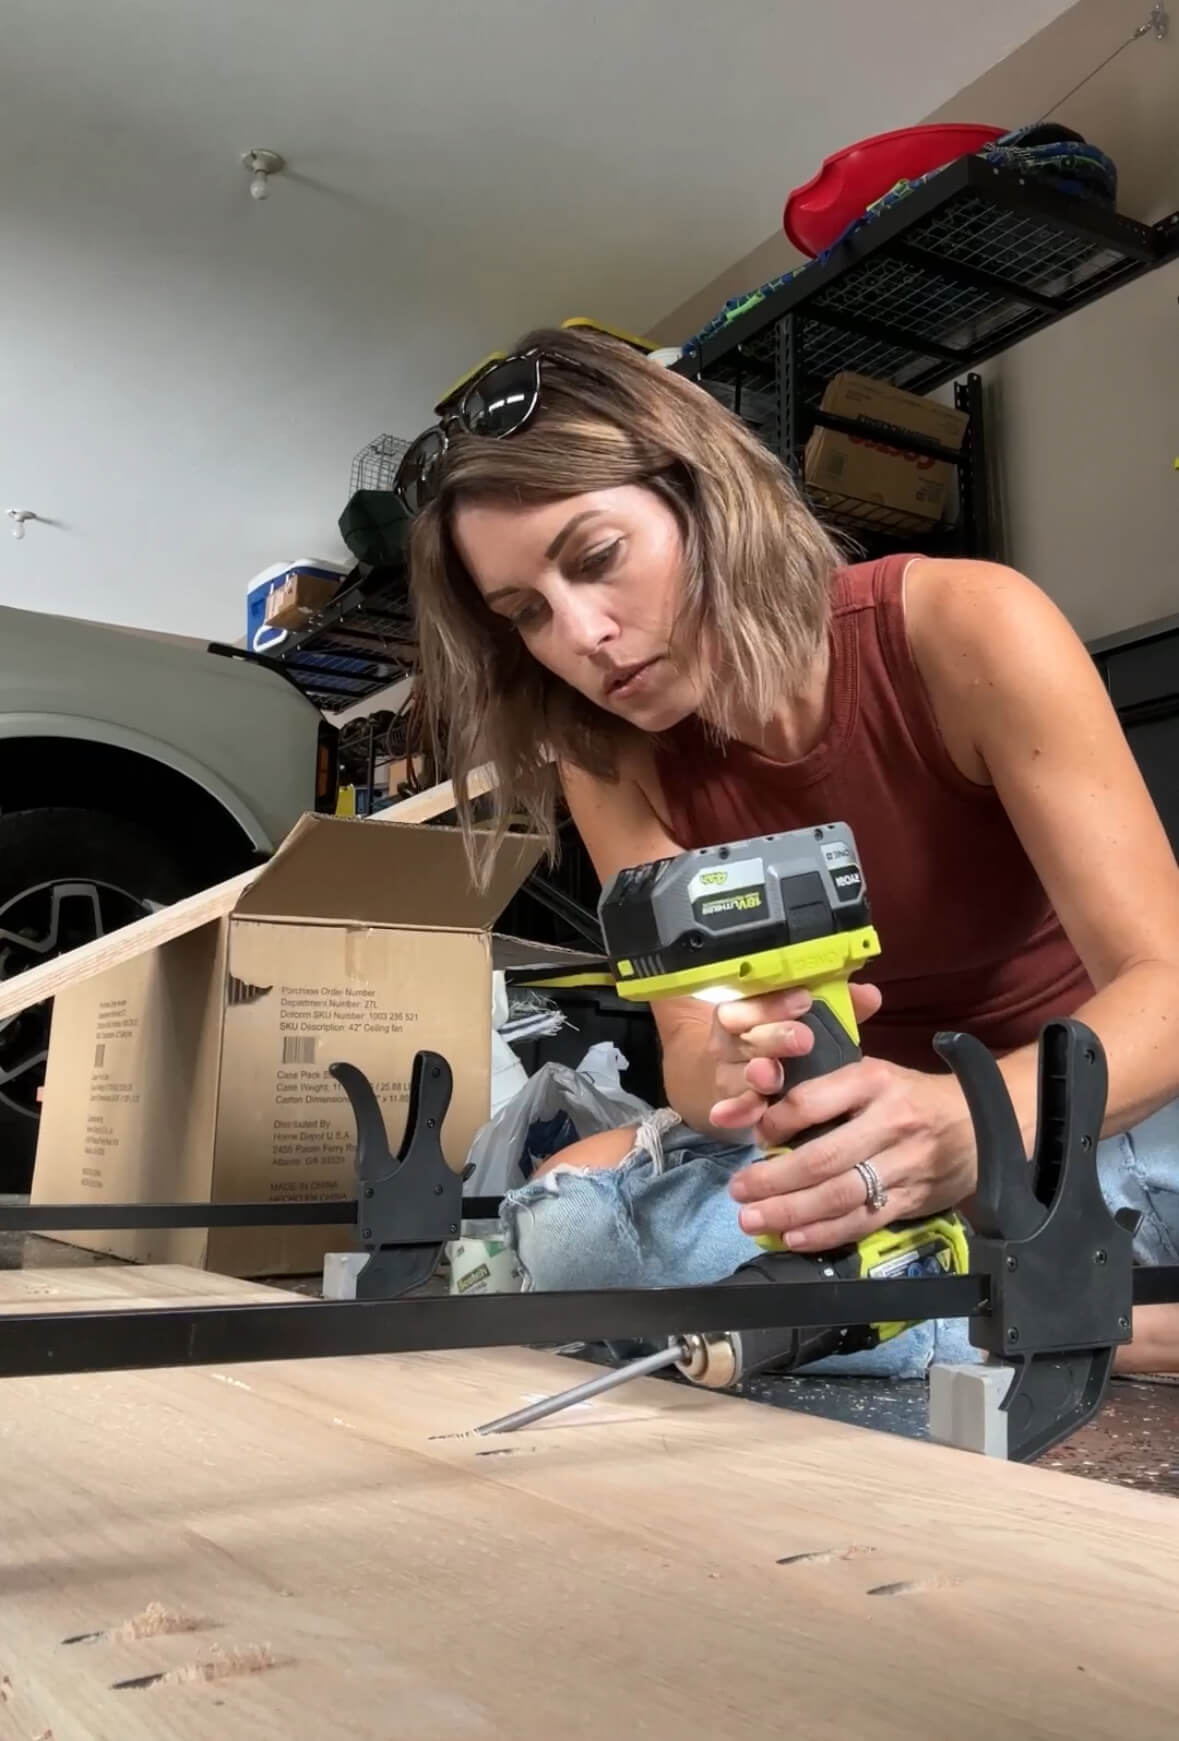
Hey there, fellow DIYers! Are you itching to gain confidence with your new tools? Look no further! In this blog post, I’m sharing 3 beginner-friendly DIY projects that will help you build your confidence, transform your home and leave you feeling accomplished. From adding an eye-catching accent wall to framing a window with craftsman-style trim and revamping a piece of furniture with a fresh coat of paint, these projects are perfect for beginners and guaranteed to help you feel more comfortable and confident on your DIY journey.

Project 1: Adding an Accent Wall
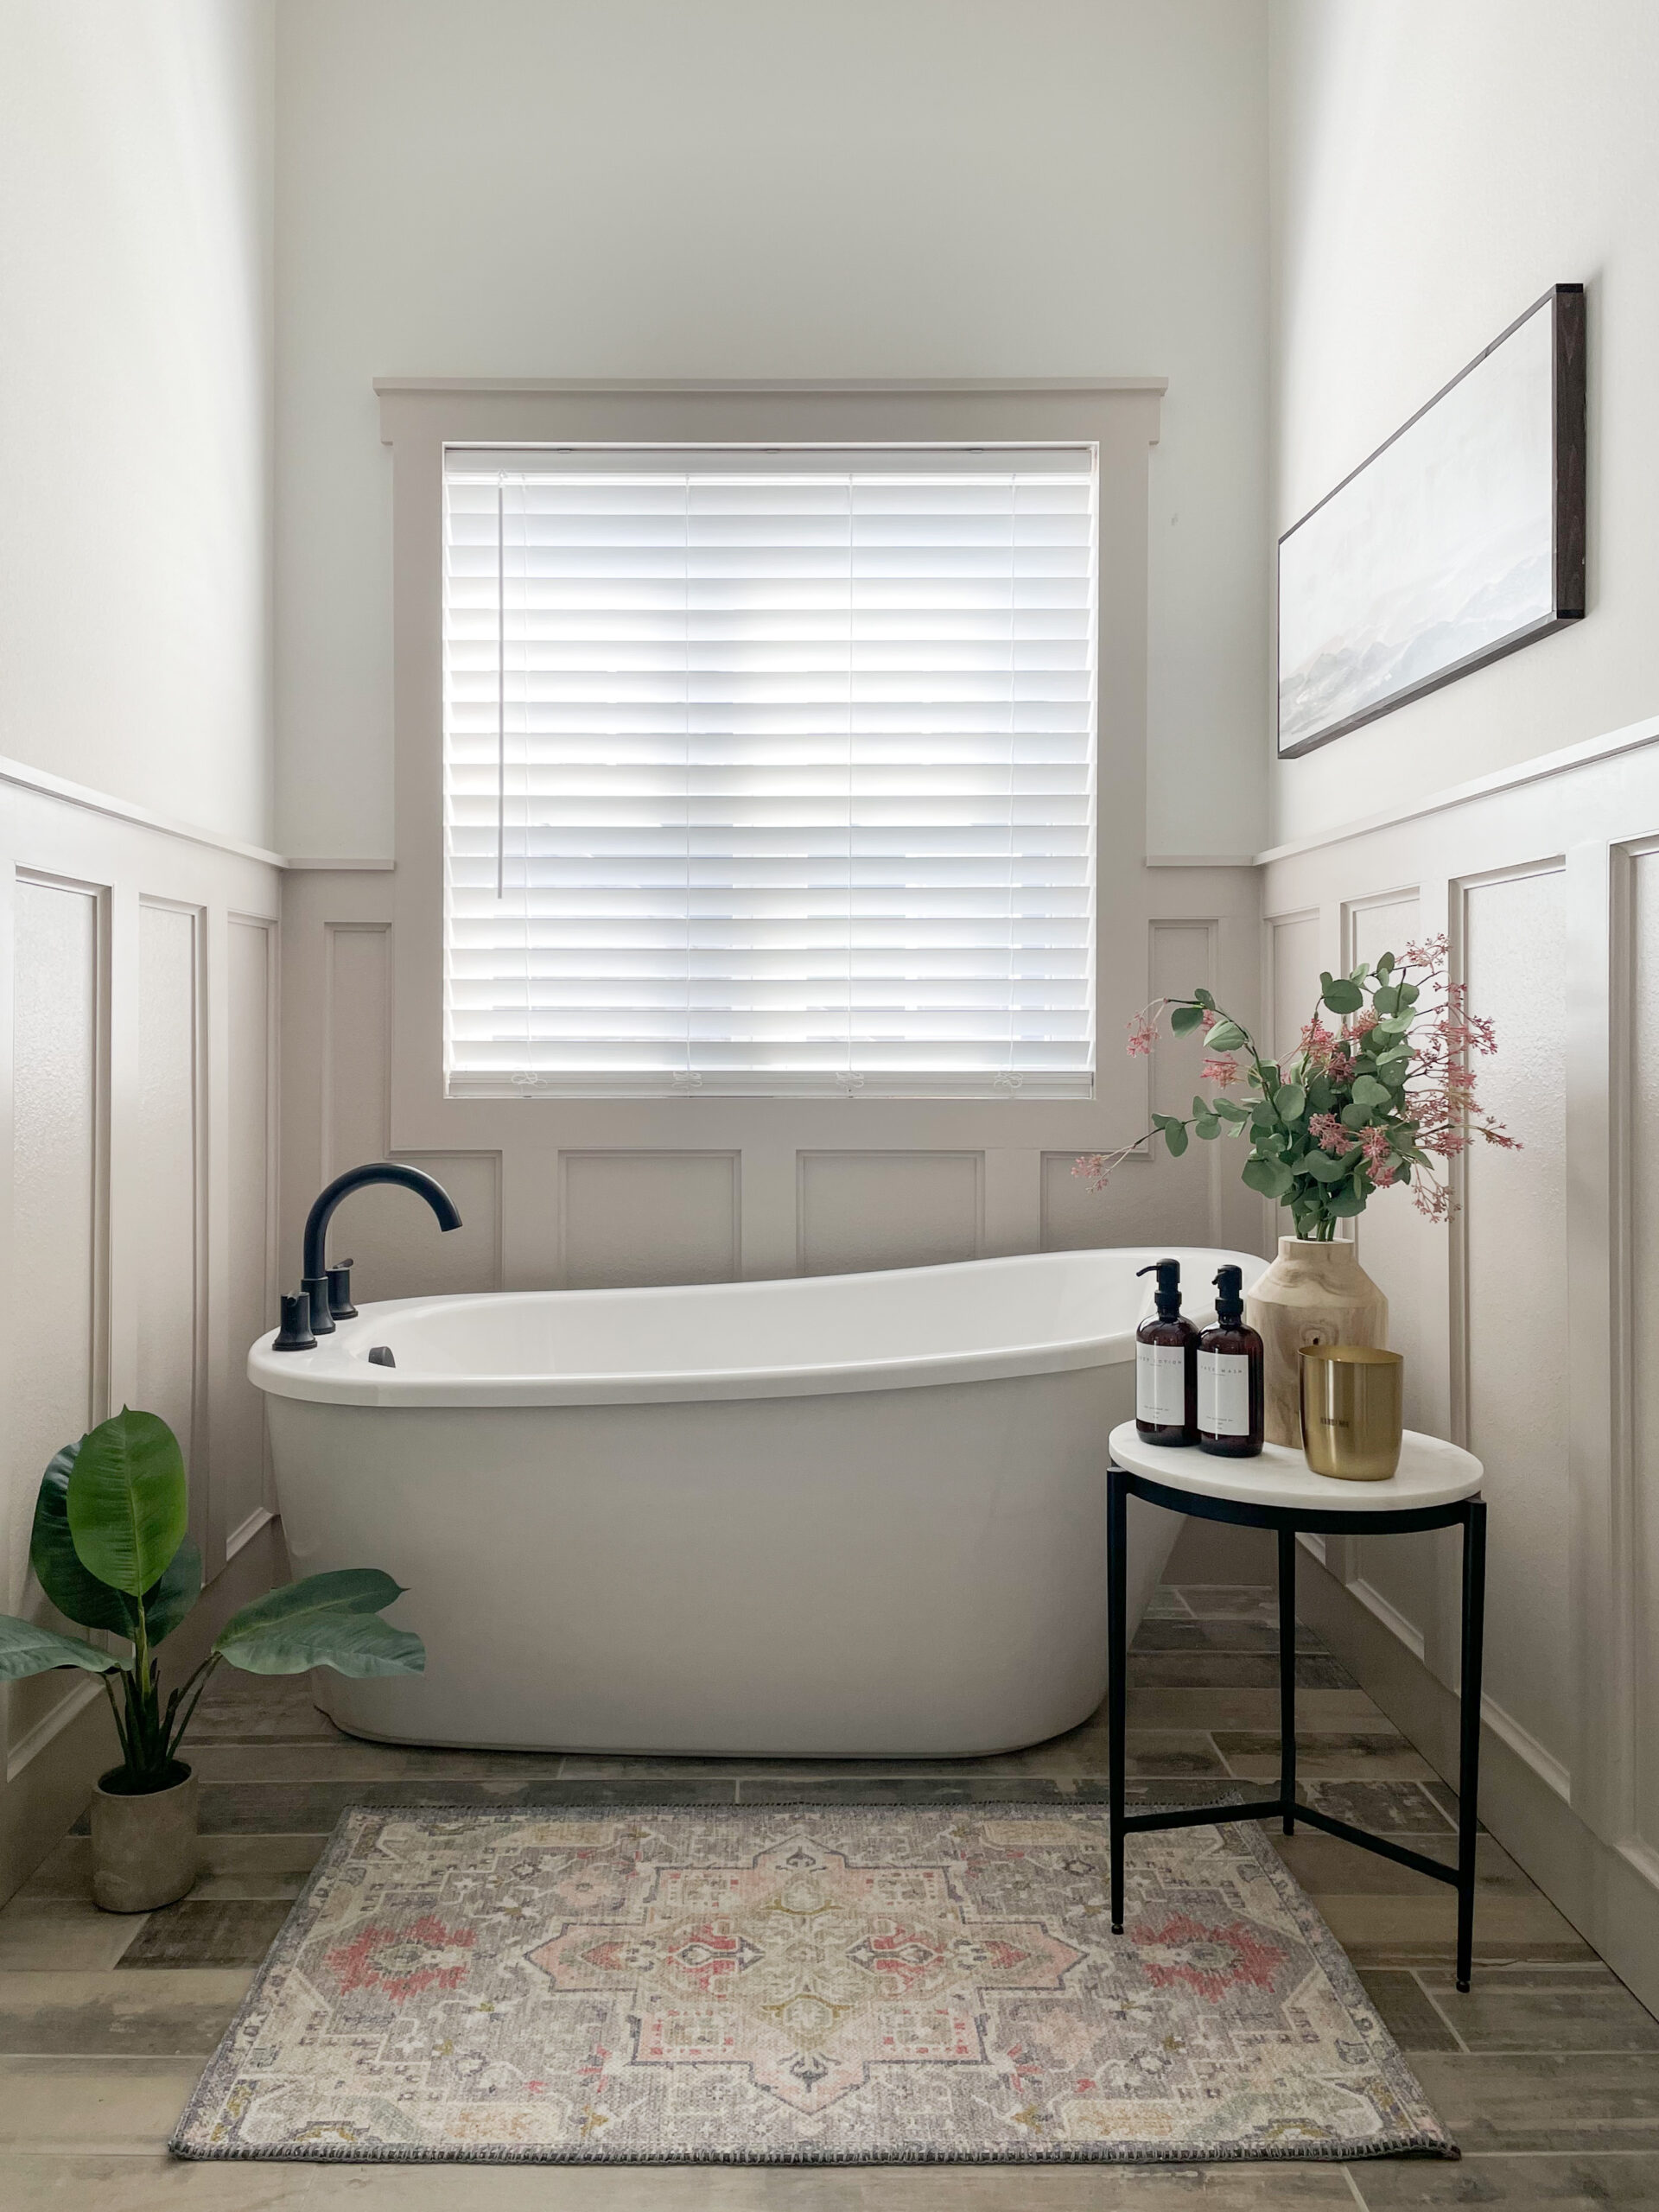
Let’s kick things off with one of my all-time favorite DIY projects – adding an accent wall. Whether you’re looking to create a focal point in your living room, bedroom, or entryway, an accent wall is a simple yet effective way to inject personality and style into any space.
Start by selecting the wall you want to highlight. This could be the wall behind your bed, sofa, or even your fireplace. Once you’ve chosen your wall, it’s time to decide on a design or pattern. From classic stripes to traditional board and batten to peel-and-stick wallpaper, the options are endless!

Next, gather your materials. Depending on your choice of design, you may need painter’s tape, select pine boards (find these at your local hardware store in a variety of widths), paint (I am a big fan of this line for true one coat coverage)or wallpaper, a paint roller or brush, and a level to ensure straight lines. If you are adding wood boards to the wall, you will also need a brad nailer, caulk, and wood filler and possibly a saw. You can find my recommended tools for beginners in this blog post if you don’t already own these items! Begin by prepping your wall – clean it thoroughly and fill and sand any holes or cracks.
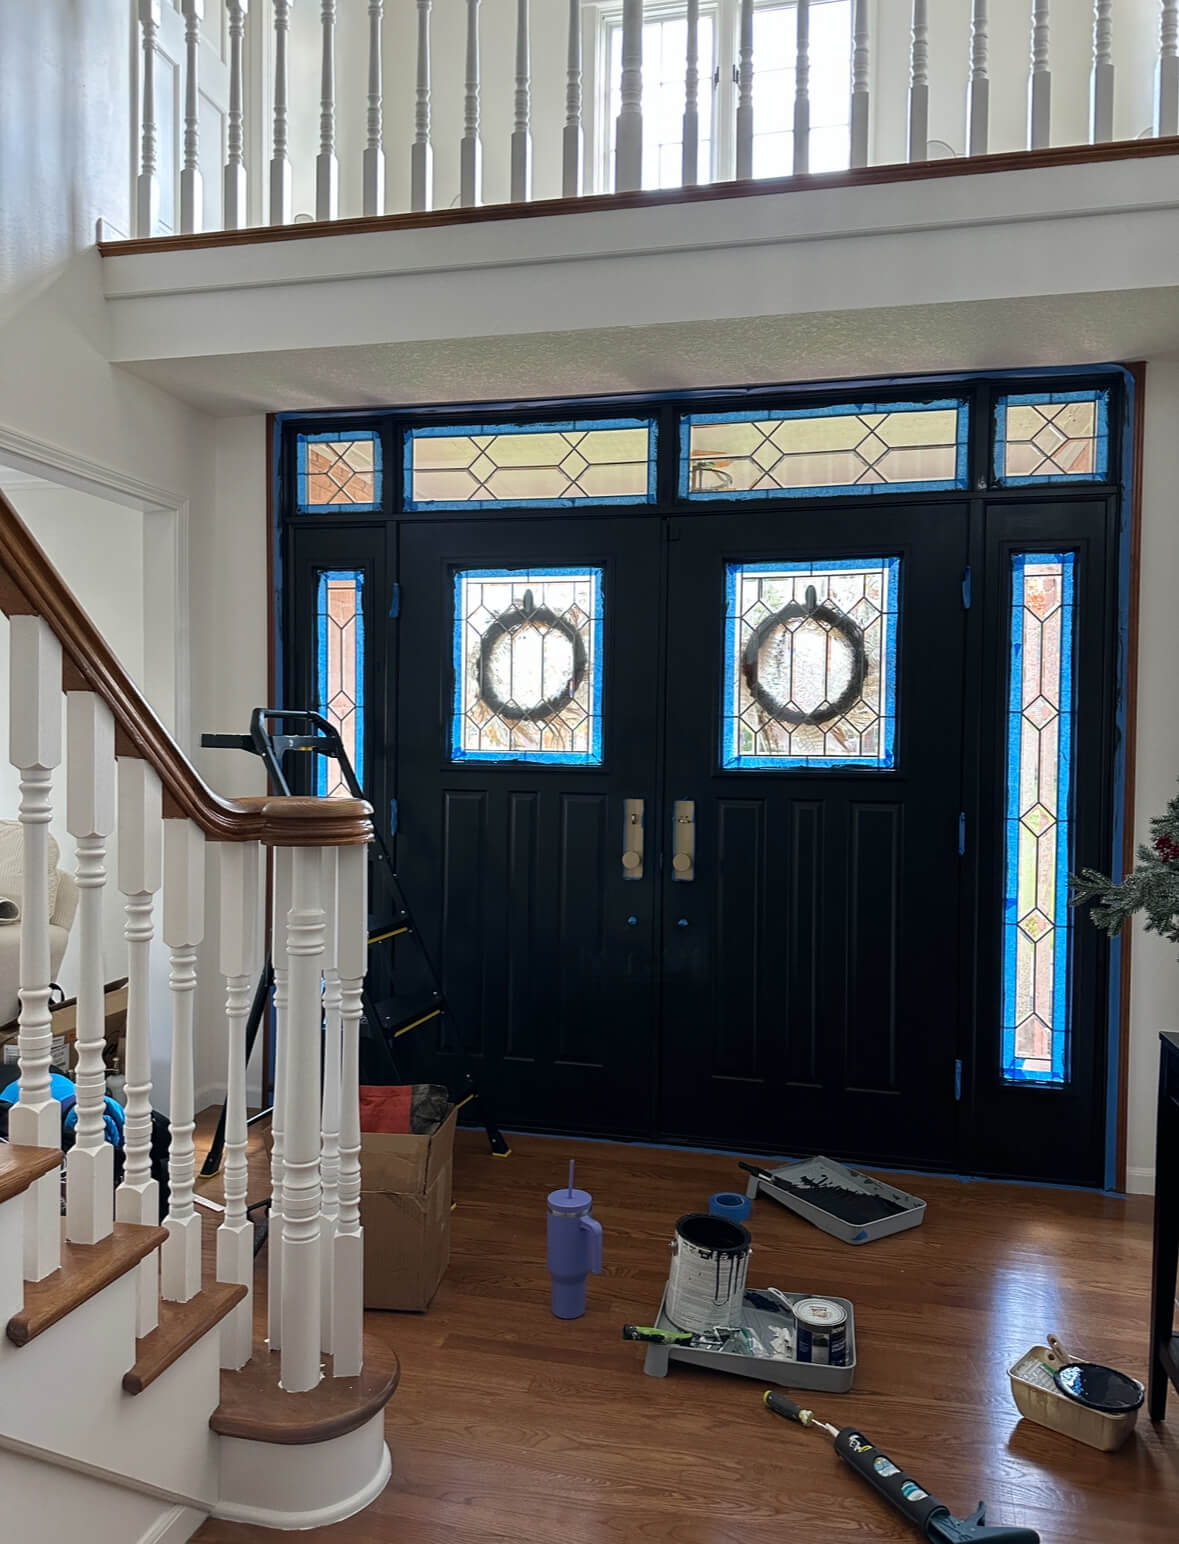
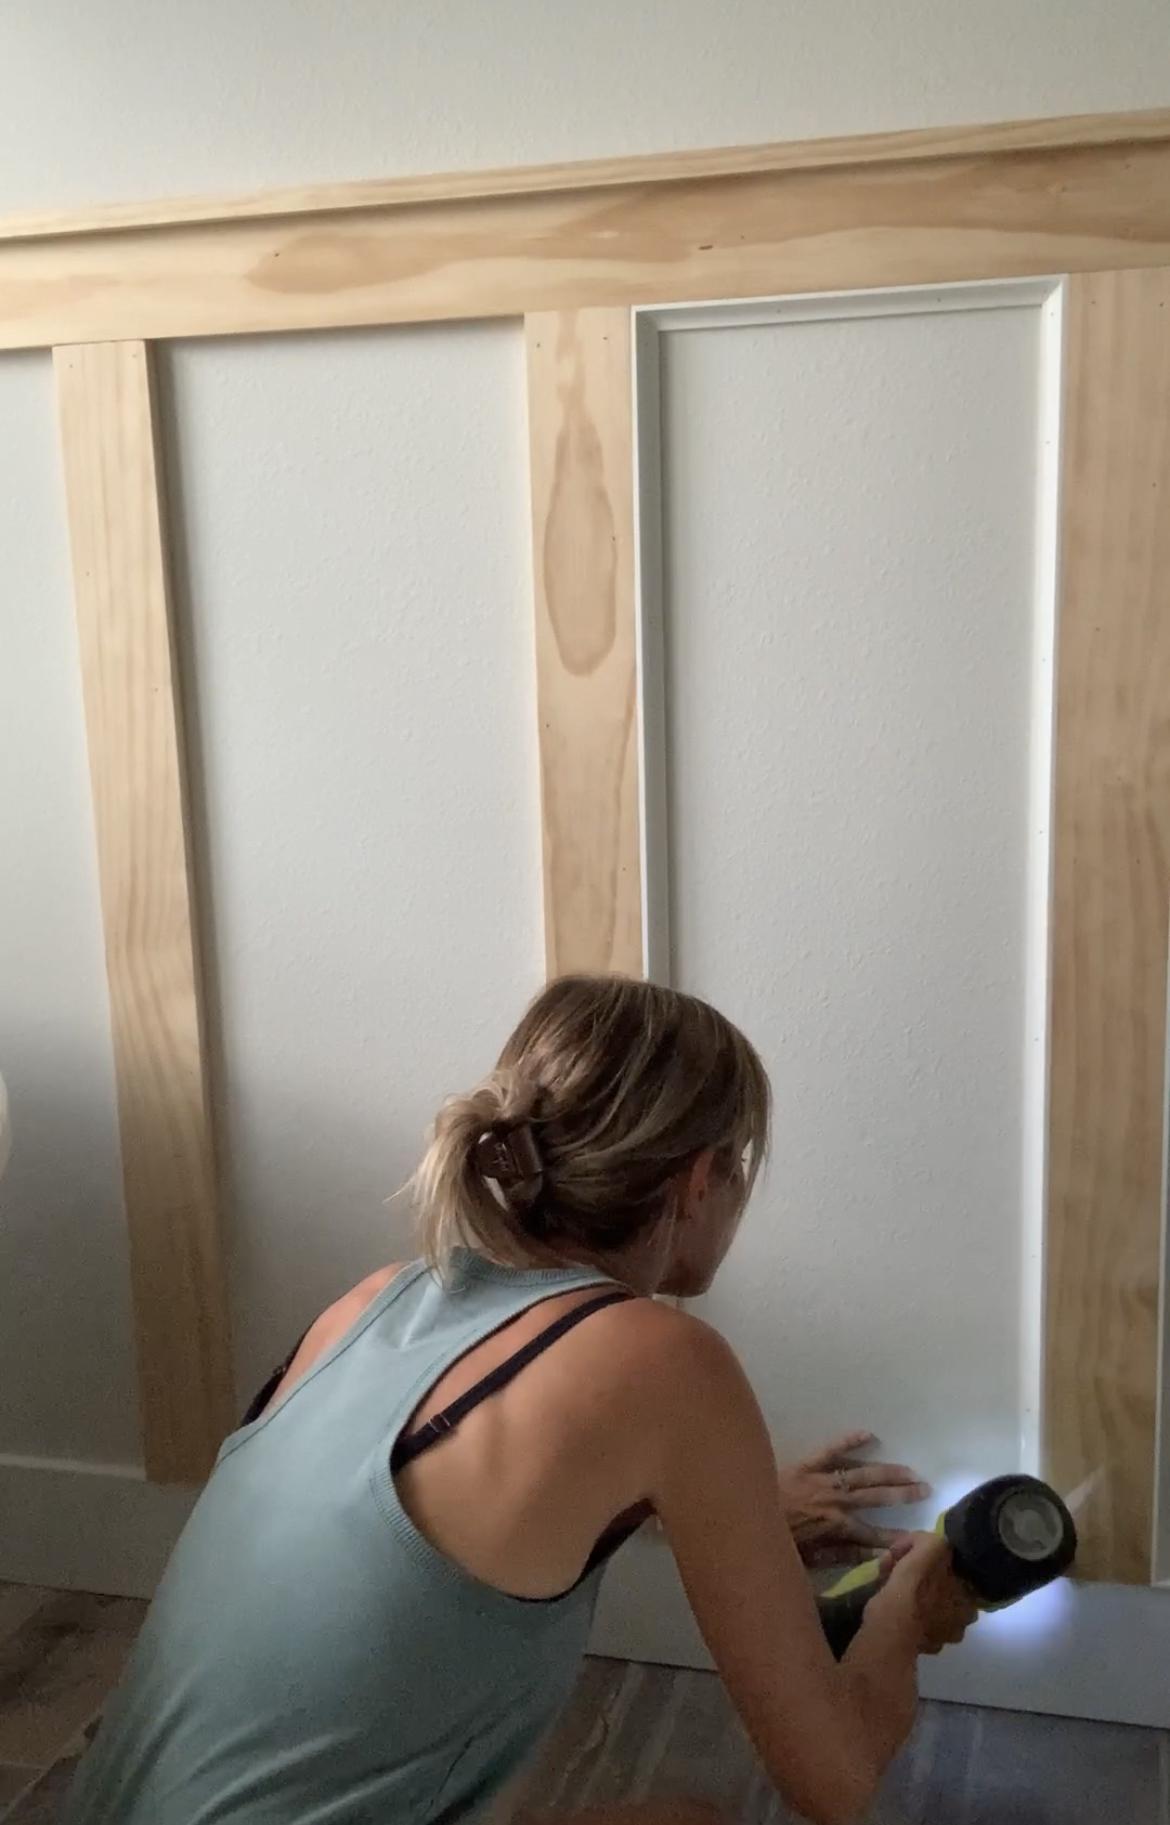
Now it’s time to bring your vision to life! Use painter’s tape to mark off your design and prevent any paint from getting where you don’t want it. Take your time and work carefully, ensuring each line is crisp and clean. Once you’ve finished painting, step back and admire your handiwork – you’ve just created a stunning focal point that will instantly elevate your space! If you would like to add the board and batten style you see in the photos above, I have a full tutorial for that here.
PRO TIP: Run a damp rag or paper towel over the edge of your painters tape to activate the seal.
Project 2: Framing a Window with Craftsman-Style Trim
Next up, let’s tackle framing a window with craftsman-style trim. This project is perfect for adding architectural interest and character to your home, and it’s surprisingly simple to do – even for beginners!
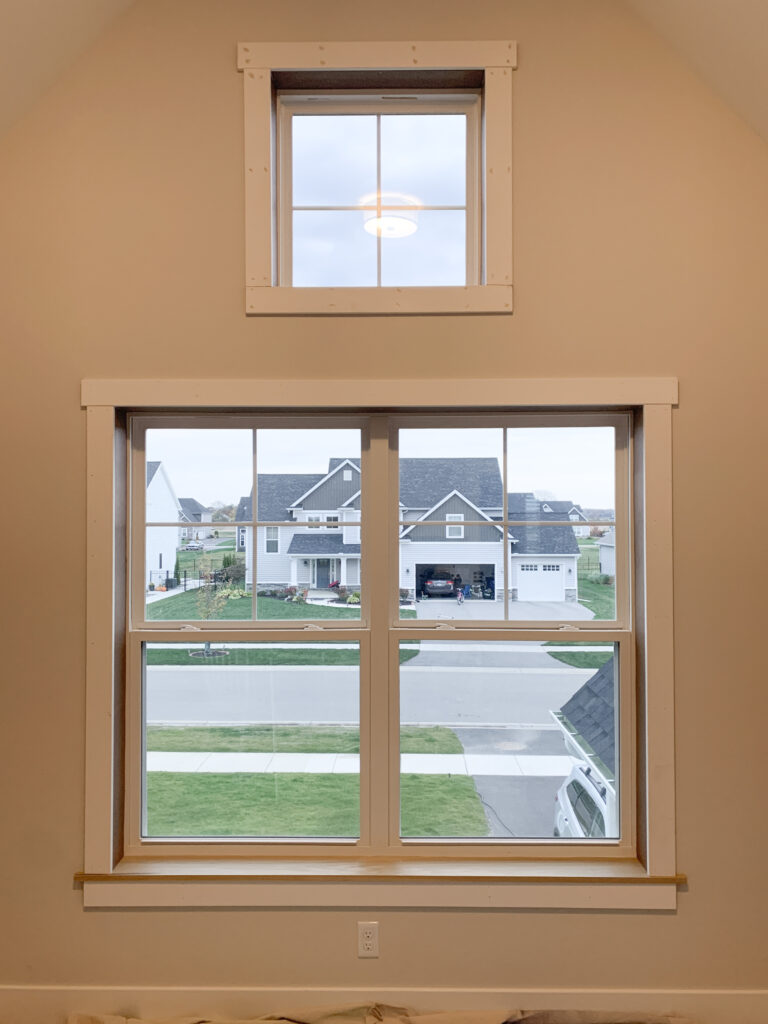
Start by measuring your window and determining the size of your trim pieces. Craftsman-style trim typically features clean lines and simple, easy-to-cut butt joints, so keep that in mind as you plan your design.
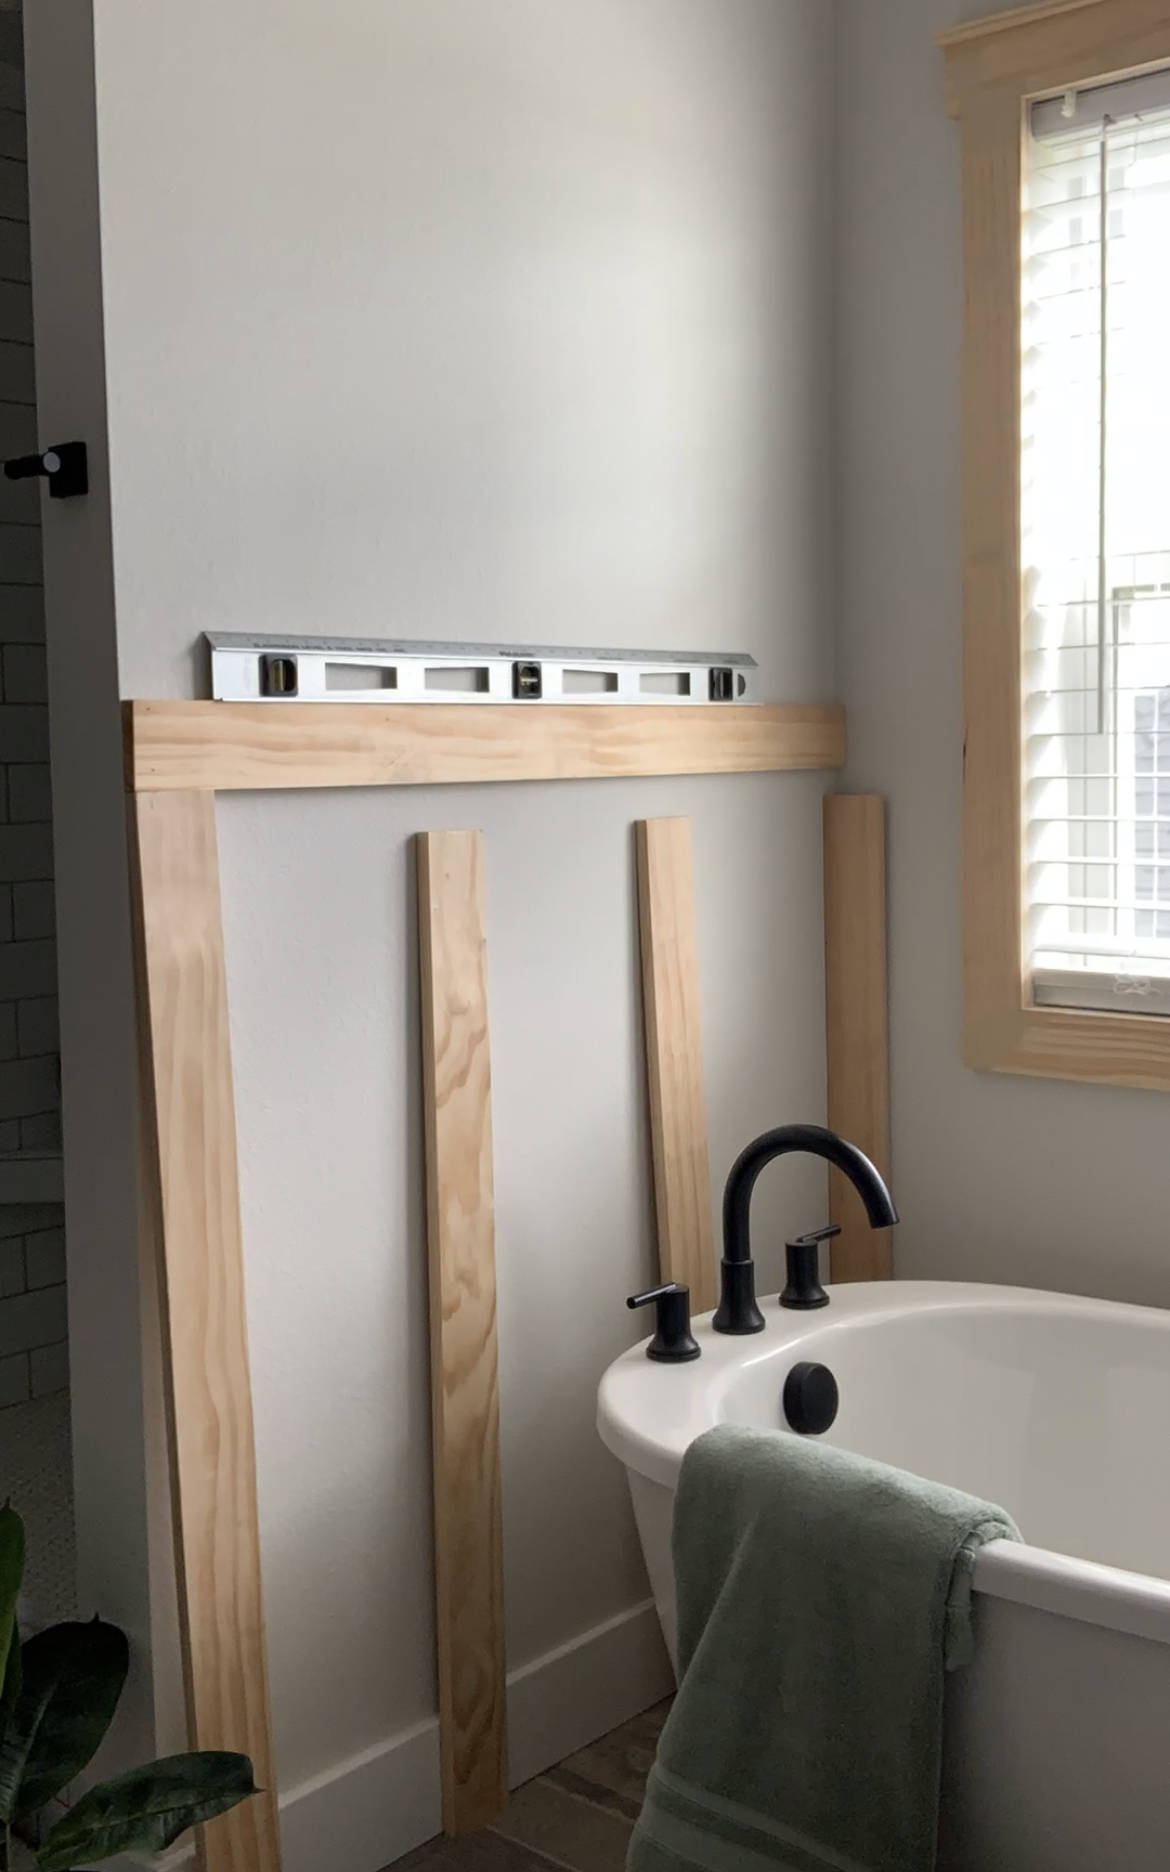
Next, gather your materials. You’ll need trim boards (I like to use primed MDF in a 3″ width), a saw, a nail gun or hammer and nails, wood glue, caulk, and paint. Begin by removing the old trim (if you have it) and cutting your trim pieces to size. With Craftsman-style trim, you will have two equal-length pieces on the sides and a slightly longer header piece. If you have window sills, you will need to remove the old sill and use it as a pattern for your new sill, which will need to be wider to accommodate your new, 3″ flat stock boards.

Once your trim pieces are cut, it’s time to install them around your window. Apply wood glue to the back of each piece and press them firmly into place, then secure them with nails or a nail gun. Use a level to ensure your trim is straight and even.
Once your trim is installed, fill in any gaps with wood filler and use caulk on areas where the wood meets the wall. Once the wood filler has dried, sand until you can no longer feel the seam with your eyes closed. You are now ready to paint! Step back and admire your handiwork – you’ve just added a touch of timeless elegance to your home with craftsman-style trim!
PRO TIP: When useing wood filler to fill a crack or seam, fill, sand, and then close your eyes. If you can still feel the seam/crack, you will see it once its painted! Fill and sand again until its smooth to the touch.
Project 3: Painting a Piece of Furniture
Last but not least, let’s revamp a piece of furniture with a fresh coat of paint. Whether you’re giving an old dresser a modern makeover or breathing new life into a tired coffee table, painting furniture is a fun and rewarding DIY project that’s perfect for beginners.
Start by selecting your piece of furniture and deciding on a color scheme. Whether you opt for a classic white finish, a bold pop of color, or a trendy distressed look, the choice is yours! You can also look for unfinished furniture at stores like Home Depot, Hobby Lobby, and Lowes!

Next, gather your materials. You’ll need sandpaper or a sanding block, primer, paint, a paintbrush or roller, and a sealant or topcoat. Begin by sanding down your furniture to remove any existing finish and create a smooth surface for painting.
Once your furniture is sanded, apply a coat of primer to help the paint adhere evenly. Once the primer is dry, it’s time to paint! Use a paintbrush for the detailed areas and a foam roller for large surfaces. Be sure to apply thin, even layers and follow the recoat time on your paint can for the best results.
Once your paint is dry, apply a sealant or topcoat to protect your furniture and give it a durable finish. Step back and admire your handiwork – you’ve just transformed an old piece of furniture into a stylish statement piece that will be the envy of all your friends!
Congratulations! You just finished your first DIY Project!
How are you feeling?! Hopefully, you loved the process (even if there were some bumps along the way…there always are)! These 3 beginner-friendly DIY projects will help you build confidence while elevating your space and leave you feeling accomplished. Whether you’re adding an accent wall, framing a window with craftsman-style trim, or painting a piece of furniture, these projects are guaranteed to inject personality and style into your home. So grab your tools and get ready to unleash your creativity – your space will thank you for it!